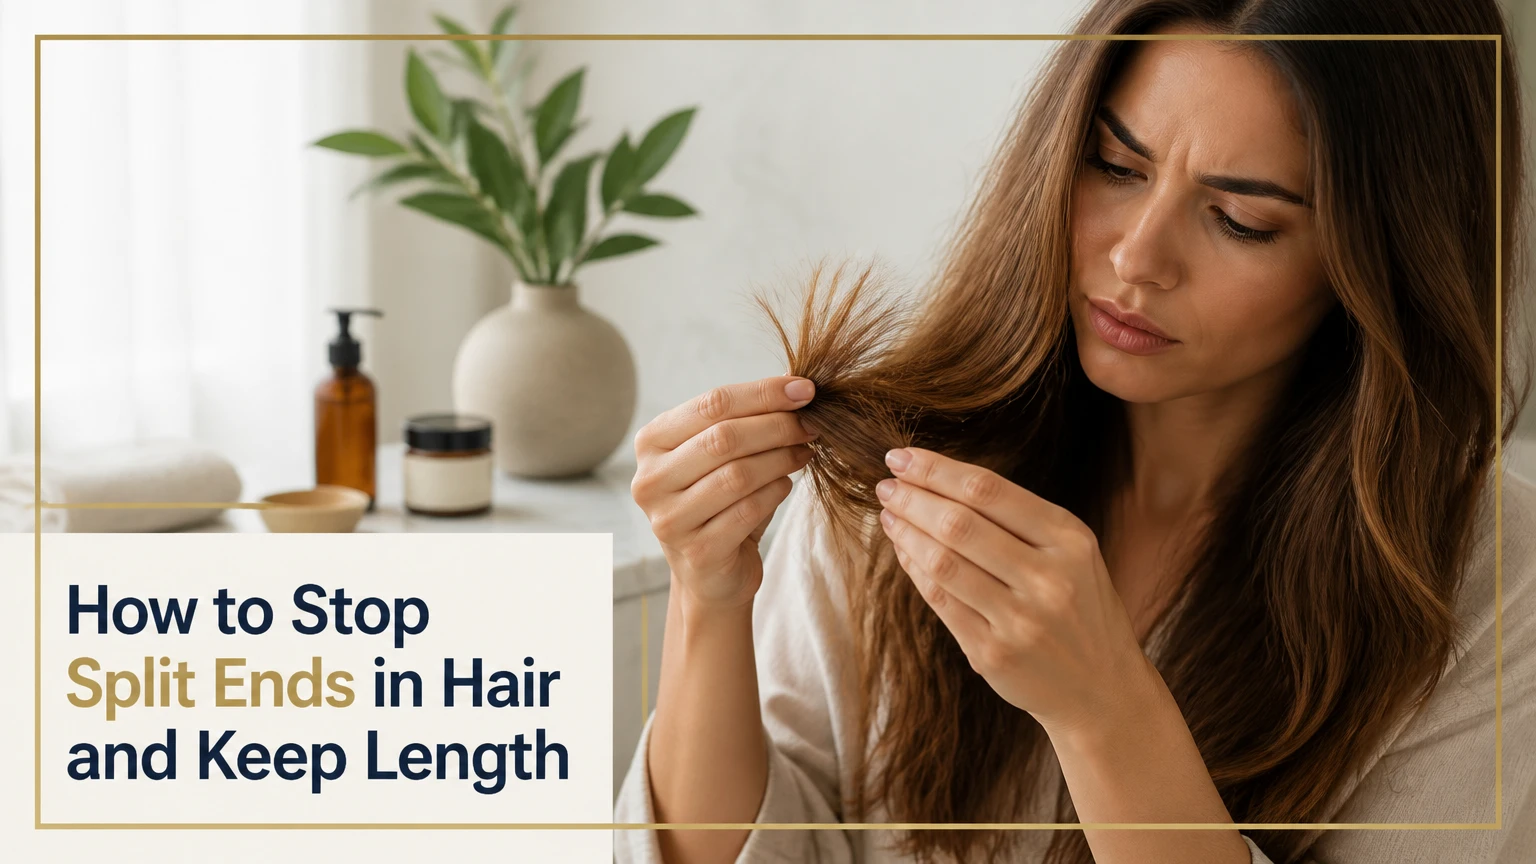
To stop split ends in hair, trim above the damaged section, then reduce the heat, chemical exposure, friction, and rough handling that created the split. Condition the lengths, detangle gently, protect hair while sleeping, and use a silicone serum or bond-building product for temporary reinforcement. Existing splits cannot be permanently fused.
Key Facts at a Glance
- A split end, medically called trichoptilosis, is a damaged hair fiber with a separating or fraying tip.
- Cutting above the split is the only permanent way to remove existing split-end damage.
- Hair oil, conditioner, and silicone serum can reduce friction and improve appearance, but they cannot restore a separated cortex.
- Excessive heat, bleaching, tight hairstyles, rough towels, and repeated brushing increase mechanical or chemical damage.
- A practical trim interval is typically 6-12 weeks, adjusted for damage, growth goals, and styling habits.
- Hair that repeatedly breaks at the root, forms patchy thinning, or loses density may require a dermatologist’s evaluation.
What Are Split Ends, and Why Do They Develop?
Split ends form when the hair cuticle, the shaft’s protective outer layer, wears away and exposes the cortex underneath. The exposed fiber then separates longitudinally, producing a forked, feathered, or tapered tip. Hair is biologically dead after it leaves the follicle, so the damaged section cannot rebuild itself.
The scientific term trichoptilosis describes splitting along the hair shaft. Hair weathering research, including work summarized in Clarence R. Robbins’s Chemical and Physical Behavior of Human Hair, identifies ultraviolet exposure, grooming friction, heat, water exposure, and chemical processing as cumulative sources of shaft damage.
The oldest ends usually show the most wear because they have experienced more washing cycles, sun exposure, brushing, and styling. A split can also move upward, although the speed varies with fiber strength, cuticle condition, and ongoing friction.
Common Split-End Patterns
| Pattern | Visible feature | Likely mechanism | Recommended action |
|---|---|---|---|
| Traditional split | Tip divides into 2 sections | Early longitudinal fiber failure | Trim 0.25-0.5 inch above damage |
| Mini split | Small opening at the tip | Early dryness or abrasion | Condition, seal, and schedule a dusting |
| Fork or triple split | Tip divides into 3 or more branches | Advanced cortex exposure | Remove the damaged section promptly |
| Tree split | Several side branches appear | Widespread cuticle and cortex wear | Trim higher and reduce heat or chemical stress |
| Candle or taper | End narrows without a visible fork | Cuticle loss before separation | Trim before the tapered area travels |
| White knot | Pale knot or bead on one strand | Sharp bending, friction, or single-strand knot | Cut the knot rather than pulling it apart |
Can Split Ends Be Permanently Repaired?
No cosmetic product permanently repairs an existing split end. A precise haircut removes the separated fiber, while conditioners, oils, proteins, polymers, and silicones temporarily coat or reinforce the remaining shaft until washing and abrasion remove their effect.
A bond-building treatment may improve the feel and strength of chemically damaged hair by interacting with damaged structures, but it does not recreate missing cuticle or join two already separated tips. Products marketed as split-end repair should therefore be judged as short-term appearance and breakage-management tools.
The American Academy of Dermatology Association advises people to “be gentle with your hair,” a principle that matters because prevention depends more on reducing repeated damage than on finding a product that reverses it.
What Permanently Removes Versus Temporarily Masks Damage?
| Option | Existing split removed? | Typical cost | Typical duration | Main limitation |
|---|---|---|---|---|
| Salon trim | Yes | $40-$150 | Until new damage occurs | Removes some length |
| Hair dusting | Yes, if accurately performed | $40-$150 | 6-12 weeks | Misses splits hidden inside dense hair |
| Silicone serum | No | $10-$50 | Until shampooing | Cosmetic coating only |
| Bond-building treatment | No | $30-$150 | About 4-6 weeks | Does not replace lost fiber |
| Deep conditioner | No | $8-$40 | 1-3 washes | Softens rather than reconstructs |
| Velaterapia | Removes protruding fibers by flame | $150-$300 | About 8-12 weeks | Burn and fire risk; not recommended for home use |
How to Stop Split Ends Hair: A Five-Step Routine
The most reliable split-end routine takes about 10-20 minutes on wash day, plus a few seconds of protection after styling. Success depends on cutting existing damage and lowering cumulative friction, not on applying more products to already separated tips.
Before You Start
| Requirement | Typical specification | Why it matters |
|---|---|---|
| Wash-day time | 10-20 minutes of active care | Allows gentle cleansing and detangling |
| Trim interval | 6-12 weeks | Removes weathered ends before more length is lost |
| Tools | Wide-tooth comb, microfiber towel, sharp haircutting shears | Reduces snagging and crushed cuts |
| Products | Shampoo, conditioner, leave-in, heat protectant, serum | Covers cleansing, lubrication, and friction control |
| Water temperature | Lukewarm, approximately 30-38°C | Limits excessive dryness and scalp irritation |
| Heat setting | Preferably below 180°C for routine styling | Lowers thermal stress on the cuticle |
Step 1: Protect the Ends Before Washing
Apply a small amount of lightweight oil or conditioner to the mid-lengths and ends before shampooing. For shoulder-length hair, begin with approximately 0.25-0.5 teaspoon of oil, leave it for 10-30 minutes, and adjust downward if the hair looks greasy.
Pre-wash lubrication can reduce friction during washing and may limit repeated swelling and shrinking of the fiber, commonly called hygral fatigue. Coconut oil has particular evidence in hair-care literature for penetrating the hair shaft more effectively than many larger oils, but it can make some hair feel stiff or coated.
You will know it worked when: the ends feel flexible rather than slippery with residue after shampooing.
Common mistake: applying oil to the scalp when the problem is dry ends, which can create buildup and force harsher cleansing.
Step 2: Clean the Scalp, Not the Ends
Massage shampoo into the scalp with the fingertips, then allow diluted lather to pass through the lengths during rinsing. Use a second scalp cleanse only when oil, dry shampoo, styling wax, or heavy silicone buildup remains.
Shampooing the lengths directly is not always wrong. Swimmers, people using substantial styling products, and those with oily hair may need gentle cleansing through the lengths, but aggressive scrubbing increases tangling and cuticle abrasion.
You will know it worked when: the scalp feels clean while the ends remain pliable, not squeaky.
Common mistake: piling the hair on top of the head, which creates knots that require forceful detangling.
Step 3: Condition and Blot Without Rubbing
Apply rinse-out conditioner from the ears downward, concentrating on the oldest 2-4 inches. Leave it for the label’s recommended time, usually 2-5 minutes, then rinse with lukewarm or slightly cool water.
Squeeze water out with your hands and blot with a microfiber towel or smooth cotton T-shirt. Terry-cloth rubbing creates friction against raised cuticles, especially in bleached, curly, or porous hair.
You will know it worked when: water stops dripping without the hair feeling rough or tangled.
Common mistake: twisting wet lengths tightly inside a towel, which places stress on swollen, elastic fibers.
Step 4: Detangle With Lubrication
Apply leave-in conditioner or detangling spray to damp hair, then separate tangles from the ends upward. Use a wide-tooth comb for dense curls and coils, or a flexible detangling brush when the manufacturer specifically permits wet use.
Hair is more extensible when wet, but “wet” does not mean every brush is safe. Detangle highly textured hair in sections with conditioner present; detangle fine straight hair with less product so the roots do not become flat.
You will know it worked when: the comb passes through each section without repeated snagging or audible snapping.
Common mistake: starting at the roots, pushing knots downward and increasing force at the ends.
Step 5: Reduce Friction After Washing
Use a pea-sized amount of silicone serum or a lightweight oil on the final 2-4 inches. Apply heat protectant before any blow-dryer, curling iron, or flat iron, and keep the tool moving rather than holding it on one section.
Silicones such as dimethicone and amodimethicone form a lubricating film that can lower combing friction and improve shine. They do not seal a split permanently. Clarifying shampoo may remove excess buildup, but frequent clarification can dry porous hair.
You will know it worked when: the ends slide across clothing and detangle more easily without looking wet.
Common mistake: using a large amount of serum to hide severe damage instead of booking a trim.
Which Habits Prevent New Splitting?
Preventive care works by reducing the number and intensity of damaging events. The highest-value changes are usually lower heat, fewer chemical services, gentler detangling, and less friction from clothing, bedding, elastics, and extensions.
| Damage source | Practical limit or adjustment | Higher-risk situation | Better replacement |
|---|---|---|---|
| Flat iron or curling iron | Use below 180°C when possible | Daily styling on bleached hair | Air-dry, rollers, or low-heat styling |
| Blow-dryer | Keep 15-20 cm from hair | Maximum heat held in one spot | Medium heat with constant movement |
| Chemical processing | Space bleaching or relaxing by 8-12 weeks | Overlapping bleach onto old color | Apply only to new growth |
| Tight hairstyle | Vary placement every 1-2 days | Extensions or tight braids | Low-tension styles with covered elastics |
| Cotton bedding | Replace with satin or silk | Side-specific tangling overnight | Loose braid, bonnet, or smooth pillowcase |
| Swimming | Wet and condition hair beforehand | Chlorine or salt exposure over 30 minutes | Cap, rinse, and condition immediately |
| Rough detangling | Work in 2-6 sections | Dense curls, mats, or extensions | Conditioner, fingers, then a wide-tooth comb |
Avoid deliberately splitting visible ends. Pulling a split apart creates a jagged break at an unpredictable height, which can make the damaged area larger.
Use professional haircutting shears for home trimming. Kitchen, craft, or office scissors may bend or crush the fiber instead of producing a clean cut. A clean cut does not prevent all future splitting, but a crushed edge starts with a disadvantage.
How Much Should You Cut, and How Often?
Cut 0.25-0.5 inch above visible damage for a light dusting, or remove the entire visibly weathered section when splits extend higher. Typical maintenance trims occur every 6-12 weeks, while heavily bleached hair may need review at 6-8 weeks and relatively healthy hair may maintain shape for 10-14 weeks.
A trim cannot increase biological growth speed. It preserves apparent length by preventing damaged ends from breaking farther up the shaft. If a person gains approximately 0.4-0.5 inch of hair per month, cutting 0.25 inch every 8 weeks can maintain more length than waiting six months and removing several inches of breakage.
Trim Choice by Damage Level
| Hair condition | Suggested cut | Review interval | Length strategy |
|---|---|---|---|
| Few isolated splits | Dusting, 0.25 inch | 10-12 weeks | Preserve maximum length |
| Frequent tip forks | Trim 0.5-1 inch | 8-10 weeks | Remove unstable ends |
| Bleached or relaxed hair | Cut above all porous ends | 6-8 weeks | Prioritize integrity |
| Curly or coily single-strand knots | Sectioned trim | 8-12 weeks | Trim in the usual curl state |
| Velcro-like ends | Structural trim | 4-8 weeks initially | Rebuild shape gradually |
| Breakage throughout the lengths | Professional assessment | 4-8 weeks | Identify cause before repeated cutting |
Which Split-End Treatment Should You Choose?
A professional trim is the only treatment that removes existing split ends, while a bond builder is more useful for chemically weakened hair and a silicone serum is more useful for short-term smoothness. Velaterapia carries unnecessary burn risk and should not replace conventional shears.
Treatment Decision Table
| Treatment | Best use | Result timeframe | Main risk or limitation |
|---|---|---|---|
| Dusting or trim | Visible split removal | Permanent for cut section | Requires accurate cutting |
| Bond builder | Bleach or chemical damage | 4-6 weeks per treatment | Cannot restore missing cuticle |
| Protein conditioner | Temporary strength and structure | 1-4 washes | Overuse can cause stiffness |
| Silicone serum | Slip, shine, and reduced friction | Until next shampoo | Can hide worsening damage |
| Deep-conditioning mask | Dry, rough texture | 1-3 washes | Does not stop severe breakage alone |
| Velaterapia | Selected salon technique | 8-12 weeks claimed | Open-flame burns and uneven damage |
Bond builders should follow the product’s instructions rather than a universal schedule. Some products are designed for every wash, while others are weekly or chemical-service treatments. Excessive protein or strengthening products can leave fine or low-porosity hair rigid, so softness and flexibility matter as much as perceived strength.
Velaterapia is particularly difficult to control. Flame can remove protruding fibers, but it can also burn surrounding hair and skin. Conventional sharp shears provide a more measurable cut with less hazard.
What Changes for Different Hair Types?
Fine straight hair usually needs light leave-in spray and a small amount of serum, while curly and coily hair often needs sectioned detangling, richer conditioning, and nighttime friction protection. Bleached, relaxed, or permanently colored hair needs the most conservative heat and chemical schedule because porosity and cuticle loss increase breakage risk.
| Hair profile | Washing and conditioning | Detangling method | Night and styling protection |
|---|---|---|---|
| Fine, straight | Lightweight conditioner on ends | Wide-tooth comb while damp | Satin pillowcase; minimal oil |
| Wavy | Conditioner from mid-lengths down | Fingers, then flexible brush | Loose braid or low-friction pillowcase |
| Curly | Rich conditioner in sections | Detangle with conditioner present | Satin bonnet; avoid dry brushing |
| Coily | Sectioned cleansing and deep conditioning | Fingers, then wide-tooth comb | Satin bonnet; low-tension protective style |
| Bleached | Bond builder according to label | Slow section-by-section combing | Heat protectant and low heat |
| Relaxed or chemically straightened | Condition each wash; avoid overlap | Detangle from ends upward | Space chemical services 8-12 weeks |
The LOC or LCO method can help textured hair retain lubrication, but it is not mandatory. Liquid or leave-in conditioner, followed by oil and cream in a chosen order, should be adjusted to porosity and density rather than copied rigidly.
Protective styling only protects hair when tension stays low. Braids, sew-ins, ponytails, and extensions can cause traction breakage if they feel painful, produce scalp tenderness, or repeatedly pull the same edges.
Why Do Split Ends Return After a Haircut?
Split ends return because the haircut removes existing damage but does not remove the original source of wear. Common causes include high-temperature styling, bleach overlap, rough detangling, friction on one sleeping side, tight elastics, and trimming with damaged shears.
If splits appear within days, inspect the cut and the routine separately. A fresh jagged edge can indicate poor scissors or technique, while new splits several inches from the cut usually indicate ongoing thermal, chemical, or mechanical damage.
Troubleshooting Recurring Damage
| Symptom | Most likely explanation | First correction | Escalation point |
|---|---|---|---|
| Splits return within 1-2 weeks | Ongoing heat or rough handling | Lower heat and change detangling | Reassess after 4-6 weeks |
| Ends feel like Velcro | Severe cuticle loss or buildup | Clarify once, condition, and trim | Salon assessment if persistent |
| One side splits more | Pillow, shoulder, bag, or phone friction | Satin pillowcase and clothing check | Review hairstyle and posture |
| Hair snaps at mid-length | Breakage, not shedding | Stop pulling and reduce chemical stress | Dermatologist if widespread |
| White dots appear | Localized fiber fracture | Trim damaged points; reduce tension | Assess nutrition, medication, or scalp |
| Ends look thin after every trim | Damage extends higher than expected | Remove unstable perimeter | Seek a corrective cut |
Hair breakage differs from normal shedding. Shed hairs have a club-shaped bulb at one end; broken hairs are shorter and usually lack that bulb. Persistent breakage may relate to traction, inflammatory scalp disease, thyroid disorders, iron deficiency, medication, or severe cosmetic processing, so a dermatologist should evaluate unexplained density loss.
Common Mistakes and How to Fix Them
- Picking at splits: Stop pulling immediately. Clip or trim the affected section cleanly.
- Brushing aggressively when soaking wet: Add conditioner or leave-in product, divide the hair, and begin at the ends.
- Using heavy oil as a substitute for cutting: Treat oil as friction control, then remove visibly separated tips.
- Applying bleach over previously lightened hair: Ask a colorist to place lightener only on new growth.
- Wearing the same tight style daily: Change the part and elastic position, and remove any style that causes pain.
- Clarifying too often: Use a clarifier only for identifiable buildup, then follow with conditioner.
A counterintuitive practitioner rule is that softer hair is not always stronger hair. Heavy conditioning can improve slip while masking weak, porous fibers, so reduced tangling should be evaluated alongside fewer broken hairs.
Another useful rule is to change one major variable at a time. If you simultaneously add oil, protein, bond treatment, and a new brush, you cannot identify which product caused stiffness, buildup, or improvement.
When Should You See a Professional?
See a stylist when splits extend several inches, the perimeter looks transparent, or a home trim would remove more length than desired. See a dermatologist when breakage occurs with scalp pain, scaling, inflammation, patchy loss, sudden shedding, or thinning that continues despite gentler hair care.
A stylist can distinguish split ends, chemical overprocessing, uneven layering, and mechanical breakage under bright light. A dermatologist can investigate medical contributors that hair products cannot correct.
FAQ
Can I prevent split ends without cutting my hair?
You can reduce new splitting without cutting, but you cannot remove existing splits without trimming. Leave-in conditioner, low-friction detangling, heat protection, satin sleep protection, and reduced chemical processing may preserve the current length until you are ready for a cut.
Does coconut oil stop split ends?
Coconut oil may reduce protein loss and improve lubrication for some hair, especially when used before shampooing. It does not permanently repair a split. Use a small amount on the lengths for 10-30 minutes, and stop if the hair becomes stiff, greasy, or difficult to cleanse.
Do split ends stop hair growth?
Split ends do not stop growth at the follicle because growth occurs inside the scalp. They can reduce retained length when the damaged shaft breaks faster than new hair appears. Trimming and lower-damage styling preserve visible length without changing the follicle’s growth rate.
Is a hair mask better than a trim?
A hair mask is better for temporary softness, flexibility, and detangling, while a trim is better for removing existing splits. Use a mask to improve the condition of undamaged or lightly weathered hair, but do not postpone a trim when the ends are visibly forked or frayed.
Should I sleep with wet hair?
Sleeping with wet hair can increase friction and stretching because wet fibers are more extensible and remain pressed against bedding for hours. Dry hair until it is mostly dry, detangle gently, and use a satin pillowcase or bonnet when nighttime tangling is a recurring problem.
How long does it take to improve split ends?
The appearance can improve after one wash with conditioner or serum, but existing splits require an immediate trim. New splitting typically decreases over 4-8 weeks after lowering heat, friction, and chemical exposure, provided no medical or traction-related cause is continuing.
The Bottom Line
To stop split ends hair damage, remove existing splits with a clean trim and protect the new ends from heat, bleach, friction, tension, and rough detangling. Use conditioner for slip, a suitable leave-in for manageability, and silicone or oil for temporary surface protection. A consistent 6-12-week maintenance schedule usually preserves more length than waiting for extensive breakage.


