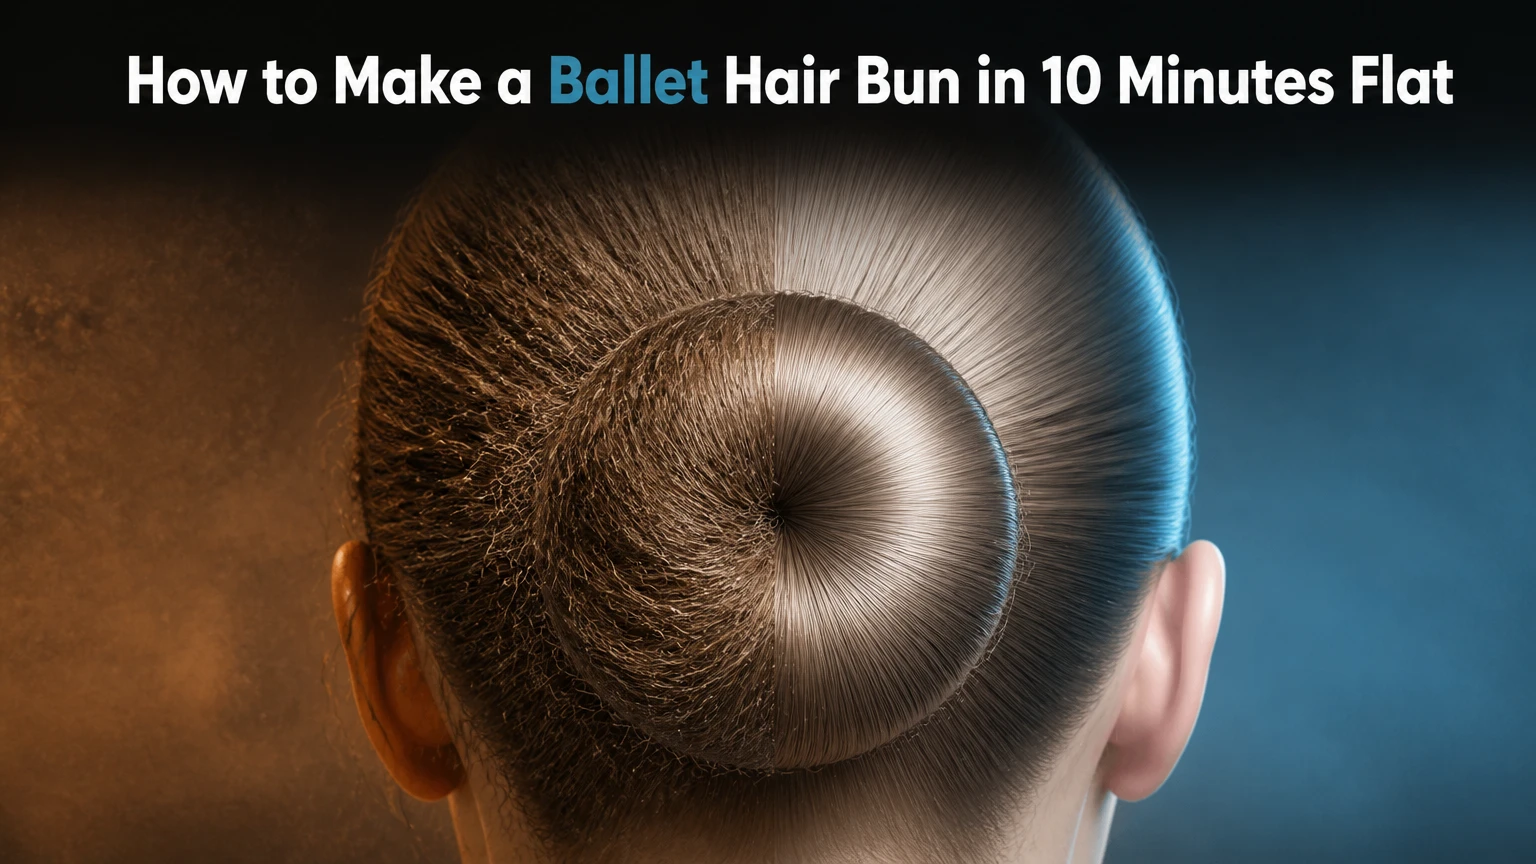
A ballet hair bun is made by securing a tight ponytail, twisting the length, coiling it flat around the base, and anchoring the coil with pins under a matching hair net. The most important factor is a low, stable profile: the bun should stay centered, keep hair off the face and neck, and withstand turns, jumps, and sweat without painful pulling.
Key Facts at a Glance
- A standard ballet bun usually takes 5-10 minutes for class and 10-20 minutes for a recital or competition.
- A secure bun generally needs one strong elastic, 8-16 hairpins, 2-4 bobby pins, and one fine-mesh hair net.
- The bun should lie close to the head rather than protrude like a rounded knob.
- High-mid crown placement suits most daily classical ballet classes, unless the school or production specifies another position.
- A bun net contains loose ends, but it cannot compensate for a loose ponytail or poorly anchored base.
- Pain, numbness, headache, or scalp tenderness indicates excessive tension, not successful styling.
What Makes a Ballet Bun Different From an Everyday Bun?
A ballet bun is a performance hairstyle designed for containment, visibility, and stability rather than casual volume. The finished shape is centered at the back of the head, flattened toward the skull, and smooth enough that loose hair cannot enter the dancer’s eyes, mouth, or neckline during movement.
Dance Center Stage describes the hairstyle’s purpose in relation to alignment: instructors need to see the dancer’s head, neck, and upper-back line clearly. A large, loose, or low bun can obscure that line or shift during choreography.
The practical rule is simple: the bun must stay secure without becoming needlessly painful. Into The Gloss uses the memorable instruction to keep the coil “flat like a pancake,” which accurately separates a classical ballet bun from a high-volume fashion bun.
Why does a flat profile matter?
A flat profile keeps the mass of the hair close to the head, reducing leverage when the dancer turns or lands. The effect is mechanical rather than aerodynamic in a technical-racing sense: a compact coil has less opportunity to swing, catch, or pull against the elastic.
A rounded “doorknob” bun often fails because the hair has been rolled into a thick cylinder instead of spread around the ponytail base. The bun may look full in a mirror, but its outward projection increases movement and makes the pins carry more load.
Before You Start: Time, Tools, and Cost
Prepare the tools before brushing the hair. Typical total cost is $5-$15 for a basic kit, excluding reusable brushes and styling products.
| Item | Typical quantity | Useful specification | Typical price |
|---|---|---|---|
| Hair elastic | 1-2 | Thick, snag-free, hair-color matched | $2-$5 |
| U-shaped hairpins | 8-16 | Medium or large, depending on hair length | $2-$6 |
| Bobby pins | 2-6 | Matching color, closed tips | $1-$4 |
| Fine-mesh hair net | 1 | Matching color, elastic edge | $1-$3 |
| Styling gel | Quarter-size amount | Strong hold, water-based | $4-$12 |
| Hairspray | 2-6 seconds of spray | Strong hold, brushable if possible | $5-$15 |
Use a fine-tooth brush for smoothing the hairline and a wide-tooth comb only when detangling longer hair. A spray bottle with water helps control flyaways, while a clean toothbrush can smooth baby hairs without adding a visible ridge.
| Situation | Typical setup time | Pin quantity | Recommended finish |
|---|---|---|---|
| Daily ballet class | 5-10 minutes | 8-12 pins | Light gel and moderate spray |
| Intensive rehearsal | 8-15 minutes | 10-16 pins | Strong elastic and hair net |
| Recital or competition | 10-20 minutes | 12-20 pins | Gel, net, final hairspray |
| Headpiece installation | 15-25 minutes | 14-24 pins | Reinforced base and accessory pins |
A school’s written dress code overrides general advice. Some studios require a classical bun, while others permit a low bun, braid, or donut for younger dancers.
How to Make a Ballet Hair Bun Step by Step
The method below creates a traditional pinned bun in five steps. Most dancers can complete it in 5-10 minutes once the ponytail placement and radial pin pattern become familiar.
Step 1: Detangle and Slightly Dampen the Hair
Brush the hair until the ends are free of knots, then mist the surface lightly with water. Apply approximately a quarter-sized amount of strong-hold gel to the hairline, sides, crown, and the upper layer of the ponytail.
Do not saturate the hair. Excess water makes the elastic slip, and too much gel creates a hard surface before the underlying structure is secure.
Success checkpoint: The hair lies smoothly when brushed backward, with no wet clumps or loose tangles.
Common mistake: Applying hairspray before gathering the ponytail. Hairspray can stiffen stray hairs while leaving the base loose.
Step 2: Place and Secure the Ponytail
Gather the hair at the location required by the class or production, usually the high-mid crown. A useful placement guide follows the diagonal line from the chin through the cheekbone toward the back of the head, but the studio’s requirements take priority over facial-proportion rules.
Brush from the forehead, temples, and nape toward the elastic. Hold the gathered hair firmly with one hand, then wrap the elastic two or three times until the base does not shift when you gently move the ponytail.
For very thick hair, use a second elastic only if the first elastic does not provide enough stability. Two loose elastics do not create a secure foundation.
Success checkpoint: The ponytail base stays centered when you shake your head gently from side to side.
Common mistake: Making the ponytail so tight that it causes immediate scalp pain. Security should come from distributed anchoring, not maximum pulling force.
Step 3: Twist the Ponytail and Coil It Flat
Twist the ponytail in one direction until it forms a firm rope. Keep the rope close to the head and wrap it around the elastic in a flat circle rather than stacking it upward.
Tuck the ends beneath the outer edge of the coil. If the ponytail is long, spread the hair around the base as you coil so the bun remains approximately 1-2 centimeters thick instead of forming a tall mound.
Success checkpoint: From the side, the bun projects only slightly beyond the natural thickness of the hair and does not wobble when touched.
Common mistake: Twisting the hair into a tight ball before placing it on the head. That method creates the doorknob effect and concentrates weight at one point.
Step 4: Anchor the Bun With U-Pins
Insert U-shaped hairpins around the circumference of the bun. Each pin should catch a small amount of the outer bun and a small amount of hair from the ponytail base or scalp-side structure, then slide inward and lie close to the head.
Place the first pins at the top, bottom, left, and right. Add more pins between those points, typically every 1-2 inches. Push each pin in the direction of the bun’s center rather than straight downward.
Use bobby pins for surface control, not as the only structural support. Cross two bobby pins over a stubborn end or loose section when needed.
Success checkpoint: The bun remains in place when you press lightly at four points around its edge.
Common mistake: Inserting every pin parallel to the same direction. Parallel pins can slide out together; angled, distributed pins resist movement more effectively.
Step 5: Add the Hair Net and Finish the Surface
Stretch the fine-mesh net over the entire bun, twist or fold the excess underneath, and wrap it again if the mesh is loose. Most dancers need two wraps for medium hair and two or three for long or layered hair.
Tuck the net’s elastic edge under the bun’s outer rim. Add 2-4 bobby pins around the hidden edge, then smooth the hairline with your palm or brush and apply strong-hold hairspray from approximately 8-12 inches away.
Success checkpoint: No net edge is visible, and the bun stays fixed during a controlled head turn and a few vertical rises.
Common mistake: Pinning the net only at the top. The exposed edge can rise during jumps, so secure the sides and bottom as well.
Where Should a Ballet Bun Sit?
A standard ballet bun usually sits at the high-mid crown, where it keeps the neck visible without touching the top of the head. The correct location depends on the teacher’s instructions, choreography, headpiece position, and the dancer’s hairline.
| Bun placement | Best use | Main benefit | Main limitation |
|---|---|---|---|
| High crown | Character work or specified costumes | Keeps nape completely clear | Can interfere with crowns or headpieces |
| High-mid crown | Daily classical class | Balances visibility and comfort | Not suitable for every production |
| Mid-back head | General rehearsal | Distributes moderate hair length well | May sit too low for strict schools |
| Nape | Chignon, romantic, contemporary work | Supports low headpiece placement | Can cover the neck line |
| Side placement | Only when choreography requires it | Matches selected character styling | Less stable for repeated turns |
Do not move the bun lower merely because a low bun feels easier to create. If the instructor expects a classical mid-crown bun, a technically neat low chignon can still be considered incorrect.
Which Ballet Bun Type Should You Use?
The traditional pinned bun is the default choice for classical training, auditions, and most competitions because it produces the flattest adjustable profile. Braids, donuts, and low chignons solve specific hair or costume problems, but each changes the shape and distribution of weight.
| Bun type | Suitable hair situation | Typical time | Dress-code risk |
|---|---|---|---|
| Traditional pinned bun | Medium to long hair | 5-15 minutes | Low for classical work |
| Braided bun | Long, thick, or layered hair | 8-18 minutes | Low if kept flat |
| Donut bun | Fine or short-to-medium hair | 5-10 minutes | Medium to high at auditions |
| Low chignon | Low placement or romantic roles | 5-12 minutes | Medium for classical class |
| Two-section bun | Very thick or waist-length hair | 10-20 minutes | Low when profile stays flat |
When is a donut bun appropriate?
A donut bun is useful when a dancer has insufficient length or density to form a stable, full-looking coil. The foam or mesh insert gives the hair a fixed circular shape, but it can create excess projection if the insert is too large.
Choose the smallest insert that the ponytail can cover completely. A donut that remains visible through the hair is the wrong size, even if the bun looks symmetrical.
For auditions and professional settings, confirm the rules first. Some schools and companies prefer the dancer’s natural hair structure and may reject visible padding, while younger children’s classes often permit a small donut.
When should you braid the ponytail?
A braided bun works well for long, thick, or heavily layered hair because the braid compresses the length before coiling. It also reduces the number of loose ends that need to be tucked under the net.
Do not make the braid excessively tight. A firm three-strand braid is usually easier to flatten than a thick rope twist, but the braid must still spread around the base rather than stack vertically.
Traditional Bun Versus Donut Bun
The traditional pinned bun wins for auditions, classical examinations, and choreography involving repeated turns. A donut bun wins for fine hair or limited length when the priority is a contained circular shape rather than a fully natural profile.
| Decision factor | Traditional pinned bun | Donut bun |
|---|---|---|
| Best hair length | Shoulder length or longer | Short-to-medium or fine hair |
| Typical profile | 1-3 cm from scalp | 2-5 cm from scalp |
| Pin requirement | 8-20 structural pins | 4-12 pins plus insert |
| Setup speed | 5-20 minutes | 5-12 minutes |
| Audition suitability | Usually accepted | Must confirm rules |
| Fine-hair fullness | Depends on natural density | High |
| Thick-hair capacity | High with two sections | Limited by insert size |
| Failure pattern | Loose coil or slipping pins | Visible insert or excess projection |
A donut is not automatically more secure. The insert can shift if the ponytail is loose, and its circular edge can act as a lever during vigorous movement. A properly pinned natural bun usually distributes the load more evenly.
How Can You Adapt the Bun to Your Hair?
Hair length, density, texture, and layering determine the best construction method. The same five-step process works broadly, but the ponytail division and product amount should change.
Short hair
Gather the longest possible ponytail without forcing the hairline backward. Use a small mesh insert only if the hair can cover it, then pin short layers individually around the edge.
For hair that cannot reach the ponytail base, a low bun or approved hairpiece may be more reliable than repeated gel. Hairspray cannot create length, and excessive product can leave short pieces stiff but unsecured.
Fine or slippery hair
Use less water and a small amount of texturizing product on the ponytail before twisting. A fine-mesh net usually holds better than a loose decorative net because the smaller openings create more contact with the hair.
Keep the insert small. Large donuts often overwhelm fine hair and produce the exact outward projection a ballet bun is meant to avoid.
Thick or long hair
Divide the ponytail into two sections. Twist each section in opposite directions, then coil them around the base in overlapping flat circles so the weight spreads across the scalp.
A two-section bun is often more stable than forcing all the hair into one thick rope. Use 14-20 U-pins when the hair is long enough to create substantial circumference.
Curly or highly textured hair
Preserve the hair’s natural texture where the dress code permits, then smooth only the surface needed for a clean outline. Gel and a brush can compress the hairline, but aggressive wet brushing may cause tangling or disrupt the curl pattern.
A braid or two-section coil can contain textured length with less tension than a single slicked ponytail. Confirm whether the production requires a fully slick classical finish.
How Tight Should a Ballet Bun Be?
A ballet bun should be tight enough that the ponytail base and coil do not shift, but it should not cause pain, headache, numbness, or scalp tenderness. Test the finished style by moving the head, performing several rises, and checking whether the bun returns to its original position.
| Symptom after styling | Likely cause | Immediate correction |
|---|---|---|
| Headache within 10 minutes | Ponytail pulled too tightly | Rebuild with less tension |
| Bun rotates during turns | Loose elastic or few base pins | Tighten foundation and add radial pins |
| Nape hairs escape | Insufficient smoothing or low placement | Add gel and pin the lower edge |
| Scalp tenderness after removal | Repeated traction or excessive tension | Vary placement and reduce force |
| Pins poke during movement | Pins inserted too deeply or incorrectly | Remove and replace at a flatter angle |
The American Academy of Dermatology Association warns that hairstyles creating repeated pulling can contribute to traction alopecia. A ballet bun is not exempt from that risk, particularly when worn tightly every day. Rotate the exact placement when studio rules allow, remove the style promptly after class, and seek dermatological advice for persistent breakage or thinning.
Common Mistakes and How to Fix Them
The bun sticks out like a doorknob
Cause: The ponytail was rolled into a thick cylinder or ball.
Fix: Remove the pins, spread the hair around the base, press the coil flat, and repin from four anchor points outward.
The bun wobbles during jumps
Cause: The elastic is loose, or the pins hold only the outer hair.
Fix: Rebuild the ponytail first, then make each U-pin catch both the coil and the foundation near the base.
The hair net is visible
Cause: The elastic rim sits on top of the bun.
Fix: Stretch the net evenly, fold the excess underneath, and pin the hidden rim at the sides and bottom.
The bun looks uneven
Cause: The ponytail was off-center or the hair accumulated on one side during coiling.
Fix: Check the ponytail from the front before twisting. Redistribute the coil in small sections instead of pulling the finished bun sideways.
Flyaways appear around the hairline
Cause: Dry hair, insufficient product, or brushing in the wrong direction.
Fix: Use a damp palm, a small amount of gel, and a fine brush. Avoid adding large amounts of product after the bun is already pinned.
Pins fall out
Cause: Pins are too smooth, too short, or inserted parallel to the scalp.
Fix: Use U-pins for structure, angle them toward the center, and reserve bobby pins for final surface control.
Choosing the Bun for Class, Auditions, and Stage
Event requirements change the acceptable balance between natural hair, padding, accessories, and hold. The safest default is a flat, centered traditional bun unless the teacher, choreographer, or costume department gives a different instruction.
| Event | Recommended bun | Product level | Accessory rule |
|---|---|---|---|
| Daily class | Mid-crown pinned bun | Moderate gel and spray | No accessory unless requested |
| Ballet examination | Traditional pinned bun | Smooth, controlled finish | Follow examination regulations |
| Audition | Flat natural bun | Strong hold without visible buildup | Avoid unapproved donuts or extensions |
| Recital | Bun specified by costume | Strong hold and net | Add headpiece after structural pins |
| Competition | Flat pinned or approved braided bun | Maximum practical hold | Match net and pins to hair color |
| Romantic or character role | Low chignon or specified style | Product matched to costume | Follow choreographer’s placement |
Attach a tiara, bow, or headpiece only after the bun has survived a movement test. Insert accessory pins into the bun structure, not merely into loose surface hair.
How Long Does a Ballet Bun Last?
A properly built ballet bun typically lasts 6-12 hours, although sweat, hair density, choreography, and accessory weight can shorten that range. Daily class styles usually need less product than competition buns because they are worn for fewer hours and should be removed sooner.
| Variable | Typical range | Effect on longevity |
|---|---|---|
| Class duration | 60-120 minutes | Moderate stress |
| Rehearsal duration | 2-6 hours | High sweat and movement |
| Competition wear | 6-12 hours | Requires net and reinforced pins |
| Strong-hold pins | 8-20 pieces | More anchors, less shifting |
| Hair-net wraps | 2-3 layers | Better loose-end containment |
| Touch-up time | 2-5 minutes | Usually replaces surface pins only |
Do not keep adding spray when the foundation is failing. Once the ponytail shifts, the correct repair is to rebuild the base rather than harden an unstable structure.
Safe Removal and Hair Care
Remove the hair net and pins before brushing, then unwind the coil gently in the opposite direction from construction. Loosen the elastic last, detangle from the ends upward, and wash or condition the hair if gel has accumulated.
Electrolysis has no role in making or securing a ballet bun. Electrolysis is a professional hair-removal procedure that targets individual follicles, while a ballet bun is a temporary styling method; using electrolysis to alter a hairline would be a separate cosmetic decision with permanent consequences and should never replace safe styling adjustments.
Avoid sleeping in a tight bun after a long rehearsal. Persistent scalp pain, broken hairs at the hairline, widening parts, or smooth patches warrants a consultation with a dermatologist.
FAQ
Can you make a ballet bun without gel?
Yes, a ballet bun can hold without gel when the hair has enough texture and the elastic and pins are secure. Lightly dampen the surface, brush carefully, and use a matching hair net for containment. Very smooth or layered hair usually benefits from a small amount of gel around the hairline and ponytail.
How many bobby pins do you need for a ballet bun?
Most dancers need 8-16 U-shaped hairpins for the structure and 2-6 bobby pins for the net and surface pieces. Fine, short hair may need fewer pins, while long or thick hair may require 14-20. Pin count matters less than whether each structural pin catches the bun and the foundation.
Can you make a ballet bun with shoulder-length hair?
Shoulder-length hair can usually form a small traditional bun if the layers reach the ponytail base. Tuck short ends under a hair net and use a small approved insert only when necessary. If the hair cannot cover the insert, a neat low bun or studio-approved hairpiece will look more secure.
Should a ballet bun be high or low?
A high-mid crown bun is the standard choice for many classical classes, while a low bun suits romantic, contemporary, or costume-specific choreography. The instructor’s written requirement is decisive. Placement should also leave the nape visible and avoid contact with a headpiece or costume collar.
Why does my ballet bun keep falling out?
A ballet bun usually falls because the ponytail foundation is loose, the coil is too thick, or the pins catch only the outer hair. Rebuild the base, flatten the coil, and place U-pins every 1-2 inches around the circumference. Add the net only after the structure is stable.
How do you make a ballet bun without hurting your scalp?
Use the minimum tension that stops movement, distribute the load with several pins, and avoid pulling the hairline sharply backward. Remove the bun after class and vary its placement when permitted. Pain, headache, numbness, or repeated breakage means the style needs to be rebuilt more gently.
The Bottom Line
To make a ballet hair bun, create a secure ponytail, twist the length, coil it flat around the base, anchor it with distributed U-pins, and finish with a matching hair net. The traditional pinned method is the most dependable default for classical ballet because it stays close to the head, keeps the neck visible, and adapts to different hair densities. Test the finished bun with movement before class, rehearsal, or performance.


