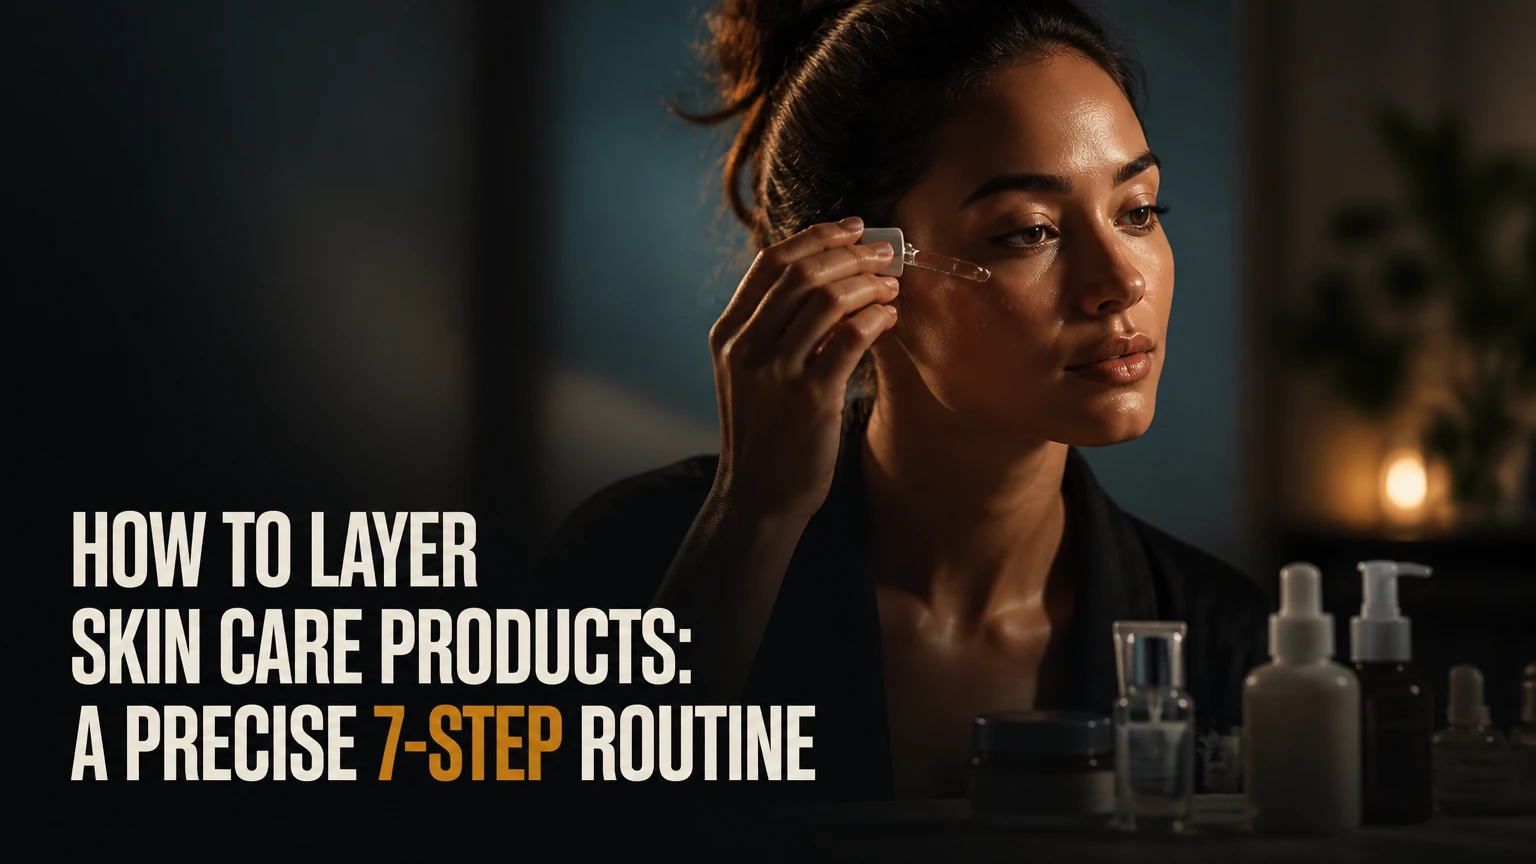
Layering skin care products means cleansing first, applying lightweight hydration and treatments, then moisturizer, optional oil, and sunscreen in the morning. This seven-step routine takes about 10 minutes, costs roughly $25-$180, and is beginner-friendly. Success depends most on using the right amount and allowing each layer to settle without rubbing.
Before You Start
Set out the products in application order and wash your hands first. Check each label for directions, active ingredients, expiration information, and warnings. The thinnest-to-thickest rule is useful, but the product’s actual texture matters more than its marketing category.
A water-based serum usually goes before a cream. A silicone-heavy primer may need testing separately because it can pill over a tacky serum. Prescription products take priority over general layering advice, so follow the prescriber’s directions.
| Item | Quantity or specification | Typical cost | Purpose |
|---|---|---|---|
| Oil cleanser or balm | Quarter-size amount for PM use | $10-$45 | Loosens sunscreen, makeup, and sebum |
| Water-based cleanser | Dime-size amount | $8-$35 | Removes remaining residue without scrubbing |
| Toner or essence | 3-4 drops | $8-$50 | Adds light hydration |
| Treatment serum | 2-3 drops or 1 pump | $12-$100 | Delivers a selected active or hydrator |
| Eye cream | Shared pea-size amount | $10-$80 | Moisturizes the orbital area |
| Moisturizer | Nickel-size amount for face and neck | $10-$60 | Reduces water loss and supports the barrier |
| Face oil | 2-3 drops, optional | $10-$70 | Adds an occlusive final layer |
| Sunscreen | Two finger lengths for face, ears, and neck | $10-$45 | Provides daytime UV protection |
| Clean hands and towel | One clean towel or microfiber cloth | Usually already available | Prevents avoidable contamination and friction |
Time: 5-10 minutes for a basic routine, or 10-15 minutes with double cleansing and several treatments.
Difficulty: Beginner.
Typical total cost: $25-$180, depending on whether you buy every optional category.
Conditions: Use lukewarm water, apply products with clean hands, and avoid starting several new actives on the same day.
Quick Process Summary
| Step | Action | Typical time | Most common mistake |
|---|---|---|---|
| 1 | Cleanse the skin | 1-2 minutes | Scrubbing or using hot water |
| 2 | Add toner or essence | 30-60 seconds | Applying exfoliating toner near the eyes |
| 3 | Apply one treatment serum | 2-3 minutes to settle | Starting several strong actives together |
| 4 | Tap on eye cream | About 1 minute | Applying too close to the lash line |
| 5 | Apply moisturizer | 2-3 minutes to settle | Using too much and rubbing repeatedly |
| 6 | Press on optional face oil | About 1 minute | Using oil before water-based products |
| 7 | Finish AM routine with sunscreen | 15 minutes before exposure | Underapplying or applying over wet skin |
Prepare the Skin
Step 1: Cleanse With the Appropriate Formula
Cleanse your face with an oil cleanser followed by a water cleanser at night, and use a water cleanser alone in the morning when your skin does not feel greasy.
For an evening double cleanse, massage a quarter-size amount of balm or cleansing oil onto a dry face for about 60 seconds, including the sides of the nose and hairline. Add a little lukewarm water to emulsify it, then rinse. Follow with a dime-size amount of gel, cream, or foam cleanser on wet skin for another 60 seconds. Rinse thoroughly and pat with a clean towel, leaving the skin slightly damp.
In the morning, massage the water cleanser over wet skin for 30-60 seconds. Dry skin may need only a water rinse, while oily skin often prefers the cleanser.
You’ll know it worked when sunscreen and makeup are gone, the skin feels clean but not tight, and no oily film remains around the nose.
The common mistake is using hot water or a rough cloth. Both increase irritation and make later active products sting.
Step 2: Apply Toner or Essence to Slightly Damp Skin
Press 3-4 drops of toner or essence into slightly damp skin with clean palms, then wait 30-60 seconds until the surface feels comfortable and lightly tacky.
Use a hydrating toner on the whole face, but keep an exfoliating toner away from the eyelids and corners of the nose. Cotton pads are optional. They can spread a watery product, but pressing with hands generally creates less friction and wastes less liquid.
Do not treat toner as a required cleansing step. If your cleanser leaves no residue and your routine already hydrates well, skip it. If the product contains glycolic acid, lactic acid, salicylic acid, or another exfoliant, count it as an active treatment rather than a neutral hydration layer.
You’ll know it worked when the skin feels hydrated rather than wet, sticky, or coated.
The common mistake is applying several toner layers until the face stays slippery. Use less product, or remove this step if it causes pilling.
Apply Treatments and Moisture
Step 3: Apply One Compatible Treatment Serum
Apply 2-3 drops or one pump of a treatment serum, spread it gently over the face, and let it settle for 1-3 minutes before applying the next layer.
Choose the treatment according to the time of day and your tolerance. A vitamin C or other antioxidant serum fits naturally in the morning under moisturizer and sunscreen. Hyaluronic acid and other humectants can be used morning or evening on slightly damp skin, followed by moisturizer. Retinol is usually reserved for the evening and should start two nights per week unless the product label or clinician says otherwise.
Use one strong active per routine while building tolerance. For example, use retinol on one evening and an AHA or BHA on another evening. There is no universal chemical rule that every active combination is unsafe, but combining irritating products increases the chance of dryness, burning, and peeling.
Apply prescription medication exactly as directed. A clinician may instruct you to place it before moisturizer, after moisturizer, or on completely dry skin.
You’ll know it worked when the serum spreads evenly without immediate stinging, rolling, or leaving thick beads.
The common mistake is assuming a longer wait always improves absorption. Wait until the layer is no longer wet, but do not leave the skin uncomfortable or repeatedly rub it.
Step 4: Tap Eye Cream Around the Orbital Bone
Warm a shared pea-size amount of eye cream between your ring fingers, then tap a thin film along the orbital bone without pulling the skin or placing product directly on the lash line.
Use the amount for both eyes, not a pea-size amount per eye. Start at the outer corner, move beneath the eye toward the inner corner, and finish beneath the brow bone if the label permits. Keep retinol eye products away from the eye itself and follow their specific directions.
Eye cream is optional. A bland facial moisturizer can often cover the same outer orbital area if it does not sting and is safe for that use. Avoid fragranced or exfoliating formulas if your eyes water easily.
You’ll know it worked when the area feels comfortable and lightly moisturized, with no blurred vision, watering, or product migration.
The common mistake is applying too much. Excess cream travels into the eye as body heat warms it, so remove the surplus with a clean tissue.
Step 5: Seal Hydration With Moisturizer
Apply about a nickel-size amount of moisturizer to the face and neck, smooth it over the skin with light strokes, and wait 2-3 minutes before sunscreen or makeup.
Adjust the amount to the product’s richness and your skin’s needs. Use a thin layer of lotion or gel cream for oily skin, and a more substantial cream for dry or barrier-stressed skin. Press over the cheeks and neck first, then distribute the remaining product across the forehead, nose, and chin.
Moisturizer belongs after water-based hydration and most serums because it reduces water loss at the surface. It does not need to feel completely invisible before the next step. It should feel settled rather than wet.
You’ll know it worked when the skin feels supple, with no tight patches and no thick greasy layer.
The common mistake is massaging until the previous products pill. Smooth in one direction, use less product, and stop once the face is evenly covered.
Step 6: Press on Face Oil Only When Needed
Press 2-3 drops of face oil over the moisturizer in the evening, concentrating on dry areas, and leave at least 5 minutes before lying on a pillow.
Oil is optional, not a replacement for moisturizer. It mainly slows water loss and improves slip, so it can help dry skin in cold or low-humidity conditions. Oily or acne-prone skin may prefer to omit it, especially if the moisturizer already feels comfortable.
Do not mix oil into sunscreen unless the sunscreen manufacturer specifically permits it. Mixing can change the sunscreen’s film and make coverage uneven. Apply oil as the last PM layer instead.
You’ll know it worked when dry areas feel protected without new congestion, greasy transfer, or small rolling particles.
The common mistake is placing oil before a water-based serum. Oil can make later products spread unevenly, so move it to the end or remove it.
Step 7: Finish the Morning Routine With Sunscreen
Apply a broad-spectrum SPF 30 or higher as the final morning layer, using two finger lengths for the face, ears, and neck, and put it on about 15 minutes before sun exposure.
Use two separate lines of sunscreen along the length of your index and middle fingers as a practical measurement. Dot it across the forehead, cheeks, nose, chin, ears, and neck, then spread evenly without leaving gaps. If the formula pills, apply half, wait until it settles, and apply the remainder.
The American Academy of Dermatology recommends broad-spectrum, water-resistant SPF 30 or higher for outdoor protection. Reapply according to the label, especially after swimming, sweating, or towel drying. Sunscreen should go over moisturizer, not under it.
You’ll know it worked when the face has a uniform film with no missed ears, hairline, jaw, or neck areas.
The common mistake is applying it to visibly wet skin or using too little. Pat the face dry first and never reduce the amount to make makeup sit better.
Choose the Right Active Schedule
The order of layers is only half the process. Frequency determines whether the routine remains tolerable.
| Active | Best starting frequency | Common placement | Do not combine casually with |
|---|---|---|---|
| Vitamin C serum | Every other morning | After toner, before moisturizer | Other irritating actives if sensitive |
| Hyaluronic acid | Daily, AM or PM | Before moisturizer | No major conflict, but seal with cream |
| Retinol | 2 evenings weekly | On dry skin, before or after moisturizer as directed | AHA, BHA, or aggressive scrubs |
| AHA | 1 evening weekly | After cleansing, before moisturizer | Retinol or another exfoliating acid |
| BHA | 1-2 evenings weekly | After cleansing, before moisturizer | Retinol or frequent physical scrubbing |
| Barrier moisturizer | Daily | After treatments | None, unless the formula irritates you |
| Sunscreen | Every morning | Final AM layer | No active conflict, but apply evenly |
Introduce only one new active every 1-2 weeks. Patch test on a small area according to the product instructions, and stop if swelling, hives, blistering, or persistent burning occurs. Retinoids and exfoliating acids can increase sensitivity, so daytime sunscreen matters even when the treatment is used only at night.
Common Mistakes and How to Fix Them
Fix Product Pilling
Pilling appears as small balls or strings that roll off during application. It usually comes from too much product, repeated rubbing, incompatible film-formers, or a silicone-heavy formula placed over a tacky water-based layer.
Remove the loose residue, let the skin dry, and restart with half the serum and moisturizer quantities. Press instead of rubbing, allow up to 3 minutes between serum, moisturizer, and sunscreen, and test the troublesome product alone on one cheek. If pilling continues, move that product to another routine or replace it.
Calm Burning, Redness, or Stinging
Stop retinol, exfoliating acids, vitamin C, scrubs, fragrance-heavy products, and facial tools when ordinary moisturizer begins to burn. Use a gentle cleanser, bland moisturizer, and sunscreen for 5-7 days, or until the skin feels normal for several consecutive days.
Do not restart every active at once. Reintroduce one product twice weekly, using a smaller amount, and discontinue it if irritation returns. Seek medical care for facial swelling, blistering, severe pain, or a rash that spreads.
Reduce New Breakouts or Congestion
Breakouts can result from a heavy product, occlusive layering, inadequate makeup removal, or irritation that resembles acne. Double-cleanse at night when wearing sunscreen or makeup, but do not scrub harder.
Replace a heavy cream or oil with a lightweight, non-comedogenic gel cream for 2-4 weeks. Change only one product at a time so you can identify the cause. Persistent, painful, or scarring acne needs a dermatologist rather than repeated product swapping.
Correct Tightness After Cleansing
Tightness usually means the cleanser, water temperature, cleansing time, or frequency is too aggressive. Switch to lukewarm water, shorten cleansing to 30-60 seconds, and use a fragrance-free cream cleanser if appropriate.
Apply moisturizer while the skin is slightly damp. If the face still feels tight after 10 minutes, use more moisturizer rather than adding several toners.
Recover From Uneven Sunscreen
If sunscreen looks patchy, do not rely on a small extra dab over selected spots. Remove it and reapply the full amount across the complete face, ears, and neck.
Apply in two thin passes if the formula is difficult to spread. Let moisturizer settle first, and avoid mixing sunscreen with oil, foundation, or serum because dilution can make the protective film irregular.
Adjust the Routine for Different Situations
Oily or Acne-Prone Skin
Use a gentle gel cleanser, a watery hydrating serum, and an oil-free gel cream. Omit toner and face oil unless they solve a specific problem. A salicylic acid product may help some acne-prone users, but begin once weekly and avoid using it on the same evening as retinol.
Choose sunscreen labeled non-comedogenic if that texture suits you. The label is more useful than assuming every mineral or chemical sunscreen works identically for every person.
Dry or Sensitive Skin
Use a creamy cleanser, a fragrance-free moisturizer, and fewer active treatments. Apply hydrating products to slightly damp skin, then seal with cream. Face oil can be added at night if the moisturizer alone does not prevent dry patches.
Sensitive skin should introduce retinol, vitamin C, and acids separately. The moisturizer sandwich method, moisturizer before and after retinol, can reduce irritation when the product instructions allow it.
Minimal Routine or Makeup Morning
Use three AM layers: cleanse or rinse, moisturize if needed, and sunscreen. Use three PM layers: cleanse, treatment if tolerated, and moisturizer. Toner, eye cream, and face oil are optional categories, not requirements for a complete routine.
For makeup, wait until sunscreen has settled, usually 5-15 minutes depending on the formula. Apply foundation by pressing rather than dragging, which reduces pilling.
After Facial Electrolysis
After facial electrolysis, follow the electrologist’s aftercare instructions before applying active products. A conservative approach is gentle cleansing, a bland moisturizer if recommended, and daytime sunscreen, while avoiding retinol, acids, scrubs, fragrance, and picking until the treated skin is calm.
Do not apply makeup or occlusive oil immediately if the provider advises otherwise. The treated area may need a shorter product list than the rest of the face.
After Body Electrolysis
For body electrolysis, keep the area clean and follow the provider’s instructions about deodorant, fragrance, sweating, and sun exposure. Use a bland moisturizer only if advised, and avoid exfoliating acids or retinoids on the treated area until redness and tenderness have resolved.
Facial and body skin do not need identical routines. Body electrolysis aftercare takes priority over a standard exfoliation schedule.
How Long Does It Take and What Does It Cost?
A basic AM routine takes about 5 minutes. A PM routine with double cleansing, one treatment, moisturizer, and oil takes about 8-12 minutes. The listed wait periods are practical settling times, not guarantees that a product has penetrated to a particular skin layer.
| Routine | Products used | Typical time | Typical initial cost |
|---|---|---|---|
| Minimal AM | Cleanser, moisturizer, sunscreen | 3-5 minutes | $25-$90 |
| Minimal PM | Cleanser, treatment, moisturizer | 4-7 minutes | $25-$120 |
| Full AM | Cleanser, toner, serum, eye cream, moisturizer, sunscreen | 8-12 minutes | $60-$220 |
| Full PM | Oil cleanser, water cleanser, toner, treatment, eye cream, moisturizer, oil | 10-15 minutes | $70-$280 |
Prices vary by drugstore, professional, and luxury formulas. You can remove toner, eye cream, and face oil without reducing the routine to an ineffective level. Spend first on a suitable cleanser, moisturizer, and broad-spectrum sunscreen.
Frequently Asked Questions
Do skincare products need to fully absorb between steps?
No. Wait until the previous layer is no longer visibly wet and can accept the next product without dragging. Thirty to 60 seconds is usually enough for watery hydration, while 1-3 minutes helps thicker serums and moisturizer settle. Longer waits are useful when pilling occurs, but they do not guarantee better results.
Should I apply retinol before or after moisturizer?
Follow the retinol label or prescriber’s instructions. Many beginners apply a pea-size amount to completely dry skin before moisturizer, while sensitive users may apply moisturizer first or use the sandwich method. Avoid the eyelids, corners of the nose, and lips unless the product specifically allows those areas.
Can I use vitamin C and retinol in the same routine?
Using them at different times is the simpler approach: vitamin C in the morning and retinol at night. Some people tolerate both, but irritation risk depends on concentration, formulation, frequency, and skin condition. Add one product at a time and reduce frequency if dryness or stinging develops.
Is toner necessary for a complete routine?
No. Toner is optional. A cleanser, treatment chosen for a real need, moisturizer, and sunscreen can provide a complete routine. Keep toner when it adds hydration or delivers a carefully scheduled exfoliant, and remove it if it increases stickiness, stinging, cost, or pilling.
Can I put face oil under sunscreen?
Avoid placing face oil under sunscreen unless the manufacturer specifically instructs you to do so. Oil can change how sunscreen spreads and may create uneven coverage. Use oil as the final PM layer, or apply sunscreen first and keep oil away from the protected areas if the daytime finish remains acceptable.
How should I layer skincare on my neck?
Apply cleanser gently, then use the same hydrating products and moisturizer if they are tolerated. Apply sunscreen to the front, sides, and back of the neck, plus the ears. Use less active treatment on the neck at first because neck skin often becomes irritated sooner than facial skin.
Final Routine Checklist
The practical order is cleanse, hydrate, treat, moisturize, optionally seal with oil at night, and protect with sunscreen in the morning. Keep the routine short while introducing new products, use clean hands, and change one variable at a time. If you are still unsure how to layer skin care products, start with cleanser, moisturizer, and SPF, then add one optional layer only when you can identify its purpose.


