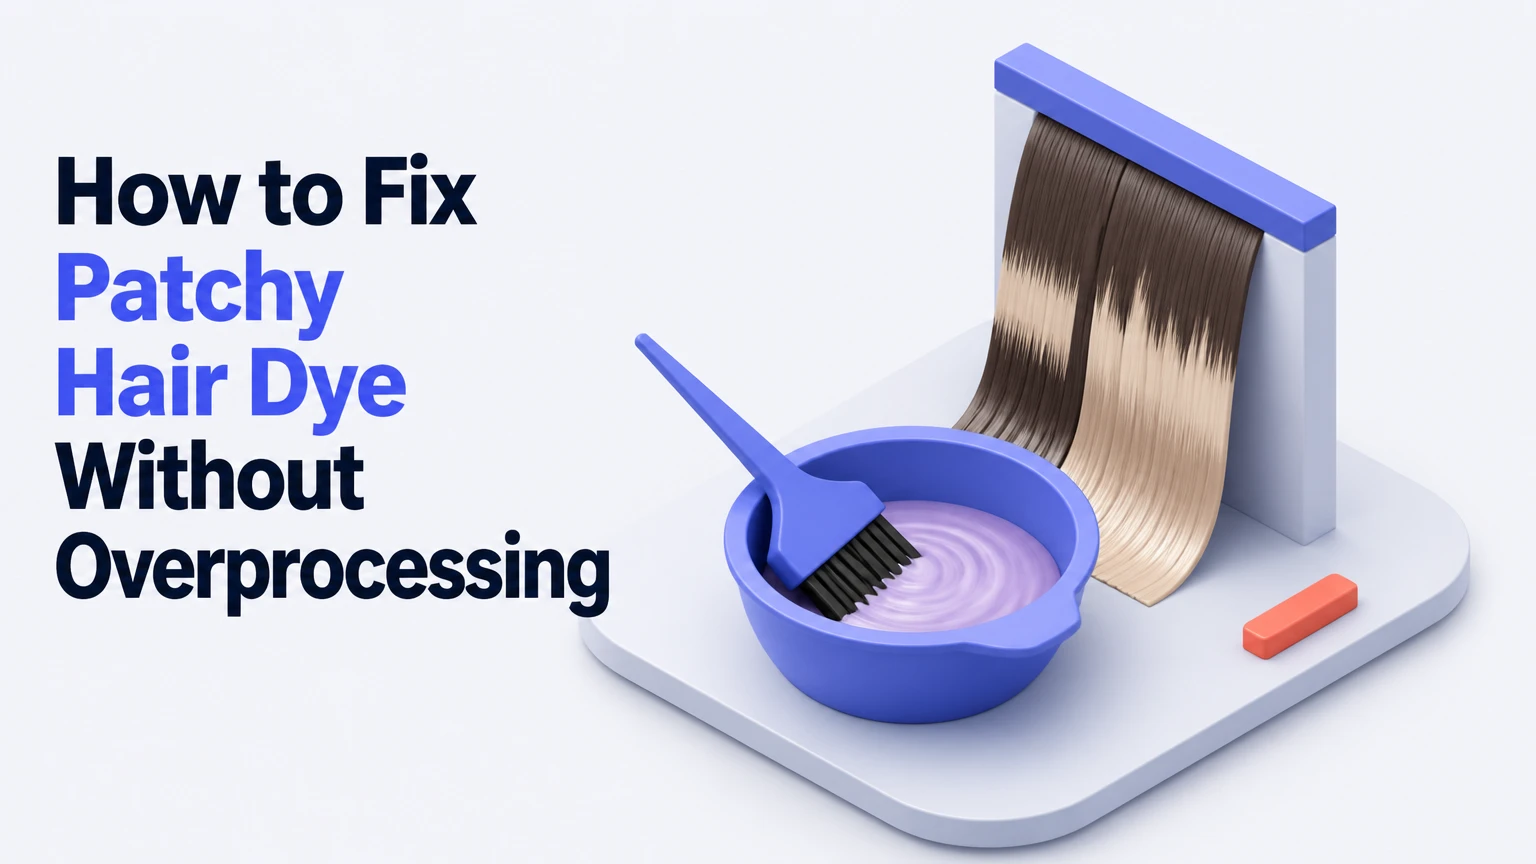
To fix patchy hair dye, assess the light and dark areas, test the correction, cleanse and dry, deposit color selectively, process for 20-30 minutes, then rinse and condition in seven steps. Allow 1-2 hours including tests and cleanup. The difficulty is moderate, and accurate diagnosis determines success more than the dye brand.
Before You Start
Use this method only when the hair is reasonably healthy, the unevenness is localized, and the target result is no more than a deposit correction. Demi-permanent color can add or blend tone, but it usually cannot make previously dyed dark hair lighter.
Time: 1-2 hours, including a 48-hour allergy-test window if you have not used the product before
Active correction time: 15-20 minutes of application plus 20-30 minutes of processing
Difficulty: Moderate
Typical cost: $15-$45 for an at-home correction, or approximately $100-$300 for professional color correction, depending on location, length, and whether lightener is required
Tools and Materials
| Item | Quantity or specification | Typical cost | Purpose |
|---|---|---|---|
| Clarifying shampoo | 1 wash, about a quarter-size amount | $6-$15 | Removes surface buildup and loose direct dye |
| Sulfate-free shampoo | 1 bottle | $6-$20 | Gentle maintenance after correction |
| Demi-permanent dye | 1 shade matching the target, 1-4 oz as needed | $8-$25 | Deposits color into light patches |
| Developer | 10-volume, amount required by the product label | $5-$15 | Activates deposit-only or low-lift color |
| Deep-conditioning mask | Enough for all corrected hair | $8-$35 | Reduces dryness after processing |
| Bond builder | Optional, product-label amount | $15-$35 | Supports care for chemically treated hair |
| Plastic bowl and tint brush | 1 each | $5-$15 | Allows controlled, patch-only application |
| Plastic sectioning clips | 4-8 | $4-$12 | Keeps quadrants separated without metal contact |
| Protective gloves | 1 pair | $2-$8 | Protects hands from dye staining |
| Dark towel and old shirt | 1 each | Existing item | Protects fabric and surfaces |
| Timer and natural light | 1 each | Existing item | Controls processing and reveals color contrast |
Conditions to Check First
Do not continue if the scalp is scratched, burning, swollen, or recently chemically treated. Do not correct hair that is snapping, gummy when wet, or severely stretchy without professional assessment.
Read the specific dye instructions before mixing. Some demi-permanent systems use a dedicated activator rather than ordinary 10-volume developer, and their ratios may differ from 1:1. The product manufacturer’s directions override any generic formula.
The U.S. Food and Drug Administration advises following hair-color safety directions and performing the product’s skin test as instructed. A strand test cannot replace an allergy test.
Step Summary
| Step | Action | Typical time | Most common mistake |
|---|---|---|---|
| 1 | Diagnose each patch | 10-15 minutes | Judging color under warm bathroom light |
| 2 | Complete allergy and strand tests | 10 minutes active, 48 hours for allergy observation | Skipping the test because the color is familiar |
| 3 | Cleanse, fade, and dry the hair | 20-40 minutes | Applying correction to wet or coated hair |
| 4 | Mix a deposit-only correction | 5 minutes | Choosing a developer that lifts or darkens unpredictably |
| 5 | Section and apply only where needed | 15-20 minutes | Overlapping onto areas already at the target |
| 6 | Process and check every 10 minutes | 20-30 minutes | Using heat or leaving the formula unchecked |
| 7 | Rinse, condition, and reassess | 10 minutes | Shampooing immediately after color deposit |
Phase 1: Diagnose and Prepare
Step 1: Diagnose Every Patch Under Neutral Light
Compare clean, dry hair in natural light and label each area as too light, too dark, too warm, too cool, or damaged before choosing a correction.
Stand near a window or under a neutral white light, not a yellow bathroom bulb. Divide the hair visually into roots, mids, and ends, then compare each section with the target shade. Take photographs without a filter so you can reassess after washing.
A too-light patch looks brighter, more transparent, or less saturated than surrounding hair. A too-dark patch looks deeper, duller, or more heavily pigmented. Orange, yellow, red, green, and gray casts require tone correction rather than simply adding more of the original shade.
If the hair is darker because of surface buildup, two gentle clarifying washes on separate days may reduce the contrast. If permanent dye caused the darkness, more dye cannot lift it. A professional color remover or salon correction may be necessary.
You’ll know it worked when you can identify a consistent target shade and know exactly which areas need deposit, fading, or professional lightening.
Common mistake: Correcting every difference with the same formula. Mark light patches with loose clips or a washable mirror note, because the areas that need color are often smaller than they first appear.
Step 2: Perform the Allergy Test and Strand Test
Test the product on your skin and on a hidden strand before applying any correction to the visible hair.
Follow the dye manufacturer’s skin-test directions, usually applying a small amount of mixed product to clean skin and observing it for the stated period, commonly 48 hours. Do not use the product if you develop itching, redness, swelling, blistering, or burning.
For a strand test, select a 1-inch-wide section beneath the top layer. Separate a light patch and a darker neighboring section if possible. Mix only 1 teaspoon of dye and the label-specified activator, then apply it to the test strand with a brush. Keep the strand separated and process for the label time, checking at 10-minute intervals.
Rinse, dry, and inspect the strand in the same light used for diagnosis. Check color, elasticity, texture, and whether the strand has become rough or stretchy. A successful test result means the formula deposits the expected color without excessive dryness.
You’ll know it worked when the tested light patch blends with its neighbors after drying, and the hair still feels similar to untreated hair.
Common mistake: Judging a wet strand. Wet hair looks darker and shinier, so wait until it is completely dry before deciding.
Phase 2: Remove Excess Pigment and Choose the Formula
Step 3: Fade Dark Surface Pigment Before Adding Color
Fade a dark or overloaded patch gently before depositing color anywhere else, and never try to lighten previously dyed hair with another dye.
Begin with a quarter-size amount of clarifying shampoo, concentrating it on the dark patch rather than scrubbing the entire head repeatedly. Massage with fingertips for 60 seconds, rinse with lukewarm water, and condition the mids and ends. Repeat once only if the hair remains comfortable.
Do not mix baking soda into shampoo as a default correction. The alkaline mixture can increase roughness and does not selectively remove permanent oxidative color. Likewise, crushed vitamin C mixed with shampoo has inconsistent results and may leave already porous hair dry.
If the dark area remains clearly deeper after one or two gentle washes, stop home fading. A professional colorist can determine whether a color reducer, bleach bath, or localized lightening is appropriate. These are different chemical services with different risks.
If the problem is only a light patch, skip fading and proceed after cleansing. Applying clarifier to every section can strip needed tone from healthy areas while leaving permanent dark pigment behind.
You’ll know it worked when the dark patch is closer to the surrounding depth and the hair remains flexible, detangled, and free from a straw-like feel.
Common mistake: Repeating harsh washes three or more times in one session. Stop when the hair becomes rough, squeaky, tangled, or elastic.
Step 4: Mix a Deposit-Only Correction
Mix a demi-permanent shade with the correct low-strength activator according to its label, using 10-volume only when the system permits it.
For a compatible 1:1 system, combine 2 oz of demi-permanent color with 2 oz of 10-volume developer in a plastic bowl. For a small correction, use 1 oz of color and 1 oz of developer. Mix until the cream is uniform, with no streaks of unmixed pigment.
Choose the same level and tone as the surrounding target, not necessarily the color printed on the original box. If the patch is light and warm, a neutral or appropriately cool formulation may balance it. Do not add a strong ash tone to very porous, pale, or yellow hair without a strand test because it can look gray, green, or muddy.
Use a dedicated activator when the brand specifies one. Wella, L’Oréal Professionnel, and other professional systems do not all use interchangeable developers, even when both containers say “10 volume.” Never use 20- or 30-volume developer for a deposit-only patch correction unless a qualified colorist has designed the service.
You’ll know it worked when the mixture is smooth, the color family matches the target, and your test strand predicts the desired result.
Common mistake: Mixing by guesswork. Measure both components with a scale or marked measuring cup, and discard leftover mixed product rather than storing it.
Phase 3: Apply, Process, and Finish
Step 5: Section the Hair and Apply Color to Light Patches
Divide dry hair into four quadrants and paint the correction onto light patches in thin half-inch sections without overlapping dark areas.
Comb the hair gently, then create a center part from forehead to nape and a second part from ear to ear. Secure each quadrant with plastic clips. Start at the back, where you can work slowly, and leave the top visible sections for a final inspection.
Take half-inch horizontal or vertical slices, depending on the shape of the patch. Use the tint brush to saturate the light area from roots through mids, then feather the edge by about 2-3 millimeters into the neighboring hair. Do not paint a thick boundary line. Keep the brush flat and use enough product to make the hair look evenly coated, but do not press dye onto the scalp.
Avoid the ends at first. Porous ends absorb pigment quickly, so apply any necessary residual color to them only during the final 5 minutes. If the ends are already dark, leave them untouched.
Work methodically from one quadrant to the next. Keep a written note of the application time, especially if the patches are scattered.
You’ll know it worked when every light patch is fully saturated, the borders are softly blended, and no dark section has a visible layer of fresh dye.
Common mistake: Applying the mixture all over to hide an uneven result. That usually makes dark sections darker while preserving the contrast.
Step 6: Process at Room Temperature and Check the Match
Process the correction at room temperature for 20-30 minutes, checking a test strand every 10 minutes without adding heat.
Set a timer when the final patch is covered, then check at 10, 20, and 30 minutes. To inspect a strand, wipe a small section with a damp dark towel or cotton pad, compare it with nearby dry hair, and re-cover it if more processing is needed.
Do not use a hood dryer, blow-dryer, plastic heat cap, or direct sunlight. Heat can speed up oxidation unevenly, particularly where hair is porous or close to the scalp. Follow the product label if its processing window differs from this typical range.
Rinse early if the patch has reached the surrounding shade. Continue only when the strand test remains visibly lighter than the target. Do not extend processing beyond the maximum label time to compensate for a wrong shade.
A strand can look darker while wet. If you cannot make a reliable comparison, rinse the test section, dry it fully, and reassess rather than guessing.
You’ll know it worked when the dry-looking test section blends with adjacent hair at the 20- or 30-minute check and the texture has not changed significantly.
Common mistake: Watching the clock but ignoring the strand. Porosity changes processing speed, so the visual checkpoint controls the rinse time.
Step 7: Rinse Thoroughly and Condition Without Shampoo
Rinse the corrected hair with lukewarm water until the water is nearly clear, skip shampoo, and condition for 5-10 minutes before a cool-water rinse.
Use lukewarm, not hot, water and gently separate the sections with your fingers so water reaches the scalp and undersides. Continue until runoff is nearly clear. Some direct dyes release color for several washes, so a faint tint is not always evidence of failed rinsing.
Do not shampoo immediately after a demi-permanent deposit. Apply a deep-conditioning mask from mids to ends, leaving it for 5-10 minutes or for the product’s stated time. A bond builder can be used only according to its own instructions, since it is not a replacement for conditioner.
Rinse with cool water, blot with a dark towel, and detangle from ends upward with a wide-tooth comb. Let the hair dry completely before assessing the final result. Avoid hot tools for the rest of the day.
You’ll know it worked when the hair is evenly colored when dry, feels flexible rather than gummy or brittle, and shows no sharply darker overlap.
Common mistake: Shampooing to remove every trace of color. That can strip the fresh deposit from the light patches and recreate the contrast.
Common Mistakes and How to Fix Them
| Problem | Likely cause | Safer recovery |
|---|---|---|
| Dark patches remain dark | Permanent pigment or repeated dye layers | Stop adding color; consult a colorist about professional color reduction |
| Light patches are still visible | Insufficient saturation or wrong shade level | Wait 48-72 hours, repeat only after a new strand test, or book correction |
| Corrected areas turned too dark | Porous hair absorbed excess pigment | Use gentle sulfate-free washing over several days; avoid baking soda and immediate permanent dye |
| Hair feels like straw | Over-cleansing, oxidation, heat, or overlapping chemicals | Stop chemical services, use moisture care, limit heat for at least two weeks |
| Hair looks orange or green | Missing undertone or incompatible toner | Do not add random opposite color; use a strand-tested corrective formula |
| Scalp burns or swells | Irritation or allergic reaction | Rinse immediately, seek medical advice for persistent or severe symptoms, and do not reuse the product |
If the Hair Is Still Patchy
Wait before applying another permanent formula. Photograph the dry result and compare the depth, tone, and texture of each patch. If only a small light area remains and the hair passed a new strand test, apply a fresh demi-permanent mixture to that area alone.
If several levels remain uneven, if dark bands are present, or if the hair has been bleached and colored repeatedly, a professional correction is safer. The colorist may need to remove artificial pigment, fill hollow areas, or apply different formulas to roots, mids, and ends.
If the Corrected Areas Turned Too Dark
Do not scrub aggressively or immediately apply lightener. Wash once with clarifying shampoo, condition thoroughly, and reassess after the hair dries. Repeat on a later wash only if the hair remains soft.
A professional color remover may reduce oxidative dye, but it cannot guarantee removal of direct pigment or restore the original natural color. Color reducers also do not replace a strand test.
If the Hair Feels Like Straw
Stop coloring, toning, bleaching, and heat styling. Use a moisturizing mask once or twice weekly and a protein treatment only as directed, because excessive protein can make stiff hair feel worse.
Do not detangle aggressively while wet. If strands snap, stretch excessively, feel gummy, or show white dots, avoid another chemical service and arrange a professional assessment.
Variations for Different Hair Situations
Previously Bleached or Highly Porous Hair
Use a demi-permanent product on a small section first and shorten the initial exposure if the label allows it. Apply the formula to the least porous light patch first, then deal with porous ends last.
Bleached hair may need a warm filler before a darker neutral shade. For example, very pale hair lacking yellow or gold undertones can make a brown result look hollow, gray, or green. The correct filler depends on the target level, so do not choose one by visual guesswork.
Gray Roots With Colored Lengths
Treat the root and length as separate zones. Gray hair may need a formula containing natural or neutral pigment, while the lengths may need only a gloss or demi-permanent tone.
Keep the root formula off already saturated lengths unless the product instructions specifically call for it. A single all-over mixture can make porous ends darker while leaving resistant gray translucent.
Fashion Colors and Direct Dyes
Clarifying shampoo may fade direct dyes gradually, but oxidative color removers may not work predictably on vivid blue, green, pink, or purple products. Test a hidden strand before choosing any remover.
For a small vivid patch, a matching semi-permanent color can blend it if the surrounding base is suitable. Do not apply an opposite color broadly to neutralize it without testing, since color theory changes with the underlying lightness.
If You Have No Tint Brush
Use a disposable application bottle with a narrow nozzle, or wear gloves and press a small amount into the isolated patch with your fingers. A brush provides better edge control, so keep sections narrow and use less product when working without one.
Never use metal clips or a metal bowl with a product whose instructions prohibit metal. Plastic tools are the safer default.
If You Are a First-Time Color Corrector
Limit the correction to deposit-only work. Do not combine bleach, permanent color, color remover, toner, and developer in one session.
If you cannot identify whether the patch is lighter or darker, or if the difference exceeds approximately one level, book a consultation. A professional can map porosity and formulate separate zones.
How Long Does It Take and What Does It Cost?
| Correction type | Active time | Total home time | Typical product cost | Best use |
|---|---|---|---|---|
| Gentle clarifying wash | 5-10 minutes | 20-30 minutes | $6-$15 | Loose surface buildup |
| Targeted demi-permanent deposit | 40-60 minutes | 60-90 minutes | $15-$45 | Light localized patches |
| Multi-zone professional correction | 2-5 hours | One appointment | $100-$300 | Dark bands, bleach damage, major unevenness |
| Ongoing maintenance | 5-10 minutes weekly | Varies | $8-$35 | Moisture, fading control, and color preservation |
The main cost variable is whether artificial pigment must be removed before new color can be deposited. Hair length, density, previous bleach, and the number of formulas required increase both appointment time and price.
A home correction normally needs one box or tube for short, fine hair and two or more for long or dense hair. Follow the package coverage estimate rather than buying only by weight.
Alternatives to Targeted Dye Correction
Choose a clarifying wash when the problem appeared after a recent direct dye or when product buildup makes one area look dull. It will not reliably lift permanent color.
Choose a professional color remover when dark patches contain oxidative dye. Ask whether the service is appropriate for your dye history, because metallic salts, henna, and repeated box color can change the risk.
Choose a salon correction when the hair is banded, fragile, more than one level uneven, or affected by bleach. This is especially important when the target is lighter than the current dyed hair.
Choose a temporary root or color-depositing product when you need a short-term visual blend for an event. It avoids another oxidative process but transfers more easily to clothing and pillows.
Hair electrolysis is unrelated to uneven color. It permanently targets individual follicles for hair removal and cannot correct patchy dye, pigment buildup, brassiness, or uneven lift. Do not combine an electrolysis appointment with a chemical color service on irritated skin.
FAQ
Can I put the same dye over my entire head?
Usually, no. Full-head application deposits additional pigment on dark sections while the light sections may remain different in porosity, so the contrast can continue. Apply correction only to light areas after a strand test. An all-over gloss may be appropriate later, but a colorist should choose it when the zones differ substantially.
Can purple shampoo fix patchy hair dye?
Purple shampoo can reduce a yellow cast on blonde hair, but it cannot correct different depth levels or remove dark pigment. Blue products may reduce orange tones, yet they can make porous hair look gray, blue, or dull. Test a small section and use toning products only when the patch is light enough to accept the tone.
Should I wait before fixing uneven color?
Wait at least 48 hours after an unfamiliar product if you still need to complete the allergy observation period. If the hair is healthy and the problem is a small light patch, a strand-tested demi-permanent correction can follow cleansing. Wait longer and seek help when the hair feels brittle, gummy, or unusually stretchy.
Why did the ends become darker than the roots?
Damaged ends have greater porosity and absorb color more quickly. They also release color unevenly during rinsing. Apply the formula to the roots or mids first, then touch porous ends only during the final 5 minutes if they need color. A porous-hair filler or clear gloss may be safer than repeated dark dye.
Can I fix patchy dye with bleach?
Bleach may lighten selected areas, but it is not a safe general remedy for an unknown patchy result. It can worsen breakage and create new bands, especially over overlapping box color or previously lightened hair. Use bleach only as part of a tested corrective plan designed by an experienced colorist.
When should I stop trying at home?
Stop when the hair breaks, feels gummy, burns, or remains uneven after one carefully tested correction. Also stop if you cannot identify the artificial pigment history or if the target requires lifting previously dyed hair. Professional color correction is the safer route for major bands and damaged hair.
Final Checklist
Before rinsing, confirm that every light patch is saturated, dark areas are clean, the formula has stayed at room temperature, and the processing time has been recorded. After drying, compare the result in natural light and wait before making another chemical change.
The reliable way to fix patchy hair dye is selective correction, not panic-dyeing. Diagnose first, test second, deposit only where needed, and treat damaged hair as a stop signal.


