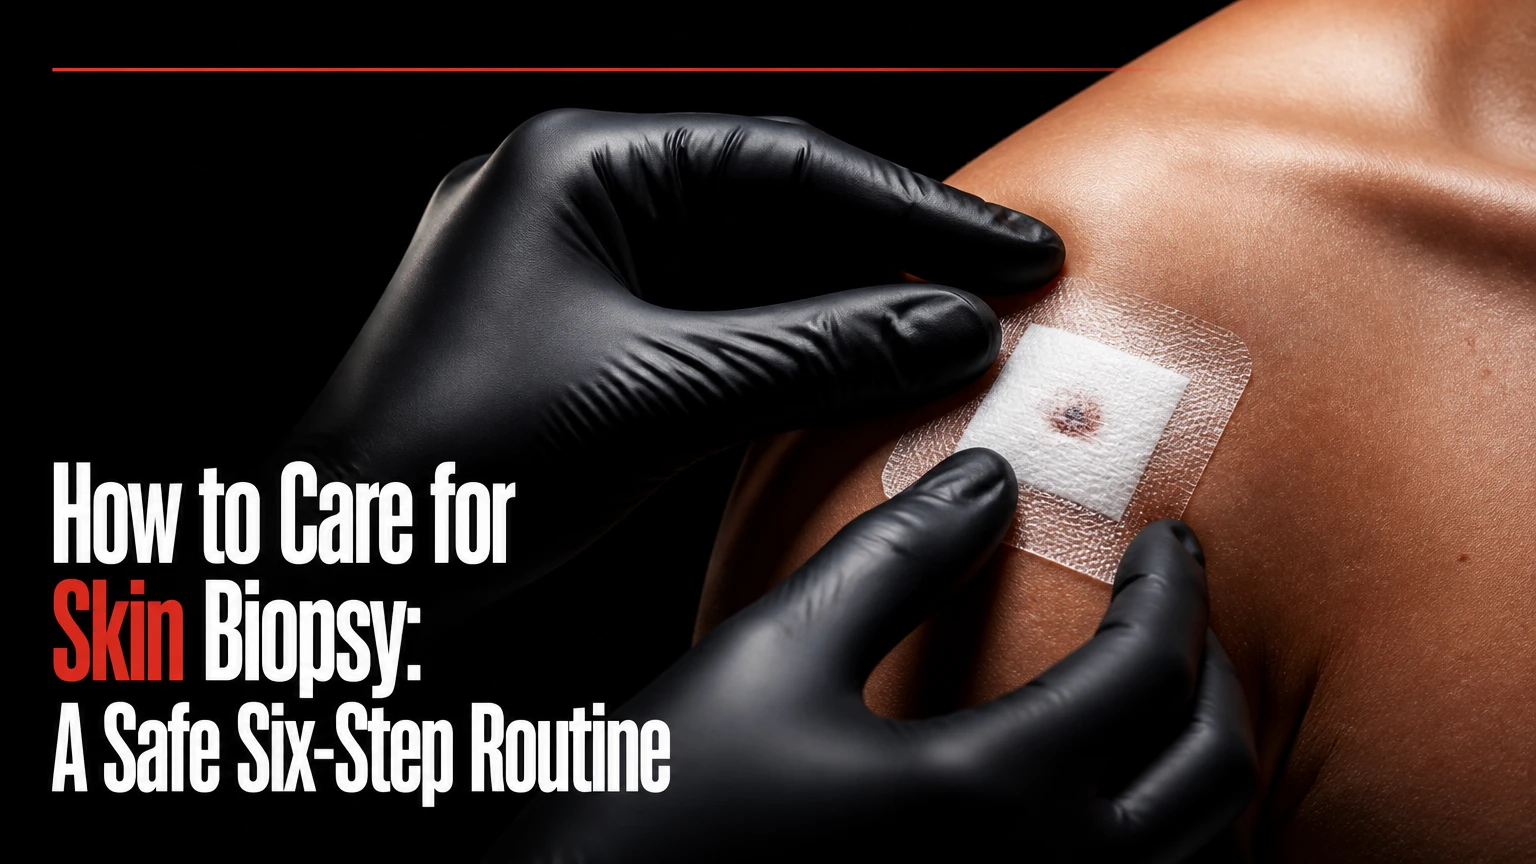
To care for skin biopsy wounds, confirm your clinician’s instructions, wash your hands, remove the dressing, cleanse gently, apply petroleum jelly, and cover the site. This six-step routine usually takes 3-5 minutes daily, costs about $5-$15 for supplies, and works best when the wound stays clean, moist, and protected from friction.
Before You Start
Use your biopsy clinic’s written instructions before this general routine. Their directions take priority if you have stitches, a pressure dressing, steri-strips, liquid bandage, cautery, a graft, or a wound left open to heal.
Time, difficulty, cost, and supplies
- Time: 3-5 minutes per dressing change.
- Frequency: typically once daily after the initial dressing period, plus any time the dressing becomes wet, dirty, or loose.
- Difficulty: easy, provided you can see and reach the site.
- Typical supply cost: $5-$15, depending on whether you already have soap, petroleum jelly, and dressings.
- Condition: the site should not be actively bleeding heavily, and you should know whether stitches or special materials are present.
| Item | Quantity or specification | Typical cost | Purpose |
|---|---|---|---|
| Mild liquid cleanser | 1 fragrance-free bottle | $4-$8 | Removes dirt without aggressive scrubbing |
| Plain petroleum jelly | 1 small squeeze tube | $3-$7 | Maintains a moist healing surface |
| Adhesive bandages | Several sterile, appropriately sized | $3-$8 | Covers and protects the wound |
| Non-stick sterile gauze | 2-4 pads, if needed | $3-$6 | Alternative for sensitive skin or larger sites |
| Hypoallergenic paper tape | 1 roll, if using gauze | $3-$5 | Secures gauze with less adhesive exposure |
| Paper towels or fresh gauze | 2-4 pieces per change | Usually on hand | Pat-dries without contaminated fabric |
| Lukewarm water | Enough to rinse thoroughly | Household supply | Loosens adhesive and rinses cleanser |
Do not prepare cotton balls that shed fibers, shared towels, hydrogen peroxide, rubbing alcohol, or antibiotic ointment unless your clinician prescribed it. Keep the petroleum jelly in a squeeze tube when possible, because repeated contact with a jar can contaminate the product.
Step summary
| Step | Action | Time | Most common mistake |
|---|---|---|---|
| 1 | Confirm instructions and prepare | 1-2 minutes | Removing a special dressing too early |
| 2 | Wash your hands | 20 seconds | Touching the site after washing |
| 3 | Remove the old dressing | 30-60 seconds | Pulling a stuck bandage forcefully |
| 4 | Clean the wound | About 1 minute | Scrubbing or using harsh chemicals |
| 5 | Dry and apply petroleum jelly | About 30 seconds | Letting the wound dry completely |
| 6 | Apply a fresh dressing and monitor | 30-60 seconds | Covering with a dirty or undersized dressing |
Perform the Daily Wound-Care Routine
Step 1: Confirm the Instructions and Prepare
Confirm the biopsy type, dressing instructions, and timing before touching the wound. Look at the discharge paperwork, identify whether the site has stitches or steri-strips, and place every clean supply within reach before washing your hands.
A generic routine often begins about 24 hours after a simple shave or punch biopsy, but the correct timing depends on the dressing and procedure. Some clinics ask patients to leave a pressure dressing on for 24-48 hours. Others use a dressing that should remain undisturbed until a specified appointment.
Do not pull off steri-strips, scrape away dried medical adhesive, or remove stitches yourself. If the written instructions are missing or unclear, call the dermatology office before changing the dressing.
You’ll know it worked when you can state what was biopsied, whether stitches are present, and when the first dressing change should occur.
Common mistake: treating every biopsy as an identical open wound. Avoid it by checking for sutures, special dressings, bleeding instructions, and the planned removal date first.
Step 2: Wash Your Hands for 20 Seconds
Wash your hands with soap and warm running water for at least 20 seconds before handling the dressing or wound. Rub your palms, backs of hands, between fingers, thumbs, fingertips, and under the nails, then rinse and dry with a clean paper towel.
Hand sanitizer is a backup when soap and water are unavailable, but soap and water are preferable when the hands are visibly dirty. Keep jewelry away from the dressing change if it could touch the wound. After washing, touch only clean supplies and the outside of the old dressing.
If someone else will help, that person should wash their hands too. Wear disposable gloves only if they are clean and available, because gloves do not replace handwashing.
You’ll know it worked when your hands are visibly clean, dry, and have not touched your phone, hair, clothing, sink handles, or other unclean surfaces.
Common mistake: washing correctly and then contaminating the hands by opening a drawer or handling a phone. Set supplies out first, or use a clean paper towel to operate handles.
Step 3: Remove the Old Dressing Slowly
Remove the old dressing slowly in the direction of hair growth, supporting nearby skin with your other hand. Start at one corner and peel low and parallel to the skin rather than pulling upward.
If the adhesive or gauze is stuck, wet it with lukewarm water for several minutes until it releases without traction. Never rip off a dressing, particularly from the scalp, eyelid, neck, or thin skin of an older adult. If gauze is stuck directly to the wound, soak it and lift it gradually; do not pull away newly formed tissue.
Inspect the removed dressing for the amount and type of drainage. A small spot of blood or clear pink fluid can occur soon after a biopsy. Thick drainage, foul odor, or increasing bleeding needs closer attention.
You’ll know it worked when the dressing comes away without tearing the surrounding skin or pulling the wound open.
Common mistake: using force when adhesive resists. Add lukewarm water, wait, and peel again; switch to paper tape or a non-stick pad if the skin repeatedly tears.
Step 4: Cleanse the Wound Gently
Cleanse the biopsy site with lukewarm running water and a small amount of mild, fragrance-free liquid soap. Wet the area, place approximately a nickel-sized amount of cleanser on clean fingertips, and lightly wash the wound and surrounding skin without scrubbing.
Let water flow over the site, or rinse with clean water from a cup if running water is impractical. Remove visible residue, then rinse thoroughly so soap does not remain under the dressing. Do not use a washcloth, exfoliating cleanser, facial brush, hydrogen peroxide, rubbing alcohol, iodine, or other cytotoxic chemical unless the treating clinician specifically directs it.
The American Academy of Dermatology recommends gentle cleansing and petroleum jelly for many uncomplicated biopsy wounds. That advice does not override instructions for a graft, deep excision, infected wound, or procedure involving special closure materials.
You’ll know it worked when the surrounding skin is free of visible dirt or old ointment, the wound looks clean, and cleansing has not caused sharp or escalating pain.
Common mistake: trying to sterilize the wound with alcohol or peroxide. These products can irritate tissue and delay surface repair, so use mild soap and water instead.
Step 5: Pat Dry and Apply Petroleum Jelly
Pat the surrounding skin dry with a clean paper towel or fresh gauze, then apply a thin, continuous layer of plain petroleum jelly directly to the wound. Use enough to keep the surface glossy and moist, commonly a pea-sized amount for a small punch or shave site.
Do not rub the wound dry. Do not blow on it, use a hair dryer, or press a reusable bath towel against it. Squeeze the ointment from a tube rather than dipping a potentially contaminated finger into a shared jar. If the site has stitches, spread the jelly gently over and around the suture line without catching the thread.
The goal is a protected moist surface, not a thick mound of ointment that leaks onto surrounding skin. Avoid antibiotic combinations such as Neosporin or bacitracin unless prescribed, because neomycin and related ingredients can cause allergic contact dermatitis that resembles infection.
You’ll know it worked when the wound has a thin shiny coating, no dry crust is forming, and the nearby skin is not heavily smeared.
Common mistake: applying too little and allowing a hard scab to crack, or applying so much that the dressing slips. Adjust to a thin, even film.
Step 6: Cover the Site and Check It Daily
Cover the moist wound with a fresh sterile adhesive bandage or a non-stick sterile gauze pad secured with hypoallergenic paper tape. Center the padded portion over the wound so it extends beyond every edge, then press only the adhesive or tape onto intact surrounding skin.
Change the dressing at least once daily during routine healing and sooner if it becomes wet, dirty, loose, or soaked with drainage. Keep the site protected from rubbing, picking, and direct sun. Avoid swimming pools, hot tubs, and baths until the surface has closed; a brief shower is generally preferable unless your clinician gave different instructions.
Look at the wound during each change. Mild tenderness and limited redness immediately around the site can be normal, but worsening pain, expanding redness, pus, or fever requires medical advice.
You’ll know it worked when the wound is moist, fully covered, and protected without tight tape, pressure, trapped dirt, or exposed edges.
Common mistake: using a dressing that is too small or sealing wet skin with irritated adhesive. Use a larger non-stick pad and paper tape when the bandage edge causes itching or redness.
Common Mistakes and How to Fix Them
| Problem | Likely cause | Immediate action | When to call |
|---|---|---|---|
| Bleeding continues | Dressing removal, friction, or a small vessel | Apply firm, uninterrupted pressure with sterile gauze for 20 minutes; do not lift it to check | If bleeding continues after 20 minutes, contact the clinic promptly |
| Itching under the bandage | Adhesive reaction, dryness, or ointment irritation | Remove the adhesive, rinse gently, apply plain petroleum jelly, and use non-stick gauze with paper tape | If rash spreads, blisters, or persists after adhesive removal |
| Skin tears with tape | Fragile or elderly skin, excessive adhesive | Stop standard adhesive bandages; use loose gauze, paper tape, or clothing to protect the site | If skin is extensively removed or bleeding will not stop |
| Wound dries and forms a thick scab | Too little ointment or delayed dressing change | Clean gently, pat the surrounding skin dry, and resume a thin petroleum layer | If the wound cracks repeatedly or becomes increasingly painful |
| Yellow drainage appears | Normal dried serum, ointment, or infection | Clean once and observe odor, thickness, redness, and pain rather than judging color alone | For foul-smelling thick drainage, spreading redness, or worsening pain |
| Dressing sticks to the wound | Dried blood or exudate | Saturate with lukewarm water and wait several minutes before lifting | If the wound opens or significant bleeding starts |
A small amount of blood on the first dressing does not automatically indicate a problem. If bleeding starts, sit down, place sterile gauze directly over the site, and maintain continuous pressure for 20 full minutes. An ice pack wrapped in cloth can be placed over the dressing, but never put ice directly on the skin.
Contact the dermatologist or seek urgent care for bleeding that persists after pressure, redness spreading more than 1/2 inch beyond the wound edge, foul-smelling yellow or green pus, worsening throbbing pain, or a fever over 100.4°F (38°C). People taking anticoagulants, or those with diabetes, immune suppression, or poor circulation, should use a lower threshold for calling.
Variations for Different Biopsy Wounds
Shave biopsy
A shave biopsy usually leaves a shallow surface wound. Follow the same cleanse, petroleum jelly, and dressing routine unless the clinician applied a special agent or instructed you to leave it exposed.
Because the area is shallow, friction and drying are common problems. A small adhesive bandage may be enough, but use non-stick gauze when the site is larger, oozes more, or reacts to adhesive.
Punch biopsy with stitches
A punch biopsy may have sutures and a deeper opening. Keep the suture line clean, avoid catching threads during dressing removal, and follow the clinic’s appointment date for removal.
Do not pull, cut, or manipulate stitches. Avoid strenuous activity that stretches the area, particularly when the wound is near a joint, waistline, or shoulder. Ask the clinic when showering, exercise, and ointment use are permitted if those instructions were not provided.
Larger excision or a sensitive location
A larger excision, scalp wound, eyelid site, or biopsy near a joint may need a larger dressing, more frequent changes, or movement restrictions. Do not improvise with household tape over delicate skin.
For adhesive sensitivity, place a non-stick pad over petroleum jelly and secure it with hypoallergenic paper tape on intact skin. For a site that cannot be reached easily, have a helper wash their hands and use clean supplies rather than repeatedly touching the area yourself.
| Situation | Use | Avoid | Practical adjustment |
|---|---|---|---|
| Small shave site | Adhesive bandage | Oversized tight tape | Replace daily or when wet |
| Punch with sutures | Non-stick pad if needed | Pulling or cutting threads | Keep removal appointment |
| Fragile or allergic skin | Gauze and paper tape | Strong plastic adhesive | Anchor farther from the wound |
| High-friction location | Larger protective dressing | Tight clothing rubbing the site | Choose loose clothing |
| Face or eyelid | Clinician-approved small dressing | Unapproved creams near the eye | Call for location-specific advice |
How Long Does It Take and What Does It Cost?
A dressing change usually takes 3-5 minutes once supplies are ready. The first change can take 5-10 minutes because removing stuck material and checking the site requires more care. A simple shave wound often closes at the surface within roughly 7-14 days, while punch wounds and sutured excisions commonly take longer, depending on depth and location.
These are typical practitioner ranges, not guarantees. Healing may take longer with diabetes, smoking, immune suppression, poor circulation, infection, repeated friction, or a biopsy on the lower leg.
| Expense or time | Typical range | What changes it |
|---|---|---|
| Mild cleanser | $4-$8 | Brand and bottle size |
| Petroleum jelly | $3-$7 | Tube size and brand |
| Bandages or gauze | $3-$8 | Wound size and dressing frequency |
| Daily care time | 3-5 minutes | Accessibility and dressing type |
| Initial dressing change | 5-10 minutes | Stuck gauze or special closure |
| Shallow surface healing | About 7-14 days | Size, location, and health |
| Suture follow-up | Commonly 5-14 days | Body location and clinician protocol |
The biopsy procedure, pathology, and follow-up appointment can cost separately from home wound care. Insurance coverage, deductible status, clinic fees, and whether the biopsy was medically necessary determine those charges.
When to Contact the Dermatologist
Call the dermatology office when the dressing type, suture care, bathing restriction, or first-change timing is unclear. Contact them promptly if the wound opens, a stitch comes out, adhesive causes blistering, or you cannot control bleeding with continuous pressure.
Seek urgent medical assessment for rapidly spreading redness, severe swelling, red streaks, thick foul-smelling drainage, escalating pain, or fever. The AAD identifies increasing pain, warmth, swelling, drainage, and spreading redness as warning signs that need professional assessment rather than home treatment alone.
Do not diagnose infection from redness alone. Irritant or allergic contact dermatitis can itch intensely and follow the shape of the adhesive, while infection more often brings increasing warmth, tenderness, swelling, drainage, or systemic symptoms.
Frequently Asked Questions
Can I shower after a skin biopsy?
Usually, a brief shower is safer than soaking, once the clinician permits water exposure. Let lukewarm water run gently over the site, do not scrub, and pat the surrounding skin dry afterward. Avoid baths, swimming pools, and hot tubs until the surface has closed, unless your clinician gives a different timeline.
Should I let a biopsy wound air out?
Routine uncomplicated biopsy wounds generally heal better when protected with a thin layer of plain petroleum jelly and a dressing. Do not deliberately dry the site to create a thick scab. A clinician may instruct you to leave a particular wound uncovered, so follow that specific plan instead of applying a generic routine.
Can I exercise after a biopsy?
Avoid activities that stretch, rub, or repeatedly wet the site until your clinician permits them. A small shave site may tolerate normal activity sooner than a sutured punch or excision near a joint. Stop if exercise causes bleeding, pulling, or wound-edge separation, then apply pressure and contact the clinic if the problem continues.
What if I do not have petroleum jelly?
Ask the biopsy clinic before substituting another product. Plain petroleum jelly is preferred because it has few ingredients and reduces drying. Avoid fragranced moisturizer, topical anesthetic, herbal salve, hydrogen peroxide, rubbing alcohol, and antibiotic ointment unless a clinician specifically recommends one.
When do I remove biopsy stitches?
Your clinician should set the removal date because timing depends on location, wound tension, and suture type. Facial stitches are often removed earlier than stitches on the trunk or legs, but do not use a generic schedule. Keep the appointment, and call if a stitch loosens, breaks, or becomes buried.
When will I receive the biopsy result?
Pathology timing varies by laboratory and whether special testing is needed. Ask the clinic when and how results will be communicated, then follow up if that date passes without an update. Wound healing instructions and pathology interpretation are separate, so a normal-looking wound does not determine the diagnosis.
Conclusion
The safest way to care for skin biopsy wounds is to follow the clinic’s instructions, wash hands for 20 seconds, cleanse gently, keep the surface lightly coated with petroleum jelly, and use a clean protective dressing. Replace it daily, avoid soaking and harsh chemicals, and call promptly for persistent bleeding, spreading redness, pus, worsening pain, or fever.


