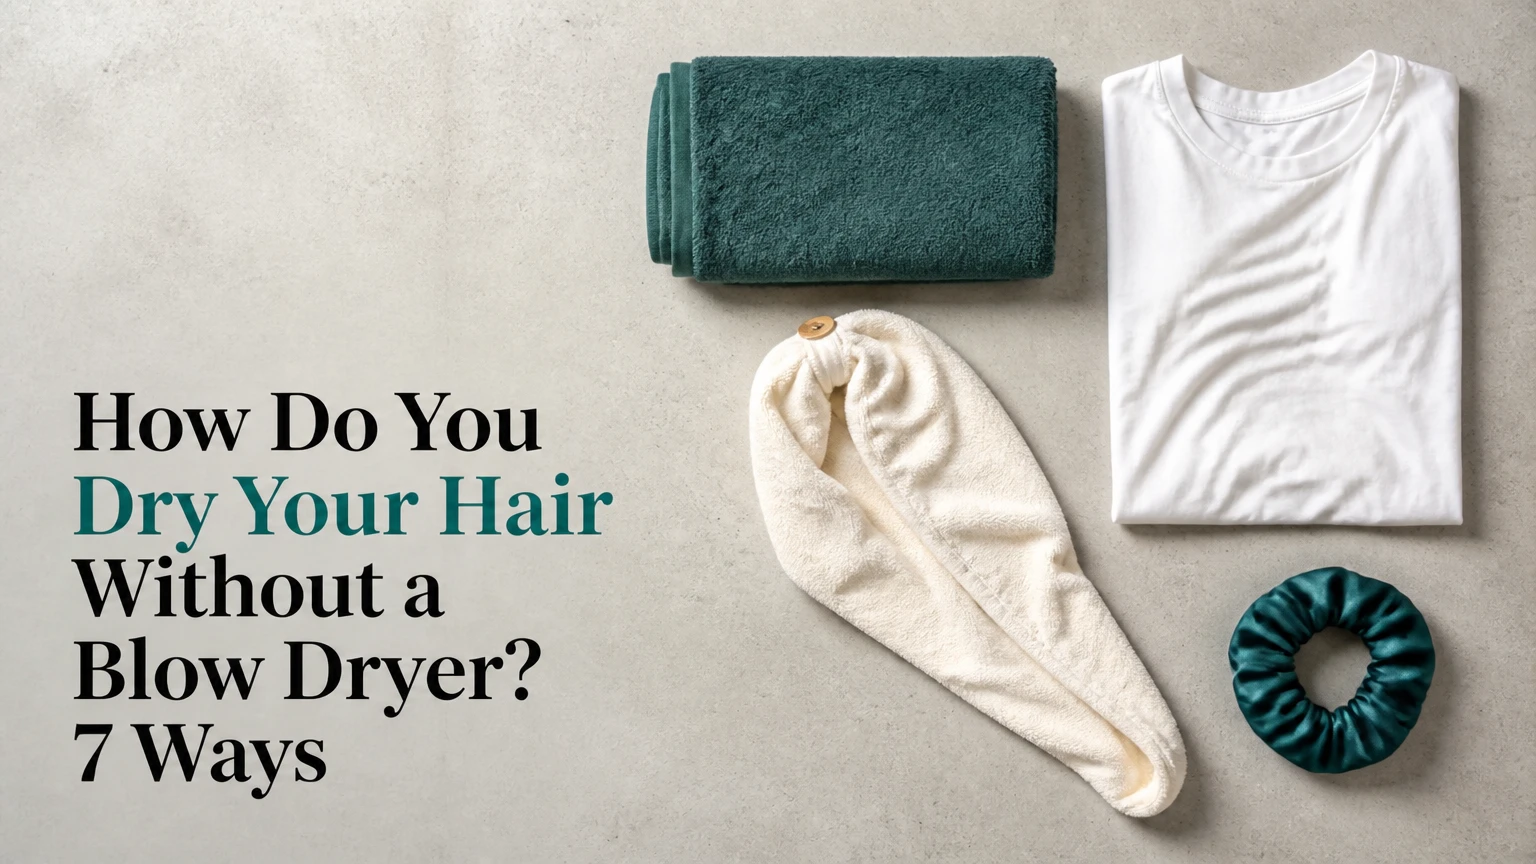
You can dry your hair without a blow dryer by squeezing out excess water, blotting with microfiber or a smooth cotton T-shirt, applying a small amount of suitable styling product, and allowing air to circulate around the roots. Most hair dries in 30 minutes to 6 hours, depending on density, length, porosity, humidity, and root airflow.
Key Facts at a Glance
- Air drying reduces direct heat exposure, but hair remains mechanically fragile while wet.
- Microfiber or a smooth cotton T-shirt removes surface water with less friction than vigorous terry-cloth rubbing.
- Fine, short hair may dry in 20-60 minutes; dense, long, or coily hair may need 3-6 hours.
- Curly hair usually benefits from plopping, while straight hair often dries faster when left loose.
- A cool household fan can accelerate evaporation when positioned at least 2-3 feet from the head.
- Hair electrolysis removes unwanted hair through electrical treatment; it does not dry scalp hair or replace a hair dryer.
What Is the Best Way to Dry Hair Without a Blow Dryer?
The best general method is a four-step routine: press out pooled water, blot with a low-friction fabric, apply texture-appropriate product, and separate the roots for airflow. The routine works because fabric removes liquid water by wicking, while moving room-temperature air helps remaining moisture evaporate.
Hair should feel damp rather than dripping before styling products are applied. Saturated hair carries more weight, stretches more easily, and creates more friction during handling. The American Academy of Dermatology Association recommends treating wet hair gently because wet strands break more readily than dry strands.
The most important variable is not the towel brand. It is how much water remains trapped at the roots. A thick head with dry ends but wet roots is not finished drying, because the scalp area contains the least exposed surface area and the most overlapping hair.
Before You Start
| Requirement | Typical amount or range | Why it matters |
|---|---|---|
| Drying time | 20 minutes-6 hours | Depends on density, length, and humidity |
| Microfiber towel | 1 standard towel, 40-60 cm wide | Wicks surface water with low friction |
| Smooth cotton T-shirt | 1 adult-size shirt | Low-cost alternative for curls |
| Leave-in conditioner | 0.5-2 teaspoons | Reduces tangling and controls texture |
| Hair clips | 2-6 clips | Separates dense roots and sections |
| Fan, optional | 1 cool-air household fan | Increases air movement without heat |
How Do You Dry Your Hair Without a Blow Dryer?
Follow these four steps after washing: squeeze water from the lengths, blot instead of rubbing, apply a light product, and create airflow at the roots. A short-haired person may finish in under an hour, while dense hair commonly requires sectioning and several hours of open-air drying.
Step 1: Press Out Excess Water
Turn off the shower and use both hands to press the hair lengths gently. Start near the scalp, move toward the ends, and repeat until water no longer streams from the hair.
Do not twist the hair into a rope. Twisting combines tension with wet-hair elasticity, which can increase stretching and tangling. The goal is to remove pooled water, not force every strand dry.
You will know this step worked when: the hair is wet but no longer dripping.
Common mistake: squeezing only the ends while leaving the roots compressed against the scalp. Lift the hair in sections so water can escape from underneath.
Step 2: Blot With Microfiber or a T-Shirt
Place the hair inside a microfiber towel or smooth cotton T-shirt and press the fabric against the strands for 30-60 seconds per section. For curls and coils, scrunch upward rather than pulling downward.
Wrap the hair for approximately 5-10 minutes. Remove the fabric when it becomes saturated, because a wet towel stops absorbing efficiently and can keep the hair enclosed longer than necessary.
| Fabric | Typical drying role | Friction risk | Best use |
|---|---|---|---|
| Microfiber towel | 5-10 minute wrap | Low | Straight, wavy, curly, and coily hair |
| Smooth cotton T-shirt | 10-20 minute plop | Low to moderate | Wavy and curly hair |
| Terry-cloth bath towel | Brief pressing only | Moderate to high | Emergency use without rubbing |
| Satin or silk scarf | Surface protection, not absorption | Low | Covering nearly dry hair |
Terry cloth is not automatically damaging, but vigorous rubbing with a rough, saturated towel creates avoidable friction. Hair-fiber research described by cosmetic scientist Clarence Robbins in Chemical and Physical Behavior of Human Hair identifies wet-hair swelling and mechanical handling as relevant factors in fiber damage.
You will know this step worked when: the fabric feels damp and the hair no longer leaves water on your neck.
Common mistake: leaving a tight turban on for 30 minutes or longer. Excess compression can flatten roots, distort curls, and keep the scalp humid.
Step 3: Apply Product for Your Texture
Apply product while the hair is damp, not dripping. Use about a pea-sized amount for fine or short hair, a nickel-sized amount for shoulder-length medium-density hair, and up to 1-2 teaspoons for long, dense, or coily hair.
Leave-in conditioner helps reduce combing force. Gel or mousse can hold curls and waves as they dry. Silicone serum can reduce surface friction, but excessive oil may slow evaporation and leave roots greasy.
| Hair profile | Starting product | Typical amount | Placement |
|---|---|---|---|
| Fine, straight hair | Lightweight mousse | 1-2 pumps | Mid-lengths, then roots if needed |
| Thick, straight hair | Detangling leave-in | 1-2 teaspoons | Mid-lengths and ends |
| Wavy hair | Light curl cream or mousse | Pea to nickel size | Scrunch into lengths |
| Curly hair | Leave-in plus gel | 0.5-1 teaspoon each | Sectioned lengths and ends |
| Coily hair | Leave-in cream | 1-2 teaspoons per section | Damp sections, avoiding scalp buildup |
Avoid sealing very wet hair with a heavy layer of oil. Oil does not remove water; it can reduce water loss from the surface and extend the time that the inner hair remains damp.
You will know this step worked when: the hair feels conditioned and separated, without a coated or sticky root area.
Common mistake: applying the same amount to every texture. Fine hair becomes limp with too much cream, while dense coily hair may need section-by-section distribution.
Step 4: Separate the Roots and Add Airflow
Leave straight hair loose and change the part every 15-20 minutes if root volume matters. For thick hair, divide the head into four to six loose sections, then lift each section periodically so air can reach the underside.
A cool household fan can shorten drying time. Keep the fan 2-3 feet away, use a low or medium setting, and direct airflow across the hair rather than straight upward into the scalp. High-speed airflow can tangle loose ends, especially when the hair is fine or layered.
You will know this step worked when: the roots feel as dry as the ends and no cool, heavy patches remain underneath.
Common mistake: shaking or touching curls repeatedly. Once curl groups form, excessive handling separates them and creates frizz.
How Long Does Air-Dried Hair Take?
Air-dried hair usually takes 30-180 minutes, but very dense, long, or tightly coiled hair can take 3-6 hours. Humidity, hair porosity, root clumping, water temperature, and the amount of product applied can change the result more than hair length alone.
The following ranges are practical planning estimates, not laboratory guarantees. A bathroom with high humidity produces slower evaporation than a ventilated room with dry moving air.
| Hair condition | Loose air drying | Microfiber plus air | Fan-assisted drying |
|---|---|---|---|
| Fine, short, straight | 20-45 minutes | 15-30 minutes | 10-25 minutes |
| Medium, shoulder-length wavy | 60-120 minutes | 40-90 minutes | 25-60 minutes |
| Long, thick, straight | 2-4 hours | 90-180 minutes | 60-120 minutes |
| Curly, medium density | 90-180 minutes | 60-150 minutes | 45-120 minutes |
| Dense coily hair in sections | 3-6 hours | 2-5 hours | 90-240 minutes |
If hair is still wet after four hours in a ventilated room, the likely problem is trapped moisture rather than unusually “thirsty” hair. Open the roots, separate large clumps, remove excess product, and move away from a steamy bathroom.
Which Heatless Drying Method Should You Choose?
Choose microfiber blotting for the fastest low-cost improvement, plopping for curl definition, loose air drying for minimal handling, and a cool fan when thick roots need extra evaporation. No method is universally fastest because the best choice changes with texture, density, shape goals, and room humidity.
| Method | Typical time | Cost | Best hair profile | Main limitation |
|---|---|---|---|---|
| Microfiber blotting | 15-30 minutes saved | $8-$25 | All textures | Requires washing and drying the towel |
| Cotton T-shirt plopping | 20-45 minutes wrapped | $0-$15 | Wavy and curly | Can flatten roots if wrapped tightly |
| Loose air drying | 1.5-6 hours | $0 | Fine, short, lightly textured hair | Slowest for dense hair |
| Cool fan assist | 20-120 minutes | $0 if already owned | Thick or long hair | May tangle loose strands |
| Loose twists or braids | 2-6 hours | $0-$20 | Coily or highly textured hair | Produces a set pattern |
| Sectioned drying | 1.5-5 hours | $0-$10 | Dense hair | Requires clips and periodic adjustment |
When Should You Use Hair Plopping?
Use hair plopping when waves or curls need definition without downward stretching. Apply leave-in conditioner and gel to wet hair, scrunch out excess water with a T-shirt, place the curls in the center of the fabric, and tie the fabric loosely for 15-30 minutes.
Plopping is a temporary shape-preservation technique, not a complete drying method. Remove the T-shirt before the roots become flattened or the scalp remains humid. Let the curls finish drying loose, and avoid combing until the cast has fully dried.
Plopping is less useful for straight hair because the fabric can create bends without adding meaningful volume. It is also not ideal for very dense coily hair unless the hair has already been divided into manageable sections.
Can a Fan Dry Hair Without Heat Damage?
A fan can dry hair without the thermal exposure associated with a hot blow dryer, provided the airflow is cool and the hair is not whipped into tangles. Position the fan 2-3 feet away, use low or medium speed, and lift roots every 10-15 minutes.
A fan does not eliminate all drying risks. Long exposure to moving air can increase tangling, and rough detangling afterward may cause more breakage than controlled drying. Use clips to keep sections separate and point the airflow across the head rather than forcing hair into one direction.
How Should You Air-Dry Different Hair Types?
Hair texture determines shape control, while density determines drying time. Fine straight hair needs lightweight products and root lift; waves and curls need minimal handling; coily hair usually dries more evenly in sections or loose protective styles.
| Hair type | Main drying priority | Recommended routine | Avoid |
|---|---|---|---|
| Fine, straight | Root volume | Microfiber blot, mousse, loose part changes | Heavy oil at the roots |
| Thick, straight | Root evaporation | Four to six sections, fan assist | One dense wet mass |
| Wavy, type 2 | Wave grouping | T-shirt scrunch, mousse, hands off | Brushing after waves form |
| Curly, type 3 | Curl definition | Gel, plop 15-30 minutes, loose finish | Touching during drying |
| Coily, type 4 | Even section drying | Leave-in, twists or braids, low handling | Tight styles on soaking hair |
Fine and Straight Hair
Blot fine hair for 5-10 minutes, then apply one to two pumps of lightweight mousse through the mid-lengths. Change the part once or twice while drying to prevent a flat root pattern.
Fine hair usually dries quickly, but it also becomes visibly greasy when product reaches the scalp. Keep serum and oil on the last few inches, where friction and split ends are more common.
Wavy and Curly Hair
Apply styling cream or gel to wet hair, then use a T-shirt to scrunch upward. Plop for 15-30 minutes, remove the fabric, arrange the part once, and let the curl groups dry without brushing or repeated touching.
If the ends dry while the roots remain wet, gently lift the root area with fingertips. Do not rake through the curl pattern unless the hair has lost all definition and needs restyling.
Coily and Kinky Hair
Divide coily hair into four to eight sections, depending on density, and apply leave-in conditioner evenly from root to end. Use loose two-strand twists, large braids, or another low-tension style when the hair takes several hours to dry.
Sectioning improves air access and reduces the need to manipulate wet hair repeatedly. Do not tie soaking-wet hair tightly against the scalp, because tension, trapped moisture, and prolonged friction create separate problems from heat damage.
Is Air Drying Always Healthier Than Blow Drying?
Air drying is not automatically healthier in every situation, although it removes direct heat exposure. Hair can remain swollen and vulnerable while wet, so several hours of friction from clothing, pillows, brushing, or tight styling may offset the benefit of avoiding a dryer.
The best practical compromise is to remove water efficiently, avoid high heat, and stop handling the hair once it has been arranged. The American Academy of Dermatology Association advises allowing hair to partially air-dry before styling and using the lowest heat setting when heat is necessary.
Hair does not need to be completely dry before leaving the house if the remaining moisture will evaporate safely. Hair should be mostly dry before sleep, exercise under a hat, or placement in a tight ponytail.
Why Is Sleeping With Wet Hair a Problem?
Sleeping with wet hair increases friction because damp strands stretch and rub against the pillowcase for hours. A wet scalp can also remain warm and occluded under bedding, although wet hair alone does not prove that a fungal infection will develop.
If night washing is unavoidable, blot thoroughly, let the roots air-dry as long as possible, use a loose braid only after the hair is mostly dry, and choose a smooth pillowcase. Avoid sleeping with a tight bun, wet plop, or compressed towel on the head.
What Mistakes Make Hair Take Too Long to Dry?
The most common causes of slow drying are saturated roots, excessive product, high humidity, large unseparated sections, and an absorbent towel that has already become wet. Correct the bottleneck rather than adding more oil or rubbing harder.
| Failure mode | Likely cause | Immediate fix | Prevention |
|---|---|---|---|
| Wet roots after 4 hours | Clumped dense sections | Lift and split roots | Section hair after blotting |
| Frizzy surface | Rubbing or touching curls | Apply a small gel layer | Press and scrunch instead |
| Flat fine hair | Heavy cream or tight wrap | Re-wet lightly and lift roots | Use mousse and loose drying |
| Greasy ends | Excess serum or oil | Blot with clean fabric | Start with half the amount |
| Tangled hair near fan | High airflow or loose layers | Lower speed and finger-detangle | Keep fan 2-3 feet away |
| Scalp feels itchy | Humidity, buildup, or sensitivity | Rinse residue and dry roots | Use less product near scalp |
What Should You Do If Hair Is Still Wet After Four Hours?
Remove any wrap, separate the hair into smaller sections, and expose the roots to moving room-temperature air. If the hair feels coated, rinse or reduce product next wash because heavy creams and oils can slow evaporation.
Persistent scalp odor, scaling, pain, sores, or itching requires medical attention rather than a different towel. A dermatologist can distinguish product buildup from conditions such as seborrheic dermatitis or fungal infection.
How Much Do Heatless Drying Methods Cost?
The cheapest method costs nothing: press out water, use an old smooth T-shirt, and air-dry near an open interior space. A practical microfiber setup typically costs $8-$25 in the United States, while clips, a fan, and styling products add costs only if they are not already available.
| Item | Typical United States price | Useful specification | Replacement interval |
|---|---|---|---|
| Smooth cotton T-shirt | $0-$15 | Soft, low-lint fabric | Replace when stretched or rough |
| Microfiber hair towel | $8-$25 | Absorbent, washable, no rough seams | 1-3 years with care |
| Sectioning clips | $4-$12 | 4-8 clips, smooth hinges | Several years |
| Lightweight mousse | $7-$18 | Water-based, 150-250 ml | 3-6 months |
| Curl gel | $8-$25 | Medium or strong hold | 3-6 months |
| Household fan | $20-$80 | Low or medium cool airflow | Several years |
Prices vary by country and retailer. The technique usually produces a larger difference than buying the most expensive towel.
Is Hair Electrolysis a Way to Dry Hair?
Hair electrolysis is not a hair-drying method. Electrolysis uses a fine probe and electrical current to target individual follicles for permanent hair removal, commonly on facial or body hair; it does not remove water from scalp hair and should never be substituted for towel drying or air drying.
The confusion may come from the word “electrolysis,” which refers to an electrical process rather than evaporation. For drying scalp hair, use absorbent fabric, ventilation, sectioning, or a cool fan. For unwanted facial or body hair, consult a licensed electrologist and follow local professional regulations.
Practical Routines for Common Situations
Different situations require different priorities. A rushed commuter needs water removal and airflow, while someone preserving curls needs shape control and minimal handling.
| Situation | Routine | Expected result | Main trade-off |
|---|---|---|---|
| Leaving home in 30 minutes | Press, microfiber 10 minutes, fan 15 minutes | Mostly dry roots and lengths | Less curl definition |
| Washing curls before bed | Microfiber scrunch, plop 20 minutes, air-dry | Defined curl groups | Requires delaying sleep |
| Thick hair in humid weather | Section, blot each part, fan on low | Faster root drying | More setup time |
| Fine hair needing volume | Blot, mousse, loose part changes | Lifted roots | Styling hold may feel firm |
| Coily hair needing stretch | Section, leave-in, loose twists | Even, controlled drying | Twist pattern remains |
In a Humid Bathroom
Move to a room with ventilation or air conditioning after washing. Keep the bathroom door open, remove the towel after 5-10 minutes, and use a fan to move air across the hair.
Humidity slows evaporation because the surrounding air already contains substantial water vapor. A towel cannot solve that environmental bottleneck once the hair surface is no longer dripping.
Before Work or School
Use microfiber first because removing surface water gives the largest time advantage. If the hair is still damp, choose a loose braid, low ponytail, or clipped style that does not require repeated brushing.
For straight hair, a loose low ponytail can create a controlled bend. For curls, avoid tying the hair until the curl pattern has stabilized, or use a loose silk scrunchie on mostly dry hair.
Frequently Asked Questions
Can I Dry My Hair With Paper Towels?
Paper towels can remove small amounts of surface water in an emergency, but they are inefficient for a full head and may shed lint or tear during use. Press gently on the lengths, then switch to a smooth T-shirt or clean microfiber towel when possible.
Should I Brush Hair While It Air-Dries?
Brush hair before washing or while conditioner is present if detangling is necessary. After washing, use fingers or a wide-tooth comb on damp hair, then stop manipulating the strands once the desired shape forms, especially for waves, curls, and coils.
Does Cold Water Make Hair Dry Faster?
Cold water does not meaningfully dry hair faster. Drying speed depends mainly on how much liquid water remains, the exposed surface area, airflow, temperature, and humidity. A cooler final rinse may feel refreshing, but it does not replace blotting and root ventilation.
Can I Use a Car Air Conditioner to Dry My Hair?
A car air conditioner can provide moving, relatively dry air, but it is impractical and may blow dust or debris toward wet hair. Keep the airflow moderate, avoid directing it at the eyes, and never use a vehicle’s hot exhaust air or unsafe improvised heating device.
Why Does My Hair Dry Unevenly?
Hair dries unevenly because the outer layers receive more airflow while roots, underside layers, and dense curl groups retain water. Lift the roots, divide thick sections, and blot the underside rather than repeatedly rubbing the already dry surface.
How Dry Should Hair Be Before Styling?
Hair should be damp for leave-in products, mousse, gel, braids, and twists, but not dripping. Hair should be mostly dry before sleeping, placing it under a tight hat, or securing it with strong tension, because prolonged wet friction increases tangling and breakage risk.
The Bottom Line
To dry your hair without a blow dryer, press out pooled water, blot for 5-10 minutes with microfiber or a smooth T-shirt, apply only the product your texture needs, and keep the roots separated for airflow. Fine hair may finish in 20-45 minutes, while dense hair can take 3-6 hours. Hair electrolysis is unrelated to drying. Choose plopping for curl definition, sectioning for dense hair, and a cool fan when you need faster evaporation without direct heat.


