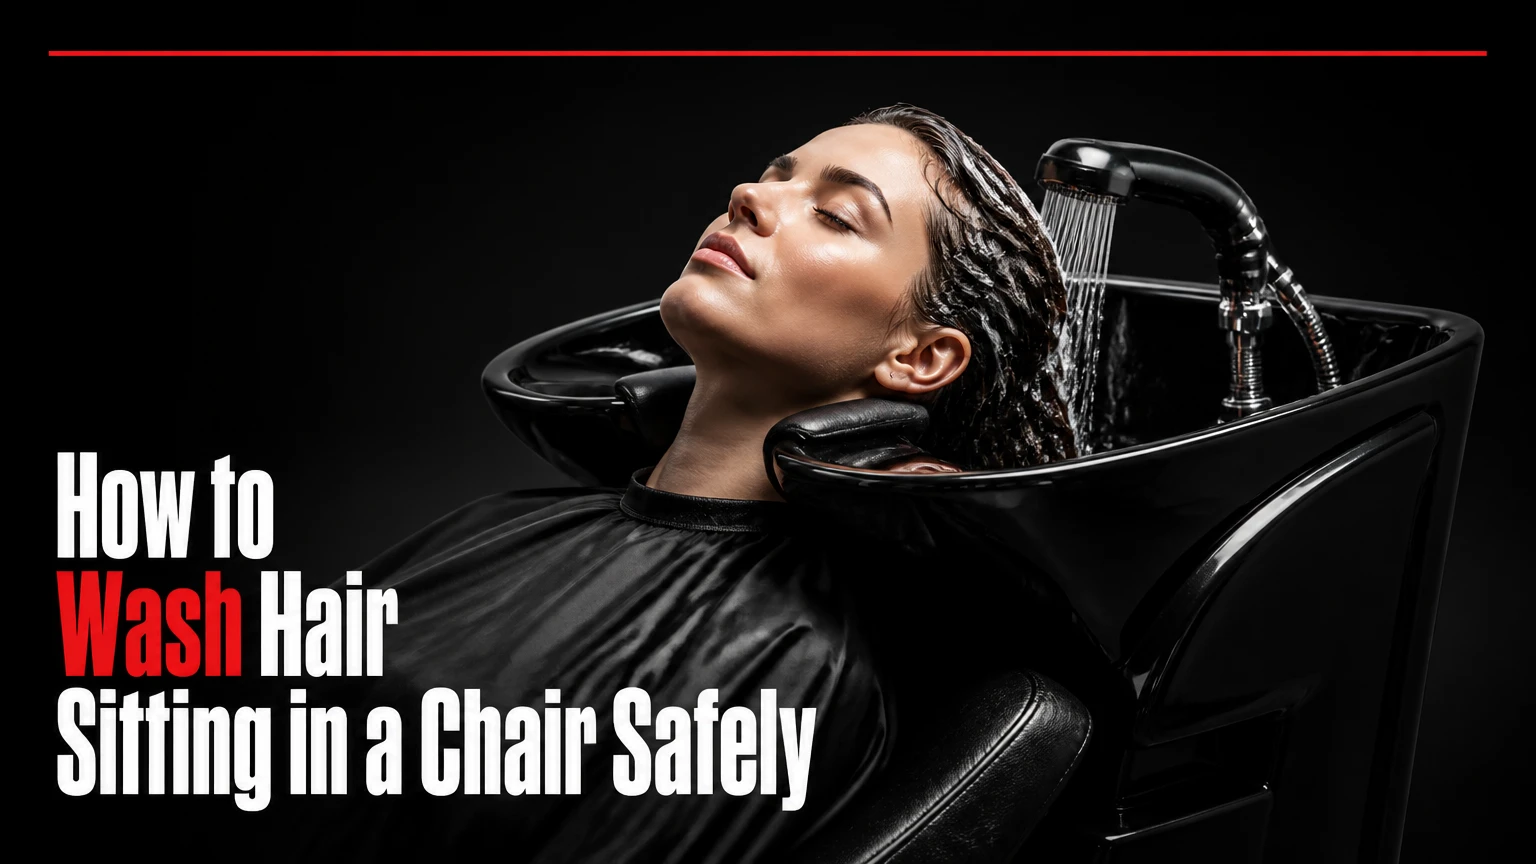
To wash hair sitting in a chair, seat the person upright or slightly reclined, protect the neck and clothing, place a drainable tray or basin under the hair, and rinse slowly into a sink or bucket. A complete seated wash usually takes 10-20 minutes, and stable posture plus controlled water flow determine success.
Key Facts / At a Glance
A seated hair wash normally uses 1-3 liters of warm water when a pitcher and catch basin are used.
A portable neck tray is usually the simplest option for a person who cannot lean their head backward.
A salon shampoo basin requires the neck to extend slightly and should not be used when that movement causes pain or dizziness.
A high-backed chair with locked wheels, armrests, and a dry floor reduces sliding and transfer risk.
Use fingertips rather than fingernails to massage shampoo into the scalp, as recommended by the American Academy of Dermatology.
Stop immediately for neck pain, vertigo, coughing, breathing difficulty, skin irritation, or a leaking tray that cannot be controlled.
Before You Start: Choose the Safe Setup
The safest setup matches the drainage equipment to the person’s neck movement, balance, and chair type. Gather the equipment before seating the person, because leaving someone wet and unsupported while searching for towels creates an avoidable fall and cold exposure risk.
Use a high-backed chair with arms whenever possible. A wheelchair should have its brakes locked, footplates positioned safely, and powered functions disabled during washing. Do not place a loose cushion under a person who has poor trunk control, and do not lift a person into a different chair unless trained assistance is available.
Equipment and Typical Quantities
| Item | Typical specification | Quantity or range | Purpose |
|---|---|---|---|
| Warm water | 35-40°C, comfortable to the wrist | 1-3 liters | Wetting and rinsing |
| Shampoo | Mild, person’s usual formula | 5-10 milliliters | Scalp cleansing |
| Conditioner | Standard rinse-out formula | 5-15 milliliters | Detangling lengths |
| Towels | Absorbent bath or hand towels | 2-4 | Neck seal, clothing, drying |
| Waterproof protection | Cape, vinyl apron, or large plastic sheet | 1 | Protect shoulders and torso |
| Drainage container | Bucket or basin below outlet level | 8-12 liters | Collect used water |
| Watering vessel | Narrow-spout jug or plastic cup | 500-1,000 milliliters | Controlled pouring |
| Hair tray | Rigid, inflatable, or soft neck tray | 1 | Direct water to drain |
Match the Method to the Person
Choose a reclining shampoo basin only when the person can comfortably extend the neck for the entire wash. Choose an upright tray when neck extension, dizziness, facial injury, or spinal restrictions make backward leaning unsafe.
| Method | Typical cost | Setup time | Water use | Best fit |
|---|---|---|---|---|
| Mobile salon basin | $30-$150 | 5-10 minutes | 3-8 liters | Person tolerating slight neck extension |
| Portable neck tray | $10-$35 | 1-3 minutes | 1-3 liters | Upright washing near sink or bucket |
| Inflatable shampoo basin | $15-$60 | 3-7 minutes | 1-4 liters | Recliner, bedside chair, or wheelchair |
| Rinse-free shampoo cap | $3-$10 per cap | Under 1 minute | 0 liters | Temporary washing without plumbing |
Prices vary by country, material, drainage fittings, and whether a basin includes a stand or hose. The ranges above are typical retail ranges, not fixed prices.
How to Wash Hair Sitting in a Chair
A seated hair wash follows eight actions: stabilize the chair, protect the body, test the water, wet the hair, shampoo the scalp, rinse completely, condition the lengths, and dry before removing the tray. Allow 10-20 minutes for short hair and 20-30 minutes for long or thick hair.
The person should know what will happen before water is poured. Agree on a stop signal, such as raising one hand, because shampoo, towels, or hearing loss can make verbal communication unreliable.
Step 1: Position and Stabilize the Chair
Place the chair on a level, non-slip floor with the drainage point behind or beside the person, depending on the equipment. Lock wheelchair brakes, secure recliner mechanisms, move footrests out of the working area, and keep the catch bucket lower than the tray outlet.
Seat the person with their hips fully supported and both feet supported by the floor or footplates. Keep shoulders relaxed and the head in the position recommended for the selected tray.
You’ll know it worked when: the person can remain still for five minutes without sliding, bracing, or holding the chair.
Common mistake: putting a bucket beside the chair while its rim is higher than the drain outlet. Water will back up rather than flow into the bucket.
Step 2: Protect the Neck, Clothing, and Floor
Place a waterproof cape or plastic sheet over the shoulders and chest, then put a dry towel around the neck. The towel should contact the skin without pressing on the throat, and a second towel should cover the chair edge or floor below the drainage route.
For a tray with a neck seal, tuck a narrow rolled hand towel beneath the lower edge. The towel acts as a temporary splash dam, but it must not be wrapped tightly around the neck.
You’ll know it worked when: the cape overlaps the tray by several centimeters and the person’s shoulders remain covered during head movement.
Common mistake: fastening a plastic bag tightly around the neck. Plastic can trap water and restrict breathing; use a loose cape with a towel seal instead.
Step 3: Install and Test the Hair Tray
Fit the tray according to its instructions, keeping the drainage lip fully inside the sink or bucket. Check that the hose is not kinked and that the receiving container cannot tip.
Before wetting the hair, pour approximately 100 milliliters of warm water through the tray. Watch the outlet for 10-15 seconds and inspect the neck, shoulders, and back for leaks.
You’ll know it worked when: test water reaches the sink or bucket without pooling behind the neck.
Common mistake: starting with a full jug before testing drainage. A failed seal can release the entire volume onto clothing within seconds.
Step 4: Wet the Hair Slowly
Test water temperature on the inside of the wrist. Use a narrow-spout jug or low-pressure spray, and begin at the crown or hairline while directing water away from the face and ears.
Pour in small amounts of 100-200 milliliters. Lift dense sections with your fingers so water reaches the scalp rather than running over the outer hair layer. Ask whether the temperature and pressure feel comfortable after the first pour.
You’ll know it worked when: the scalp and roots are wet, the tray drains continuously, and no water reaches the eyes or collar.
Common mistake: using a high-pressure shower hose. Spray can enter the ears, startle the person, and overwhelm a shallow tray.
Step 5: Shampoo the Scalp
Apply 5-10 milliliters of shampoo to wet palms, spread it between the hands, and place it on the scalp in several small areas. Massage with the pads of the fingertips for 60-90 seconds, using light circular movements without scratching.
The American Academy of Dermatology recommends using fingertips rather than fingernails when massaging shampoo into the scalp. A second shampoo is unnecessary for most routine washes and increases rinsing time, although heavy styling product may require the product label’s instructions.
You’ll know it worked when: the scalp feels evenly cleansed and the lather can be rinsed away without vigorous rubbing.
Common mistake: applying a large amount of shampoo directly to one spot. Concentrated product is harder to distribute and leaves residue near the crown.
Step 6: Rinse Until the Runoff Is Clear
Rinse from the hairline toward the ends, using 100-200 milliliters at a time. Use the free hand to guide suds toward the tray and separate thick sections, especially behind the ears and at the nape.
Continue rinsing for approximately 2-4 minutes, depending on hair density and water flow. Stop pouring if the tray begins to fill, then clear the hose or lower the receiving bucket before continuing.
You’ll know it worked when: no slippery shampoo remains at the scalp, behind the ears, or at the nape, and the runoff has no visible foam.
Common mistake: rinsing only the top layer. Thick or curly hair can retain shampoo underneath, causing itchiness and residue after drying.
Step 7: Apply Conditioner and Rinse Again
Squeeze out excess water, then apply 5-15 milliliters of conditioner to the mid-lengths and ends. Keep conditioner away from the scalp when oiliness or buildup is a concern, but follow the person’s usual routine for textured or very dry hair.
Leave the conditioner for 1-3 minutes, or use the product’s stated time. Detangle from the ends upward with fingers or a wide-tooth comb, then rinse with fresh water until the hair no longer feels coated.
You’ll know it worked when: the ends separate more easily and the final runoff is clear.
Common mistake: dragging a comb from the roots to the ends. That increases pulling and can worsen breakage in wet, fragile hair.
Step 8: Towel-Dry Before Removing the Tray
Squeeze or blot the hair with a clean towel instead of twisting it tightly. Place a second towel around the head and shoulders before loosening the tray, then remove the tray while keeping the head supported.
Dry the neck and inspect the clothing, chair, and floor. Comb only as much as necessary, because wet hair stretches more readily than dry hair.
You’ll know it worked when: the tray is removed without a new splash and the person is warm, dry, and stable.
Common mistake: removing the tray while water remains in it. Always drain or tip the tray into the container first.
Which Seated Hair-Washing Method Should You Choose?
The best seated hair-washing method depends primarily on neck mobility and drainage access, not on shampoo brand or hair length. An upright neck tray is the safest general choice for limited neck movement, while a mobile basin is more comfortable for people who tolerate backward positioning.
| Decision factor | Mobile basin | Neck tray | Inflatable basin | Rinse-free cap |
|---|---|---|---|---|
| Head position | Slight backward tilt | Upright or slight tilt | Upright or reclined | Upright |
| Drainage | Hose to sink or bucket | Lip to sink or bucket | Built-in basin or hose | No drainage |
| Typical wash duration | 10-20 minutes | 10-20 minutes | 15-25 minutes | 3-5 minutes |
| Best water volume | 3-8 liters | 1-3 liters | 1-4 liters | 0 liters |
| Neck restriction | Poor fit | Strong fit | Moderate fit | Strong fit |
| Storage | Large stand or bowl | Compact | Deflates for storage | Disposable |
| Main limitation | Requires neck extension | Seal may leak | Can collapse under pressure | Does not replace a full rinse |
For Wheelchair Users
Use a neck tray or wheelchair-compatible inflatable basin when the wheelchair can remain level and stable. Keep the person in the chair if transferring would require lifting, and protect the joystick, cushions, electronics, and upholstery from water.
A caregiver should work from the side rather than pulling the head forward. If the person has poor trunk control, use the wheelchair’s approved head support and ask a trained second caregiver to stabilize posture.
For Recliners and Standard Chairs
A recliner can work with an inflatable basin if the back angle is locked and the basin remains supported. A standard kitchen chair is acceptable only when it has a stable back, firm seat, and enough clearance for the drainage bucket.
Do not use a rolling office chair, folding chair with a loose hinge, stool, or chair placed on a wet mat. These options can move when the person reacts to cold water or discomfort.
After Neck, Spine, Eye, or Facial Surgery
Postoperative hair washing requires the surgeon’s or nurse’s positioning instructions to take priority over a generic method. If neck extension, forward flexion, or facial wetting is restricted, use an upright tray or rinse-free cap only after the care team confirms the position is permitted.
A shampoo cap is useful for a short-term clean when water access is unsafe or unavailable. It is not a complete substitute for rinsing when the scalp contains heavy oil, medication, blood, adhesive, or substantial styling product.
How Much Time, Water, and Money Do You Need?
A basic pitcher-and-tray wash costs about $10-$35 if the chair and bucket already exist, uses 1-3 liters of water, and takes 10-20 minutes. A freestanding salon basin usually costs more and requires a sink, hose, storage space, and a person who can tolerate slight neck extension.
| Setup | Initial equipment cost | Consumable cost per wash | Typical time | Cleanup time |
|---|---|---|---|---|
| Existing sink plus tray | $10-$35 | $0.20-$1.50 | 10-20 minutes | 5 minutes |
| Pitcher plus bucket | $15-$50 | $0.50-$2 | 15-25 minutes | 8-12 minutes |
| Inflatable basin | $15-$60 | $0.50-$2 | 15-25 minutes | 8-12 minutes |
| Mobile salon basin | $30-$150 | $0.50-$3 | 10-20 minutes | 5-10 minutes |
| Rinse-free cap | $0-$15 warmer cost | $3-$10 | 3-5 minutes | Under 2 minutes |
Water temperature matters more than water volume. Warm water around 35-40°C is a typical comfortable range, but the person’s wrist test and product instructions should decide the final temperature.
What Can Go Wrong During a Chair Hair Wash?
Most seated washing problems come from poor drainage, an unstable chair, excessive water flow, or a seal that is too loose. Correct the setup before adding more water, because trying to compensate with towels after flooding has started usually spreads the mess.
| Problem | Likely cause | Immediate action | Prevention |
|---|---|---|---|
| Water runs down the back | Loose tray seal or posture change | Stop pouring, dry skin, refit seal | Test with 100 milliliters |
| Tray fills quickly | Bucket too high or hose kinked | Lower bucket, straighten hose | Keep outlet below seat level |
| Water reaches eyes | Pouring toward forehead or high flow | Stop, wipe eyes, reduce flow | Use a narrow spout |
| Person slides forward | Unsupported hips or wet seat | Stop, stabilize posture | Use a high-backed chair |
| Shampoo remains at nape | Dense hair or short rinse | Separate sections, rinse again | Rinse underneath and behind ears |
| Hair tangles | Rough rubbing or root-first combing | Add conditioner, finger-detangle ends | Blot and comb upward |
When Should You Stop?
Stop the wash for neck pain, new numbness, dizziness, nausea, headache, coughing, shortness of breath, chest discomfort, skin burning, or confusion. Keep the person supported, remove water from the face, and follow their medical care plan; urgent symptoms require local emergency assistance.
Water near the nose or mouth is especially concerning for people with swallowing difficulty. Use smaller pours, maintain the prescribed head position, and ask a clinician or occupational therapist for individualized training when aspiration risk exists.
How Do You Wash Hair Without a Sink?
To wash hair without a sink, use a neck tray or inflatable basin connected to a bucket, or use a rinse-free shampoo cap when even limited water drainage is impractical. Position the bucket below the person’s head, prepare all water in advance, and use 100-200 milliliter pours.
A 10-liter bucket provides ample capacity for a 1-3 liter seated wash. Never place the bucket on the person’s lap, because movement can spill water and destabilize the chair.
For a rinse-free cap, warm the package only according to its label, check the temperature on the wrist, massage the cap through the hair, and towel-dry the scalp. Rinse-free products are temporary hygiene tools, not ideal for repeated daily use when ordinary washing is possible.
How Should Hair Type Change the Technique?
Hair density changes water and rinsing time, while scalp condition changes product choice. Fine, short hair may need 1 liter of water and 5 minutes of rinsing; long, thick, or tightly curled hair can need 3 liters and 10 minutes of section-by-section rinsing.
| Hair situation | Shampoo amount | Sectioning approach | Rinse adjustment |
|---|---|---|---|
| Short, fine hair | 5 milliliters | One central section | 1-2 liters |
| Long, straight hair | 5-10 milliliters | Crown, sides, nape | 2-3 liters |
| Thick or curly hair | 10 milliliters | Four to six sections | 3-5 liters |
| Oily scalp | 5-10 milliliters | Focus on scalp roots | Longer scalp rinse |
| Dry or fragile hair | 5 milliliters | Minimal handling | Conditioner on lengths |
| Sensitive scalp | Product label amount | Small separated areas | Lukewarm, low-flow rinse |
Avoid changing a medicated shampoo schedule without the prescribing clinician’s advice. A person with wounds, staples, severe dermatitis, or unexplained scalp pain may need a nurse or dermatologist to specify products and water exposure.
How Do You Clean the Equipment Safely?
Clean the tray, basin, jug, and bucket after every wash by removing hair and residue, washing with detergent and warm water, rinsing, and drying completely. Follow the equipment manufacturer’s disinfectant instructions because some plastics and inflatable materials are damaged by strong solvents or high heat.
Use separate towels for clean hair, the neck seal, and floor cleanup. Launder damp towels promptly, wipe the chair and floor, and inspect hoses for cracks before the next use.
Professional care settings should follow their organization’s infection-prevention policy. A reusable basin used by several people requires documented cleaning between users, while disposable shampoo caps should not be reused.
FAQ
Can I Wash Hair Sitting in a Chair With a Cup?
Yes, a cup works for short hair when the person is stable and a tray or basin catches the water. Use a 100-200 milliliter cup, pour slowly over the scalp, and keep the drainage container below the outlet. A cup is less efficient than a narrow-spout jug for thick or long hair.
Is It Safe to Wash Hair in a Wheelchair?
Washing hair in a wheelchair can be safe when the brakes are locked, the chair remains level, electronics are protected, and the person’s head and trunk are supported. Do not transfer or tilt the chair beyond its approved range, and obtain trained help when balance or swallowing is impaired.
How Often Should Someone Use a Rinse-Free Shampoo Cap?
A rinse-free shampoo cap is best for occasional washing during bed rest, travel, or limited plumbing access. Use ordinary shampoo and water when possible, because rinse-free products can leave conditioning agents or residue and may not remove medication, heavy oil, or styling products completely.
Should Conditioner Go on the Scalp?
Conditioner usually belongs on the mid-lengths and ends, particularly when the scalp becomes oily or prone to buildup. Very dry, coily, or medically treated hair may require a different routine, so follow the product directions and the person’s established hair-care plan.
How Do I Prevent Water From Running Down the Neck?
Prevent leaks by fitting the tray evenly, placing a loosely rolled towel under the lower seal, keeping the head still, and testing drainage with about 100 milliliters before washing. If water reaches the back, stop pouring immediately, dry the skin, and refit the tray rather than tightening it against the throat.
The Bottom Line
To wash hair sitting in a chair, use a stable high-backed seat, a tested drainage tray, 1-3 liters of warm water, small controlled pours, fingertip scalp massage, and complete rinsing before removing the basin. Choose an upright neck tray for restricted neck movement, a salon basin only for comfortable extension, and a rinse-free cap for temporary no-water care. With the right posture and drainage, a seated wash usually takes 10-20 minutes.


