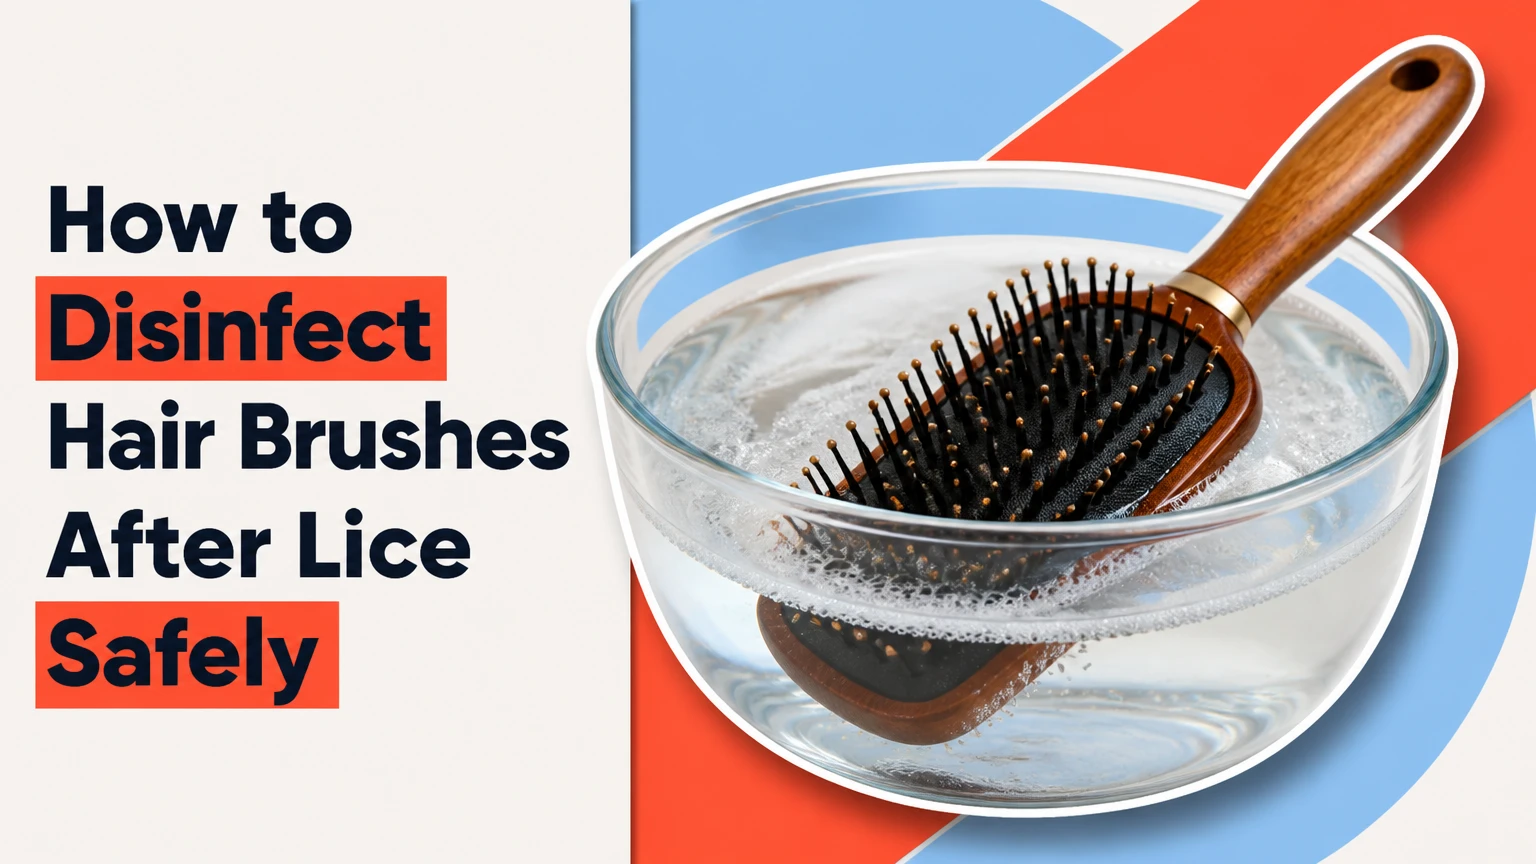
To disinfect hair brushes after lice, remove all hair, wash the tool with soap and water, then fully submerge it in water heated to at least 130°F (54°C) for 5-10 minutes when the material allows. For wooden, electric, glued, or water-sensitive tools, seal the item in a plastic bag for 14 days instead of soaking it.
Key Facts at a Glance
- The most practical CDC-aligned method is immersion in water at least 130°F (54°C) for 5-10 minutes.
- Hair brushes and combs deserve attention because they directly contact hair, although head lice usually die within 1-2 days away from a human host.
- Removing trapped hair before treatment matters because lice, nits, oils, and styling products can remain protected between bristles.
- A sealed 14-day bag is the safest option for wooden, electric, leather, glued, or otherwise water-sensitive tools.
- Freezing overnight is not the strongest universal recommendation for killing every nit, so bagging is more dependable when heat could cause damage.
- Never microwave a brush or apply bleach, insecticide, or concentrated alcohol to a hair tool that will contact the scalp.
What Does Disinfecting a Hair Brush After Lice Mean?
Disinfecting a hair brush after lice means removing hair and debris, cleaning the surface, and applying a treatment that eliminates live head lice and any viable eggs that may remain on the tool. The process reduces the chance of transferring a louse back to treated hair, but it cannot replace treating the infested person.
Head lice, scientifically known as Pediculus humanus capitis, feed on human blood and remain adapted to the scalp. The Centers for Disease Control and Prevention states, “Head lice do not survive long if they fall off a person and cannot feed.” That limited survival explains why extensive room disinfection is unnecessary, while direct-contact items still deserve focused cleaning.
A brush is a low-probability but reasonable transfer item. A louse can remain among hair strands or bristles temporarily, especially when the brush was used shortly before treatment. Nits are attached to hair shafts with a strong adhesive substance, so loose nits on a brush are less likely to restart an infestation than live crawling lice, but removing all hair remains sensible.
How Long Can Lice Live on a Hair Brush?
Live head lice generally survive away from a human host for about 1-2 days because they need frequent blood meals and lose moisture outside hair. Nits usually require scalp warmth to develop normally, although timing varies with temperature and egg viability.
| Item away from the scalp | Typical survival or concern | Practical response |
|---|---|---|
| Adult or nymph louse | About 1-2 days | Clean immediately or isolate |
| Nit attached to shed hair | Development is less likely off scalp | Remove hair and clean tool |
| Brush with product buildup | Debris can shelter insects | Wash before heat treatment |
| Recently used lice comb | Direct hair contact | Prioritize same-day cleaning |
| Unused brush stored away | No meaningful exposure | No special treatment needed |
The 24-48-hour survival window does not mean a used brush should be ignored. Cleaning is quick, and it prevents a live louse from being carried back to the scalp during the period when treatment is still underway.
What Is the Most Reliable Method?
A 130°F or hotter water soak for 5-10 minutes is the best general method for heat-tolerant plastic and metal hair tools. The key control is the water temperature, not the word “hot,” because ordinary tap water may fall below the recommended threshold.
Before You Start
| Requirement | Typical specification | Why it matters |
|---|---|---|
| Water temperature | At least 130°F (54°C) | Provides the recommended heat exposure |
| Soak duration | 5-10 minutes | Keeps the entire tool exposed |
| Basin volume | 1-2 quarts | Covers a brush or comb completely |
| Thermometer | Kitchen or bath thermometer | Confirms actual temperature |
| Cleaning agent | 1-2 teaspoons dish soap | Removes oils and product residue |
| Total active time | About 15-25 minutes | Includes hair removal, washing, soaking, and drying |
| Typical cost | $0-$5 | Uses household soap, water, and a bag |
The 130°F threshold is hot enough to damage skin. Do not test the basin with bare hands, and keep children away while preparing the water. A thermometer is preferable to estimating temperature from steam or touch.
Step 1: Remove Hair and Visible Debris
Pull every strand of hair from the brush, concentrating on the base, cushion holes, and spaces between rows of bristles. Use a comb, toothpick, tweezers, or an old toothbrush, then place the debris directly into a sealed trash bag.
Do not brush removed hair onto a counter or bathroom floor. Hair can retain a louse briefly, and immediate disposal reduces unnecessary handling.
Success checkpoint: The brush has no visible hair, flakes, lint, or attached debris.
Common mistake: Skipping the brush base, where hair and styling residue accumulate.
Step 2: Wash the Tool With Soap
Place the water-safe brush or comb in warm water with approximately 1-2 teaspoons of dish soap per quart. Scrub the bristles, teeth, handle, seams, and cushion surface with a dedicated old toothbrush for 1-2 minutes.
Soap and scrubbing remove oils, hairspray, conditioner, and skin residue. Washing alone is not the heat-disinfection step, but it improves contact between hot water and the tool’s surfaces.
Success checkpoint: The item feels clean rather than oily, and no product film remains.
Common mistake: Treating a quick rinse as sufficient when hairspray or oil coats the bristles.
Step 3: Soak the Brush at 130°F or Hotter
Fill a heat-safe basin with water at least 130°F (54°C), confirm the temperature, and submerge the brush or comb completely for 5-10 minutes. Position the bristles downward and rotate the item once during the soak to release trapped air.
Do not pour boiling water over a delicate brush without checking its construction. High heat can soften plastic, loosen adhesive, warp a cushion, split wood, or damage natural bristles.
Success checkpoint: Every bristle row, comb tooth, handle junction, and brush cavity remained underwater for the full duration.
Common mistake: Using lukewarm tap water and assuming the faucet setting equals 130°F.
Step 4: Rinse and Dry Completely
Rinse the treated item under clean running water, shake out excess moisture, and place it bristle-side down or in a position that allows drainage. Dry it in a ventilated area for at least several hours, and inspect cushion holes or seams before reuse.
A paddle brush with a pneumatic cushion can trap water beneath the pad. Moisture left inside the brush can create odor, mildew, or adhesive failure, even though it does not cause lice.
Success checkpoint: No water emerges when the brush is gently shaken, and the base is completely dry.
Common mistake: Returning a damp brush to a closed drawer or bathroom container.
Which Cleaning Method Should You Choose?
The correct method depends on heat tolerance, water exposure, urgency, and the tool’s construction. Heat is fastest for durable plastic and metal, while 14-day isolation is safer for wood, electronics, leather, and glued components.
| Method | Temperature or action | Duration | Suitable tools | Main limitation |
|---|---|---|---|---|
| Hot-water immersion | At least 130°F (54°C) | 5-10 minutes | Plastic combs, durable brushes | Can damage glue or wood |
| Boiling-water immersion | About 212°F (100°C) | Manufacturer-dependent | Some all-metal combs | Warps plastic and weakens adhesives |
| Sealed-bag isolation | Room temperature, sealed bag | 14 days | Wood, electric, leather, delicate items | Delays reuse |
| Freezer storage | Household freezer, sealed bag | Use a longer isolation period if chosen | Small water-sensitive items | Household freezing may not reliably kill every nit |
| Replacement | Dispose and buy new item | Same day | Unrepairable or low-cost tools | Creates waste and replacement cost |
| Dishwasher cycle | Appliance-specific heat cycle | One full cycle | Only labeled dishwasher-safe tools | Warping, melting, and contamination risk |
Is Freezing a Hair Brush Effective?
Freezing may kill some lice, but an overnight freezer period should not be treated as a universally validated way to eliminate every nit from every brush. Home freezers vary in temperature, cold exposure is uneven inside bristle beds, and the survival of eggs under household freezing conditions is less predictable than heat treatment or prolonged isolation.
If freezing is the only practical option, place the dry brush in a sealed freezer bag, remove excess air, and keep it isolated from food contact. A bag prevents loose debris from spreading and protects the brush from condensation during thawing. For a delicate item that can remain unused, a 14-day sealed-bag period is the more conservative choice.
Can You Boil a Lice Comb?
You can boil an all-metal lice comb if the manufacturer permits it, but boiling is unnecessary for most brushes and can destroy plastic or glued parts. Metal teeth tolerate higher temperatures than plastic teeth, yet handles, coatings, and soldered joints may still deteriorate.
The 130°F soak provides adequate heat exposure without subjecting the whole tool to 212°F water. Reserve boiling for a plain, heat-resistant metal comb with no rubber, plastic, painted, or glued components.
How Do You Clean Different Brush Materials?
Material determines whether hot water is safe. Plastic and stainless steel usually tolerate the standard soak, while wood, natural bristle, leather, electronics, and adhesive-backed cushions need a dry isolation approach.
| Tool material or design | Heat exposure | Water exposure | Preferred action | Replacement trigger |
|---|---|---|---|---|
| Solid plastic comb | 130°F for 5-10 minutes | Fully water-safe | Wash, soak, rinse, dry | Cracks or warped teeth |
| Stainless-steel lice comb | 130°F for 5-10 minutes | Fully water-safe | Wash and soak; follow maker instructions | Rust or damaged teeth |
| Plastic vent brush | 130°F for 5-10 minutes | Usually water-safe | Soak only if cushion has no damage | Loose pad or trapped moisture |
| Wooden brush | Avoid high heat | Avoid prolonged soaking | Remove hair, wipe, bag 14 days | Splitting or mold |
| Natural-bristle brush | Check manufacturer | Limited soaking | Bag 14 days if uncertain | Bristles shedding or glue failure |
| Electric or heated brush | No immersion | No immersion | Unplug, wipe, bag 14 days | Internal contamination or damage |
| Leather-backed brush | Avoid heat | Avoid saturation | Wipe and isolate 14 days | Staining, cracking, odor |
What Should You Do With a Wooden or Expensive Brush?
A wooden or expensive brush should not be submerged unless its manufacturer specifically allows immersion. Remove all hair, wipe the accessible surfaces with a lightly soapy damp cloth, allow the brush to dry, and seal it in a plastic bag for 14 days.
Do not spray a luxury brush with household disinfectant unless the product label approves the material and scalp-contact use. Alcohol, bleach, essential oils, and insecticide sprays can discolor wood, dry leather, dissolve finishes, or leave residues that irritate the scalp.
An expensive brush may be worth isolating rather than replacing. A low-cost brush with deep cracks, shedding glue, or an inaccessible electronic cavity is often more practical to discard.
What Should You Avoid When Disinfecting Brushes?
Household insecticide, bleach, microwave heating, and unapproved chemical sprays should not be used on hair brushes or combs. These approaches add exposure and material damage without improving the basic lice-control process.
| Avoided method | Why it fails or creates risk | Safer alternative |
|---|---|---|
| Bleach soak | Corrosive, irritating, and damaging to plastics | Soap wash plus 130°F soak |
| Insecticide spray | Residue can contact scalp and eyes | Heat or 14-day isolation |
| Rubbing alcohol | Flammable and unreliable for nits | Manufacturer-approved cleaning |
| Microwave heating | Metal parts can spark; uneven heating can burn | Controlled hot-water basin |
| Hair dryer alone | Air temperature and exposure are inconsistent | Hot-water immersion |
| Sealed wet brush | Promotes mold and adhesive failure | Dry fully before bagging |
| Unverified essential oils | No dependable disinfection standard | Physical cleaning and heat |
| Shared household towel | Can transfer debris between items | Use a clean, washable towel |
“Disinfectant” does not automatically mean “safe for scalp-contact equipment.” A chemical registered for hard household surfaces may be unsuitable for an item that touches a child’s skin.
How Does Brush Cleaning Fit Into Lice Treatment?
Brush cleaning works only as a supporting measure; the person with active lice must receive an effective treatment and follow-up inspection. The American Academy of Pediatrics and CDC guidance emphasize treating live lice, using a fine-toothed comb where appropriate, and following the product’s repeat-treatment instructions.
| Treatment activity | Typical timing | Purpose | What brush cleaning cannot do |
|---|---|---|---|
| Examine household members | Same day | Identify live lice or nits near scalp | Cannot diagnose infestation |
| Apply labeled lice treatment | According to product label | Kill live lice | Cannot guarantee egg elimination |
| Wet-comb hair | Every 3-4 days when used as a method | Remove lice and nits mechanically | Does not sterilize brushes |
| Recheck scalp | About 7-10 days or label schedule | Detect surviving or newly hatched lice | Does not prove a brush caused recurrence |
| Clean direct-contact tools | Same day | Remove possible live lice | Does not treat the scalp |
| Repeat medication | Only when label or clinician directs | Address surviving hatchlings | Overuse can irritate or harm |
Head lice do not jump or fly. A recurrence more often reflects incomplete treatment, missed live lice, a new exposure, or failure to follow a product’s repeat schedule than a brush that was cleaned correctly.
What Else Needs Cleaning After Head Lice?
Focus on items that touched the affected person’s head during the previous 48 hours, including pillowcases, hats, hair accessories, and recently used brushes. The CDC does not recommend fumigating homes or using environmental insecticide sprays because off-host survival is limited and chemical exposure is unnecessary.
| Household item | Action | Temperature or duration | Priority |
|---|---|---|---|
| Pillowcase and sheets | Machine wash and dry | Hot wash if fabric permits; high-heat dry | High |
| Hats and scarves | Wash and dry, or isolate | 14 days if unwashable | High |
| Hair ties and clips | Wash or bag | Soap and water, or 14 days | Medium |
| Stuffed toy used as pillow | Bag if unwashable | 14 days | Medium |
| Sofa and carpet | Vacuum seating and floor | One focused pass | Low |
| Mattress and furniture | Routine cleaning | No pesticide treatment | Low |
| Pet bedding | Normal routine | Lice are human-specific | Not a lice-control measure |
Do not spend hours disinfecting every room. Direct hair-contact items produce the most relevant return on effort.
Common Mistakes and How to Fix Them
Using Water That Is Too Cool
Water below 130°F may clean the brush without delivering the recommended heat exposure. Reheat the basin and verify the temperature with a thermometer before starting the timed soak.
Soaking a Brush With Hidden Electronics
Battery-powered, heated, vibrating, or motorized brushes can short, corrode, or retain moisture. Unplug the item, wipe reachable surfaces, and use 14-day isolation instead.
Treating a Hairbrush Without Removing Hair
The brush may look submerged while hair mats remain between rows. Pull out the hair first, discard it, and scrub the base before applying heat.
Putting a Damp Brush in a Bag
A sealed wet item can develop mold or lose its cushion adhesive. Dry the brush completely before storage, even when bagging is the chosen lice-control method.
Reusing the Brush Before Scalp Treatment
A clean brush cannot prevent reinfestation if untreated live lice remain on the head. Coordinate tool cleaning with the initial treatment and avoid sharing brushes until the household check is complete.
Overcleaning the Home
Foggers, sprays, and repeated carpet treatments expose occupants to chemicals without addressing the main reservoir, which is the human scalp. Clean direct-contact items and follow the treatment label instead.
What If You Need the Brush Immediately?
Use the verified 130°F soak for a durable plastic or metal tool when immediate reuse is necessary. The process takes approximately 15-25 minutes including washing and drying, but the brush must be dry before it returns to the hair.
If the only available brush is wooden, electric, leather-backed, or otherwise water-sensitive, do not sacrifice the tool’s safety for speed. Use a clean replacement, a disposable comb, or a spare brush while the original remains sealed for 14 days.
For a Child’s Brush
Keep the child away from the hot-water basin, and inspect the tool for sharp broken bristles before reuse. A soft plastic brush is usually easier to clean safely than a wooden or battery-powered model.
For a Salon or Shared Brush
Remove the brush from service immediately, clean it according to the manufacturer’s instructions, and do not return it to circulation until it is dry. Salons should follow local infection-control rules and maintain separate, clean tools for each client.
For a Brush With Visible Live Lice
Wear disposable gloves if desired, remove the hair over a trash bag, seal the waste, and use the heat or isolation method. Live lice on the brush confirm contamination of the tool, not the severity or duration of the person’s infestation.
How Much Time and Money Does Each Option Require?
A household hot-water treatment usually costs less than $5 and takes under half an hour, while replacement commonly costs $5-$40 for ordinary brushes and more for specialty tools. Bagging costs roughly $1-$3 for a suitable sealable bag but prevents reuse for 14 days.
| Option | Typical household cost | Active labor | Waiting time | Best economic use |
|---|---|---|---|---|
| Hot-water soak | $0-$5 | 15-25 minutes | None beyond drying | Durable everyday tools |
| Sealed-bag isolation | $1-$3 | 5-10 minutes | 14 days | Delicate or valuable tools |
| Replacement brush | $5-$40 | 2-5 minutes | Same day | Damaged, cheap, or electric tools |
| Metal lice comb cleaning | $0-$5 | 10-20 minutes | Same day | Reusable treatment combs |
| Professional cleaning advice | $0-$100 | Varies | Appointment-dependent | Unusual salon equipment |
Typical costs vary by country, brand, and whether a thermometer or replacement tool is already available. Cost should not override material safety or the need to treat the scalp.
The Bottom Line
The safest answer to “how to disinfect hair brushes after lice” is simple: remove every hair, wash the tool, soak durable items at 130°F or hotter for 5-10 minutes, rinse, and dry fully. Use a sealed 14-day bag for wood, leather, glued, natural-bristle, or electrical items, and avoid bleach, insecticides, microwaves, and unverified sprays.
Brush cleaning is one part of lice control. Treat active lice according to the product label or a clinician’s advice, inspect household members, wash or isolate recent direct-contact items, and repeat treatment only when the instructions require it.
Frequently Asked Questions
Can Nits Live on a Hairbrush?
Nits are attached to hair shafts and need the warmth of the scalp for normal development. A loose nit on a brush is less likely to hatch successfully than an egg attached near the scalp, but removing all hair and cleaning the brush eliminates the practical concern. Heat-treat durable tools or isolate delicate ones for 14 days.
Should I Throw Away a Hairbrush After Lice?
You do not usually need to throw away a hairbrush after lice. Clean a durable brush with a 130°F, 5-10-minute soak, or isolate a delicate brush in a sealed bag for 14 days. Replacement makes sense when the brush is inexpensive, cracked, moldy, electrically sealed, or impossible to clean thoroughly.
Can Lice Survive in a Freezer?
Freezing can kill some lice, but an overnight household-freezer treatment is not the most dependable universal method for every louse and nit. If you choose freezing, seal the brush first and prevent food contact. For delicate tools, 14-day sealed isolation provides a clearer and safer household protocol.
Can I Use Bleach or Alcohol on a Lice Comb?
Bleach and alcohol are poor choices for scalp-contact tools because they can irritate skin, damage plastic, corrode metal, or leave hazardous residue. Wash the comb with soap, use a 130°F soak when the manufacturer permits it, and rinse and dry the item completely before reuse.
Do Pets Need Lice Treatment?
Human head lice do not infest dogs, cats, or other household pets. Pets do not need treatment for a human head-lice infestation, and pet insecticides should never be applied to people or hair tools. Clean human direct-contact items instead, while managing any separate veterinary parasite problem through a veterinarian.
Why Did Lice Return After I Cleaned the Brush?
Lice can return because treatment missed live lice, the product required a repeat application, another household member remained infested, or a new exposure occurred. A correctly cleaned brush is less likely to be the cause. Reinspect the scalp and follow the treatment label rather than repeatedly spraying household items.


