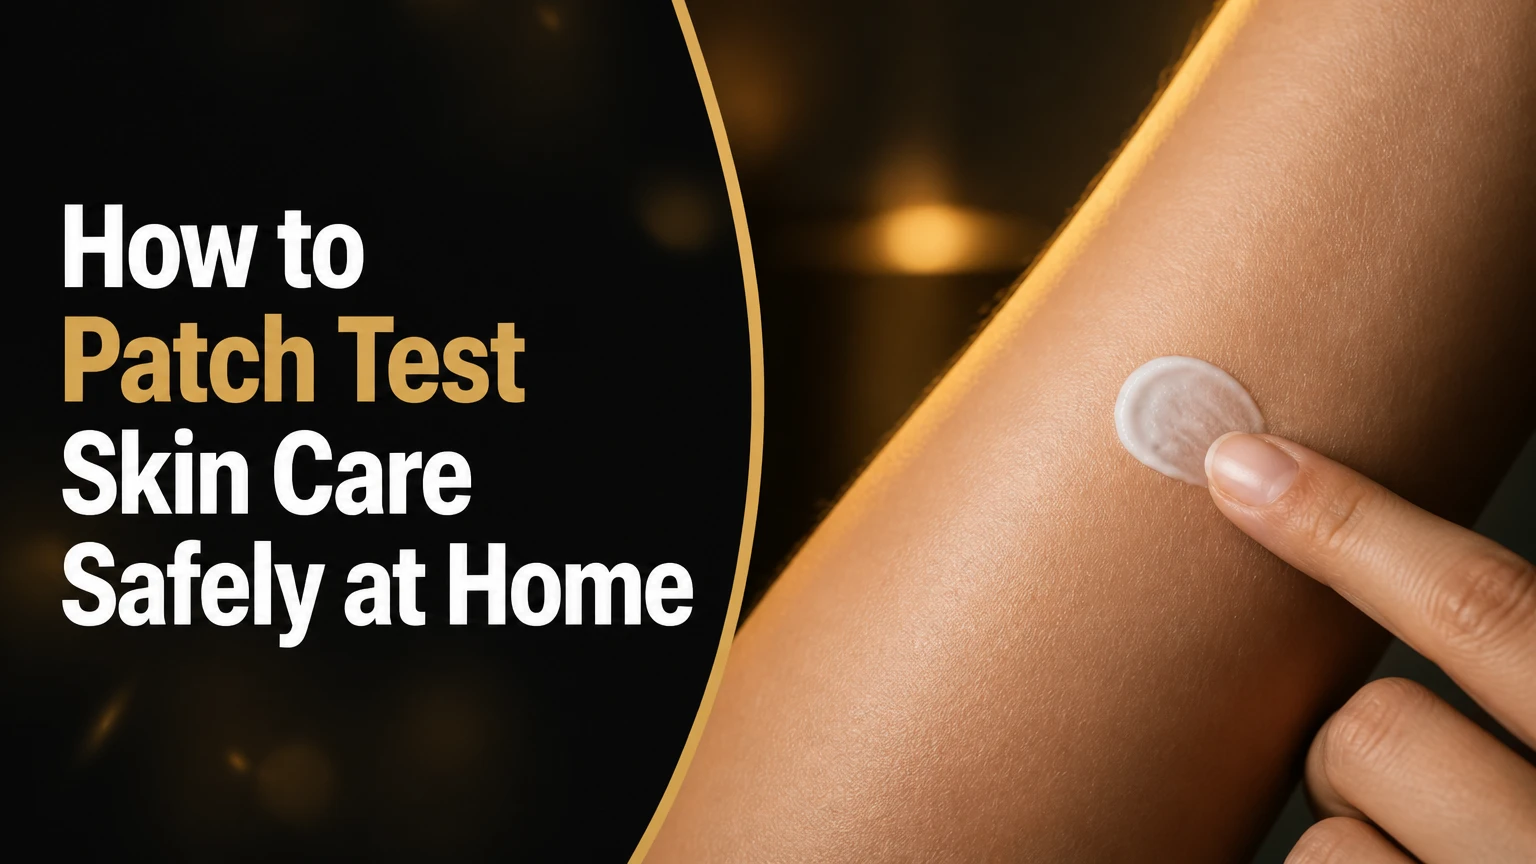
To patch test skin care, inspect the formula, mark a 1-inch area, apply the label-directed amount, observe it for 48 hours, test the face for 7-10 days when suitable, and introduce it gradually; the process takes 2-10 days, is beginner-friendly, and depends most on changing only one product at a time.
Before You Start
Set aside 10 minutes for preparation and the first application, then allow 48 hours for the body test and up to 10 days for cautious facial introduction. The basic method is easy, but people with eczema, rosacea, known allergies, or previous severe reactions should ask a dermatologist before testing a new formula.
A home test can identify some irritation or sensitivity. It cannot guarantee that a product is safe everywhere on your face, and it cannot replace formal patch testing performed by a healthcare professional.
| Item | Quantity or spec | Typical cost | Purpose |
|---|---|---|---|
| New skincare product | 1 product, in original packaging | Product price | Formula being evaluated |
| Gentle cleanser | Fragrance-free, non-foaming | $5-$15 | Removes residue without adding irritants |
| Cotton swab | 1 clean swab | Less than $1 | Applies a small, controlled amount |
| Skin-safe marker | 1, optional | $2-$6 | Identifies the test boundary |
| Clean towel | 1, lint-free | Already owned | Dries the area without rubbing |
| Petroleum jelly | Small amount, optional | $3-$8 | Protects mildly irritated, intact skin |
| Cold compress | 1, optional | Already owned or $5-$15 | Relieves temporary warmth or discomfort |
| Phone or notebook | 1 | Already owned | Records time, amount, and reactions |
Check the formula before testing
Read the full ingredient list, directions, warnings, expiry date, and storage instructions. Note whether the product contains fragrance, essential oils, preservatives, retinoids, alpha hydroxy acids, beta hydroxy acids, benzoyl peroxide, vitamin C, or exfoliating enzymes.
Do not test a product on broken, freshly shaved, sunburned, peeling, infected, or already inflamed skin. Choose a normal day when you can avoid intense exercise, swimming, sauna heat, and prolonged sun exposure.
Do not add facial electrolysis, body electrolysis, waxing, microneedling, or another exfoliating treatment around the test area. Those procedures can temporarily weaken the skin barrier and make the result harder to interpret.
Use this seven-step schedule
| Step | Action | Time | Most common mistake |
|---|---|---|---|
| 1 | Check the formula and choose a stable day | 5 minutes | Testing several new products together |
| 2 | Clean and mark a small test area | 2 minutes | Applying over lotion or damaged skin |
| 3 | Apply the correct amount and exposure | 1-10 minutes | Leaving a wash-off product on too long |
| 4 | Observe the area for 48 hours | 48 hours | Ignoring delayed itching or swelling |
| 5 | Test a suitable facial area | 7-10 days | Using an active twice daily without label approval |
| 6 | Record and introduce the product slowly | 1-2 weeks | Starting a full routine at once |
| 7 | Stop and manage a reaction safely | Immediate | Continuing after burning or hives |
Phase 1: Prepare and Test Body Skin
Step 1: Choose one product and a stable testing day
Choose one new product and schedule the test when your skin barrier is calm and your routine will remain unchanged.
Select a day without planned sunburn risk, heavy sweating, swimming, travel, facial procedures, or the introduction of another product. Keep the original packaging nearby because the label determines whether the product is leave-on or wash-off and specifies exposure time, frequency, and warnings.
Treat the product category as part of the test. A basic moisturizer, cleanser, or sunscreen may be assessed using ordinary label directions. A retinoid, peel, acid toner, benzoyl peroxide treatment, or prescription product needs a slower schedule and may require clinician guidance.
You’ll know it worked when you have one product, a readable ingredient list, an unchanged baseline routine, and a clear 48-hour observation window.
Common mistake: testing a new serum, moisturizer, and sunscreen on the same day. Avoid this by leaving several days between new products, so a reaction can be assigned more reliably.
Step 2: Clean and mark a small test area
Wash a quarter-sized area on the inner forearm or upper arm with a gentle fragrance-free cleanser, then dry it completely without rubbing.
A practical test area is about 1 x 1 inch, or 2.5 x 2.5 centimeters. You may outline the area with a skin-safe marker, but do not draw directly through broken skin. Use the inner forearm for convenience, or choose the upper arm if clothing will protect it from sunlight and friction.
Do not apply toner, oil, lotion, sunscreen, or another active to the marked area. Wash your hands before opening the product, and use a clean cotton swab or clean fingertip rather than touching the container opening to your skin.
You’ll know it worked when the skin is clean, dry, intact, unperfumed, and clearly identifiable without redness caused by scrubbing.
Common mistake: using the elbow crease after shaving or applying deodorant nearby. Choose an undisturbed area instead, because friction and residue can create a false reaction.
Step 3: Apply the label-directed amount and exposure time
Apply a thin, even layer of the product to the marked area, following the product label rather than forcing every formula into one fixed dose.
For a leave-on serum or cream, use enough to cover the 1-inch patch without a thick mound. A pea-sized amount is usually more than needed for this small area, so a clean cotton swab tip or a very thin film is more controllable. The supplied overview gives 0.1-0.2 mL as a typical quantity, but the label’s directions take priority.
Leave a leave-on product in place. For a cleanser, mask, peel, or other wash-off formula, use the stated exposure time and rinse with lukewarm water. Never extend a one-minute cleanser into an overnight test. Do not cover acids, retinoids, benzoyl peroxide, or fragranced products with an airtight bandage.
You’ll know it worked when the entire test patch has a light, uniform coating and the application matches the product’s normal use instructions.
Common mistake: applying a thick layer to “make the test stronger.” That can create irritation from excess exposure rather than predict normal use.
Phase 2: Observe and Test Facial Skin
Step 4: Observe the first patch at 24 and 48 hours
Leave the body patch undisturbed and inspect it at 24 hours and 48 hours, recording both the appearance and the sensation.
Avoid soaking, vigorous rubbing, tight clothing, and deliberate sun exposure on the area. Take a baseline photograph before application and another at each check. Look for persistent redness, itching, swelling, warmth, scaling, bumps, hives, blisters, or oozing.
A clear patch means only that no visible reaction occurred under those conditions. The American Academy of Dermatology recommends applying a product to a small area twice daily for 7-10 days when checking for a possible reaction, but that consumer guidance does not mean every active should be used twice daily. Follow the product label and use a dermatologist’s advice for higher-risk formulas.
| Finding | Typical timing | Likely interpretation | Action |
|---|---|---|---|
| Brief mild tingling that stops quickly | Minutes | Possible formulation sensation or mild irritation | Rinse if uncomfortable; do not escalate |
| Burning, heat, or increasing redness | Minutes to hours | Irritant reaction | Remove product and stop testing |
| Itching, swelling, hives, or blisters | Hours to 48 hours | Possible allergic contact reaction | Stop, wash gently, and seek medical advice |
| Dryness or scaling | 1-3 days | Irritation or barrier disruption | Stop the product and simplify care |
| Uniform bumps or clogged pores | 3-10 days | Comedogenicity, irritation, or active-related change | Stop non-active products; reassess active use |
| No visible or felt change | 48 hours | No detected reaction in that patch | Consider facial testing if appropriate |
You’ll know it worked when the patch remains comparable with the surrounding skin at both checks, without persistent discomfort or visible inflammation.
Common mistake: assuming delayed symptoms do not count because the first check was clear. Continue observing through 48 hours, and stop immediately if a reaction begins.
Step 5: Test a suitable facial area for 7-10 days
If the body patch stays clear, apply the product to a small hidden facial area only as often and for as long as the label permits.
Choose the lower jawline, side of the face, or an area behind the ear. Avoid the eyelids, lips, nostrils, and areas with active dermatitis. Use a thin amount on a consistent patch, and apply your established products elsewhere without crossing into the test area.
For a basic moisturizer or cleanser, normal label frequency may be reasonable. For retinol, exfoliating acids, vitamin C at low pH, benzoyl peroxide, or a peel, begin at the lowest label frequency, often every other night or less, unless the manufacturer or prescriber says otherwise. Do not use multiple active products on the test site.
The goal is to detect problems that a short arm test may miss, including persistent dryness, clogged pores, or delayed facial irritation. It is not a guarantee of long-term tolerance.
You’ll know it worked when the facial patch remains comfortable and visually normal through the planned 7-10-day observation period.
Common mistake: treating facial testing as permission to apply a strong active twice daily. Use the product’s instructions, not a generic schedule.
Step 6: Record the result and introduce the product gradually
Record the product name, batch or lot number if available, application date, test location, amount, frequency, and skin response before adding it to your full routine.
After a clear facial test, use the product on the intended area at the lowest practical frequency. Keep the rest of your routine stable for several days. Add only one new product at a time, and reduce frequency if dryness or mild irritation develops.
Apply sunscreen during daytime exposure, especially when using retinoids or exfoliating acids. Do not interpret acne changes as “purging” unless the formula contains an ingredient that increases cell turnover, such as a retinoid or exfoliating acid. A new rash, swelling, or burning is not a normal purging response.
You’ll know it worked when you can identify the product’s effect without changing several variables, and your skin remains comfortable during ordinary use.
Common mistake: moving straight from a clear patch to a complete new routine. Keep the change isolated so the next reaction remains traceable.
Step 7: Stop and Manage a Reaction Safely
Stop testing, gently rinse the product away with lukewarm or cool water, and seek medical advice when symptoms are persistent, spreading, or severe.
For mild dryness or irritation on intact skin, use a bland fragrance-free moisturizer or a thin layer of petroleum jelly. A cool compress can reduce temporary warmth or discomfort. Do not scrub, exfoliate, apply fragrance, or “neutralize” an acid with another household product.
Do not automatically use 1% hydrocortisone on the face, eyelids, or groin. Ask a pharmacist or clinician first, because location, age, pregnancy, skin condition, and duration affect whether it is appropriate. Never apply it to infected or broken skin without medical advice.
Seek urgent care for facial or throat swelling, trouble breathing, dizziness, widespread hives, rapidly spreading blistering, severe pain, or eye involvement. A dermatologist can perform formal patch testing to identify a contact allergen when reactions recur.
You’ll know it worked when the suspected product is removed, the reaction is not being aggravated, and you have a clear plan for professional assessment if symptoms continue.
Common mistake: diluting a suspected allergen and trying it again. If allergy is possible, avoid the product until a clinician advises otherwise.
Common Mistakes and How to Fix Them
Testing several products on adjacent patches
This creates overlapping exposure when products spread during sleep, sweating, or washing. Stop all newly introduced items, return to a bland routine, and restart later with one product and one clearly separated test area.
Testing over damaged or recently treated skin
Sunburn, shaving, waxing, facial electrolysis, body electrolysis, retinoid peeling, and cosmetic procedures can increase irritation. Wait until the skin is fully calm, with no tenderness, peeling, open areas, or unusual redness.
Occluding an active ingredient
A bandage can trap moisture, friction, and product against the skin. That may produce a stronger irritation than ordinary use. Leave the area uncovered unless the manufacturer specifically directs otherwise, and never seal a strong active under an airtight covering.
Rinsing off a leave-on product too early
Removing a leave-on product after a few hours changes the test conditions. Unless burning or another reaction requires removal, leave it on according to the label and observe the area. A wash-off product is different and should be rinsed at its stated time.
Calling every bump “purging”
Purging is plausible only with ingredients that accelerate cell turnover, and it should occur mainly where you normally break out. Stop a basic moisturizer, oil, or sunscreen that causes new uniform bumps, especially if the change continues beyond the first week or includes itching.
Ignoring a reaction because it is small
A localized reaction can worsen with repeated exposure. Photograph it, record the timing, remove the product, and do not resume it until a healthcare professional has assessed the situation if symptoms persist.
Variations for Different Products and Skin Types
For cleansers, masks, and wash-off treatments
Apply the product to the marked area for the exact label exposure time, then rinse with lukewarm water. Do not test a cleanser by leaving it on for 24-48 hours, because that does not reflect intended use and can cause avoidable irritation.
For a mask or peel, test the shortest label-directed time if the instructions provide a range. Avoid testing immediately after another exfoliating product.
For retinoids, acids, and benzoyl peroxide
Use a smaller facial frequency than a basic moisturizer, even if the body patch was clear. Test one active at a time, begin at the lowest label frequency, and avoid combining it with another exfoliant during the initial facial trial.
These products can cause irritation without causing an allergy. Burning, persistent redness, cracking, and marked peeling are stop signals, not evidence that the product is “working.”
For eczema, rosacea, or known allergies
Ask a dermatologist or pharmacist before testing, particularly if you have reacted to preservatives, fragrance, botanical extracts, adhesives, or topical medicines. Use the upper arm rather than visibly inflamed skin, and avoid adhesive bandages unless a clinician recommends one.
People with a history of severe allergy should not rely on a home test to establish safety. Formal medical patch testing is the appropriate alternative.
For sunscreen and makeup
Test the sunscreen or cosmetic on the jawline or behind the ear after a body-area test when practical. Then test the product under ordinary conditions, because sweat, sunlight, makeup layering, and friction may affect tolerance.
Do not test foundation over a rash or broken skin. Clean brushes, sponges, and applicators first, since contaminated tools can cause a reaction unrelated to the formula.
How Long Does It Take and What Does It Cost?
The first application takes about 5-10 minutes. A body-area check takes 48 hours. A cautious facial introduction takes 7-10 days, while a full routine change should be slower if the product is an active or your skin is reactive.
The cost is usually $0-$15 if you already own cleanser, a towel, and a phone. A new fragrance-free cleanser, marker, petroleum jelly, or cold compress may bring the one-time cost to approximately $10-$40, excluding the skincare product.
| Situation | Minimum observation | Practical schedule | Typical added cost |
|---|---|---|---|
| Basic moisturizer | 48 hours | Body test, then gradual facial use | $0-$15 |
| Cleanser | Label exposure, then 48 hours | Rinse normally; observe | $0-$15 |
| Retinoid or exfoliating acid | 48 hours, then 7-10 days | Lowest label frequency | $0-$15 |
| Reactive or allergic skin | Clinician-directed | Formal assessment may be preferable | Consultation cost varies |
| Suspected severe reaction | Immediate | Remove product and seek care | Medical care varies |
Frequently Asked Questions
Can a clear patch test still be followed by a facial reaction?
Yes. The face may respond differently because its barrier, oil production, exposure to sunlight, and product layering differ from the forearm. A clear result lowers uncertainty but does not prove universal tolerance. That is why a small jawline trial and gradual introduction remain sensible for new products.
Should I patch test skincare behind my ear?
Behind the ear is a convenient hidden location, but it is not mandatory and may be sensitive to hair products, fragrance, or glasses. Use clean, intact skin and keep the application small. The inner forearm or upper arm is often easier to observe and less exposed to facial-product residue.
How many new products can I patch test at once?
Test one new product at a time. If two products are tested together and a rash appears, you cannot reliably identify the cause. Keep established products unchanged, allow the observation period to finish, and then test the next item separately.
Is home patch testing the same as dermatologist patch testing?
No. A home test checks your response to a product in one small area under ordinary conditions. Dermatologist patch testing uses standardized allergen panels, controlled application, and professional readings to investigate allergic contact dermatitis. Recurrent or significant reactions need medical evaluation rather than repeated home experiments.
Can I patch test on my hand before using a product on my face?
You can use the hand or arm for an initial screen, but hand skin is not identical to facial skin. A clear hand test may miss facial dryness, clogged pores, or sensitivity around the eyes and mouth. Follow it with a small jawline test when the product is appropriate for facial use.
What should I do if the patch is slightly itchy but not red?
Stop the test and rinse the product away rather than repeating the exposure. Mild itching can precede a more visible reaction, and the absence of redness does not make continued exposure worthwhile. If itching persists, spreads, or develops into swelling, hives, or blisters, contact a healthcare professional.
Conclusion
A careful patch test uses one product, clean intact skin, label-directed exposure, a 48-hour body observation, and a slower facial trial when appropriate. Record each result, avoid damaged skin and competing new products, and stop at the first concerning reaction. That is how to patch test skin care without mistaking a clear first check for a guarantee of safety.


