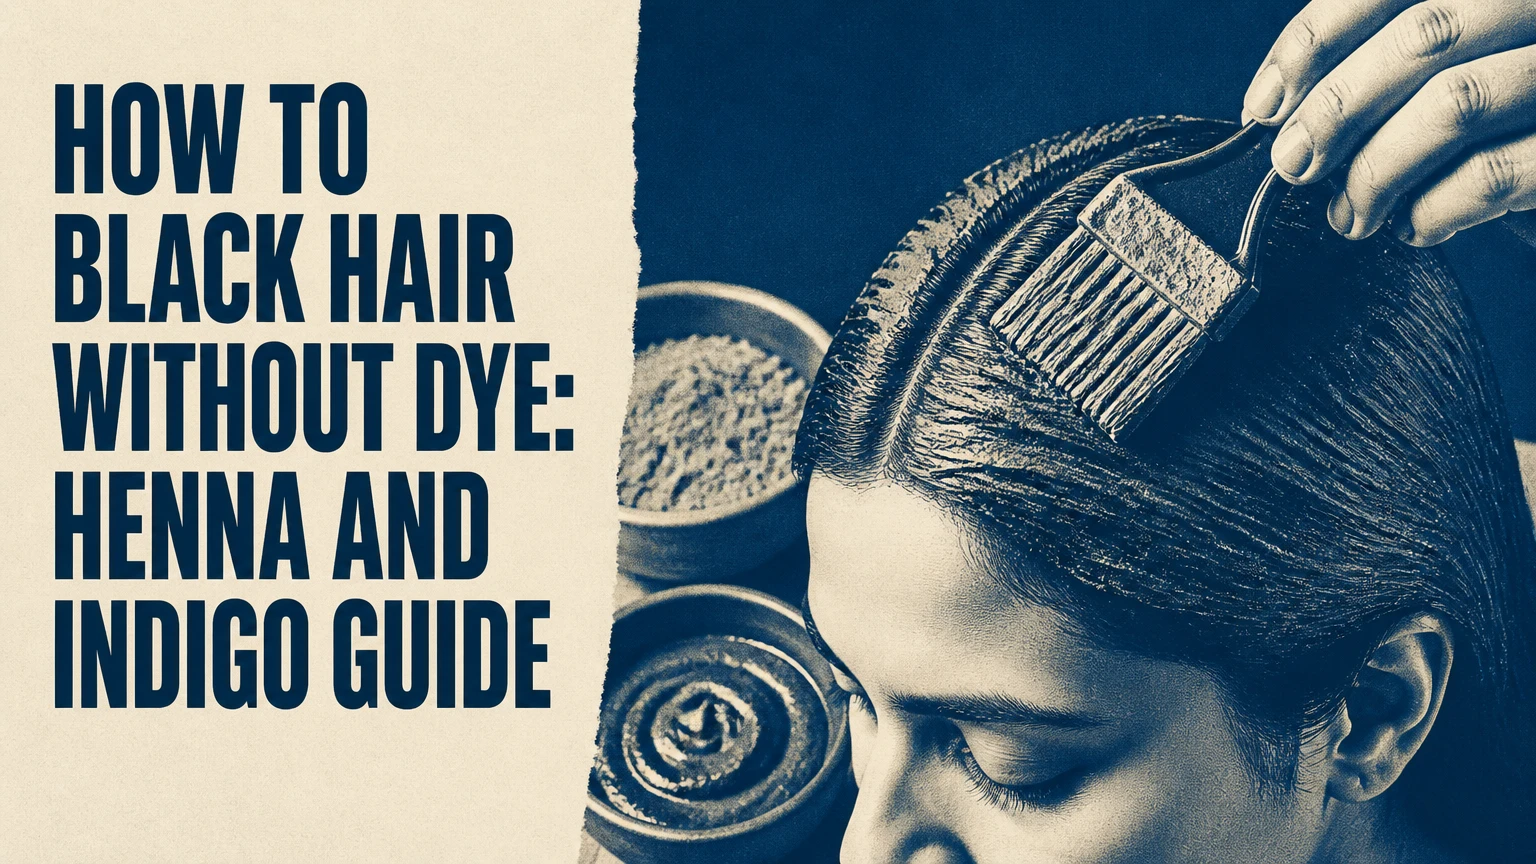
Henna followed by indigo is the most dependable way to make hair appear black without conventional oxidative hair dye. Pure henna deposits a red-orange lawsone stain, while pure indigo adds blue pigment over that base. The result can be deep brown-black to blue-black, but the outcome depends on starting color, porosity, gray percentage, and product purity.
Key Facts at a Glance
Pure henna cannot produce black hair by itself; it produces copper, auburn, or red-orange tones.
A two-step henna-indigo application usually takes 4-7 hours, excluding drying and cleanup.
Henna and indigo pigment treated lengths may remain until the hair is cut, although roots need repeating.
Tea, coffee, sage, and amla rinses can deepen shine or tone temporarily, but they rarely turn gray hair black.
“Black henna” may contain para-phenylenediamine, or PPD, a potent contact allergen identified in FDA safety guidance.
Electrolysis cannot darken scalp hair because electrolysis is a permanent hair-removal process, not a pigmentation treatment.
What Does “Black Hair Without Dye” Actually Mean?
Black hair without dye usually means darkening hair with deposited plant pigments rather than using an oxidative color product containing ingredients such as hydrogen peroxide and an alkalizer. The distinction matters because plant powders still change the color of hair. They are not color-free treatments.
Henna and indigo stain the outside and upper layers of the hair fiber through different pigment systems. Henna contains lawsone, a reddish-orange molecule that binds to keratin. Indigo contains indican-derived blue pigments that develop after preparation and exposure to air. A black result comes from the combination, not from either powder alone.
Natural methods cannot reliably restore melanin inside a gray follicle. Amla, sage, coffee, and dietary supplements may support general hair care, but there is no established home rinse that reverses an already gray strand. Gray coverage and prevention of future graying are separate claims.
How Do Henna and Indigo Make Hair Look Black?
Henna creates the warm foundation and indigo supplies the cool blue component. When indigo is placed over a henna-stained strand, the combined visual color can become brown-black or black, depending on how much red, blue, and the original hair color remain visible.
The two-step method is more predictable than mixing both powders together when the goal is opaque black coverage. A one-pot blend can create dark auburn, brown, or soft black, but it gives less control over gray hair and often produces warmer results.
Color develops in stages. Hair may look copper after henna, blue-green or khaki immediately after indigo, and darker after 24-48 hours. That settling period is common, but it cannot correct an inadequate henna base, an expired indigo powder, or uneven application.
Why is a henna base necessary?
A henna base is necessary because indigo alone often produces blue, green, gray, or muddy tones on light hair. The red-orange henna stain gives indigo a warmer foundation that can visually neutralize the blue component.
| Starting hair | Henna-only result | Indigo-over-henna result | Coverage expectation |
|---|---|---|---|
| Black or dark brown | Subtle red reflection | Deeper brown-black reflection | Low visible change |
| Medium brown | Warm auburn-brown | Dark brown to soft black | Moderate darkening |
| Blonde or lightened | Copper-orange | Brown-black to blue-black | Strong but strand-test dependent |
| White or gray | Bright copper-orange | Black, brown-black, or translucent black | Usually requires two steps |
Before You Start: Materials, Time, and Cost
Prepare the entire process before mixing either powder. Indigo loses staining strength quickly after mixing, so the indigo bowl should be prepared only after the henna has been rinsed from the hair.
Use products with complete ingredient lists. Pure henna should identify Lawsonia inermis, and pure indigo should identify Indigofera tinctoria. Avoid products that hide ingredients behind terms such as “black henna,” “instant black,” or “herbal color” without a full label.
Preparation checklist
| Item | Typical quantity | Typical cost | Purpose |
|---|---|---|---|
| Pure henna powder | 100-150 g for shoulder-length hair | $8-$20 | Creates the red-orange foundation |
| Pure indigo powder | 100-150 g for shoulder-length hair | $8-$25 | Adds blue-black pigment |
| Warm water | 250-450 mL per powder bowl | Usually under $1 | Creates workable paste |
| Disposable gloves | 1 pair per application | $1-$4 | Prevents stained hands |
| Plastic cap and old towel | 1 each | $2-$10 | Retains moisture and heat |
| Nonmetal bowl and applicator brush | 1 set | $5-$15 | Mixing and sectioned application |
These are typical retail ranges in the United States, not fixed prices. Hair below the shoulders may require 200-300 g of each powder, while a short pixie cut may need 50-75 g. Thick, tightly curled hair often needs more product because complete saturation determines coverage.
Typical total time: 4-7 hours, including preparation, application, and rinsing.
Typical difficulty: Moderate.
Main success factor: Full saturation from the roots through every gray or light section.
How to Apply Henna and Indigo for Black Hair
Step 1: Perform safety and strand tests
Apply a small amount of each mixed product to separate skin areas according to the manufacturer’s instructions, and test a hidden hair section before treating the whole head. A strand test reveals the final color, dryness, staining strength, and reaction of previously colored hair.
Do not rely on a negative patch test as a guarantee of zero risk. The American Academy of Dermatology Association recommends following product directions and stopping use when irritation develops, because allergic reactions can appear after repeated exposure.
You will know the test is useful when: the strand has been observed for at least 48 hours and the result matches your intended shade.
Common mistake: Testing only the powder on hair without testing the actual mixed formula.
Step 2: Mix and release the henna
Place 100 g of pure henna in a nonmetal bowl. Add warm water gradually until the paste resembles thick yogurt, then cover it and follow the powder maker’s release instructions.
Release time varies widely. Some finely milled henna products stain after 1-3 hours, while other preparations are commonly left for 4-8 hours. Lemon juice is not mandatory, and strong acid can make some hair feel drier. Warm water is usually the gentler starting choice.
You will know the paste is usable when: a small smear on skin leaves an orange stain within several minutes, if the product’s instructions use a skin-release test.
Common mistake: Leaving henna in a hot room for too long, which can weaken or overly warm the final tone.
Step 3: Apply henna to clean, sectioned hair
Divide dry or slightly damp hair into four to eight sections. Starting at the roots, apply enough henna to coat each strand completely, then work toward the ends. Gray areas require especially thorough saturation because sparse coverage produces orange gaps after indigo.
Cover the hair with a plastic cap and leave the henna on for 2-3 hours as a typical starting range. Very resistant hair may need longer, but longer processing does not guarantee darker results when the paste is thin or the product is weak.
You will know it worked when: every section is visibly coated, with no dry gray strands showing through.
Common mistake: Applying a thin layer to avoid mess, which creates translucent and uneven color.
Step 4: Rinse the henna completely
Rinse with lukewarm water until the water runs mostly clear. Conditioner can help release the paste, especially from dense or curly hair. Avoid aggressive scrubbing because the scalp may be more sensitive after prolonged contact.
The hair will usually look orange, copper, or reddish brown at this stage. That result is expected. Do not judge the final black shade before applying indigo.
You will know it worked when: no gritty powder remains at the scalp or behind the ears.
Common mistake: Shampooing aggressively between steps, which can increase dryness and is unnecessary for an immediate indigo overlay.
Step 5: Mix fresh indigo immediately before use
Mix 100 g of indigo powder with warm water to create a smooth, yogurt-like paste. Add salt only if the product directions recommend it. Use the mixture promptly, commonly within 10-20 minutes, because mixed indigo loses useful staining strength over time.
Do not prepare indigo hours in advance. Unlike henna, indigo is generally treated as a fresh-use mixture.
You will know it worked when: the paste is smooth, spreadable, and free of dry clumps.
Common mistake: Adding lemon juice or another acidic liquid automatically, which can produce a weaker or drier result with some indigo products.
Step 6: Apply indigo over the henna
Apply indigo to the freshly hennaed hair while it remains damp. Saturate the roots, gray areas, and ends in sections, then cover the hair with a plastic cap.
Leave the indigo on for 1.5-2.5 hours as a typical range. Shorter processing may produce translucent brown-black, while longer processing can increase depth but may also increase stiffness and cleanup difficulty.
You will know it worked when: the hair remains fully moist under the cap and no copper sections are visible.
Common mistake: Waiting several hours between rinsing henna and applying indigo, which makes complete coverage harder.
Step 7: Rinse and allow the color to settle
Rinse with water until the bulk of the paste is removed. A small amount of conditioner can help with slip, but avoid a vigorous shampoo immediately after the indigo step.
Indigo-treated hair can appear greenish, blue-gray, or lighter than expected during the first day. The shade commonly deepens during the next 24-48 hours as the color settles. Oxidation improves a suitable application, but it cannot turn a badly uneven application into uniform black.
You will know it worked when: the hair darkens over the next two days without developing new bright orange patches.
Common mistake: Applying another full treatment the same day because the initial color looks too light.
Which Natural Method Fits Your Hair?
Henna and indigo are the strongest option for gray or light hair, while rinses are more appropriate for subtle tonal changes. Walnut hull preparations can stain, but their consistency and safety are less predictable than a clearly labeled two-powder system.
| Method | Typical visible result | Typical longevity | Best use | Main limitation |
|---|---|---|---|---|
| Henna plus indigo | Brown-black to blue-black | Treated lengths remain stained; roots grow out | Gray, blonde, or light brown hair | Difficult to remove or lighten |
| Henna alone | Copper, auburn, or red-brown | Several weeks to persistent stain | Warm darkening and gray blending | Cannot create black |
| Black walnut hull rinse | Brown to deep brown | Several washes to 4-6 weeks | Darkening already brown hair | Nut allergy and inconsistent evidence |
| Black tea rinse | Slight brown cast and shine | A few washes | Subtle tone on dark hair | Rarely covers gray |
| Coffee or espresso mask | Temporary warm brown cast | A few washes | Cosmetic darkening | Messy and weak coverage |
| Sage rinse | Mild tonal change | Requires repeated use | Dark hair maintenance | Limited evidence for black color |
| Amla treatment | Shine and conditioning support | Cosmetic effects vary | Scalp and hair-care routine | Does not reliably recolor gray |
Do tea, coffee, sage, or amla turn hair black?
Tea, coffee, sage, and amla do not reliably turn gray or blonde hair black. Their tannins and plant compounds may leave a temporary surface cast, especially on porous, already dark hair, but repeated rinsing cannot match the coverage of a concentrated henna-indigo application.
A typical trial involves applying a cooled rinse for 20-30 minutes once or twice weekly, then assessing the result after four weeks. Stop if the scalp becomes itchy or dry. Amla may improve conditioning and shine, but claims that it restores follicular melanin or prevents gray hair are not established by this topical routine.
What about black walnut?
Black walnut hull contains juglone and other staining compounds that can produce a brown stain, but home preparations have no standardized pigment concentration. A common practice is simmering crushed hull material for approximately 20-30 minutes, cooling and straining it, then applying the liquid for 30-60 minutes.
Black walnut is a poor choice for anyone with a tree-nut allergy or unexplained sensitivity. It can stain skin and fabrics, and the final shade varies with hull age, concentration, hair porosity, and exposure time. Use a strand test and skin test first.
How Long Will the Result Last?
Henna and indigo-treated lengths can remain visibly colored until they grow out or are cut, but the black appearance may soften from washing, sun exposure, heat, and mineral buildup. New roots are uncolored, so gray coverage typically requires root applications every 4-8 weeks.
Temporary rinses generally last several shampoos. Porous bleached hair may hold surface stains longer than healthy virgin hair, while low-porosity hair may show less visible change.
| Hair situation | Maintenance interval | Likely issue | Practical approach |
|---|---|---|---|
| 10% gray at the temples | 4-8 weeks | Visible root contrast | Apply to roots rather than all lengths |
| 50% or more gray | 4-6 weeks | Translucent coverage | Use a two-step process and careful saturation |
| Virgin dark brown hair | 8-12 weeks or as needed | Limited visible change | Use glossing or a short indigo refresh |
| Bleached blonde hair | Test first; 6-10 weeks | Green or uneven tones | Build a henna base before indigo |
| Dry, high-porosity curls | 6-10 weeks | Stiffness and tangling | Reduce processing frequency and condition afterward |
A practitioner rule of thumb is to refresh the lengths only when they have visibly faded. Repeatedly coating already saturated hair can increase buildup and stiffness without producing a proportionate color improvement.
Can You Use Henna and Indigo on Chemically Colored Hair?
You can sometimes use pure henna and indigo on chemically colored hair, but a strand test is mandatory. Previously bleached, relaxed, permed, or heavily highlighted hair has altered porosity, so it may absorb pigment unevenly and become difficult to lighten later.
Wait until the hair and scalp have recovered from a recent chemical service. A conservative salon practice is to separate major color changes by at least two weeks, although damaged hair may require longer. Do not apply plant powders over unknown “black henna” or a product with undisclosed ingredients.
Natural pigment does not make future correction easy. Indigo-treated hair can react unpredictably to bleach, and attempts to lift it may expose green, blue, orange, or muddy tones. Tell a stylist exactly which powders and dates were used.
What Is the Difference Between Natural Pigment and Conventional Dye?
Conventional oxidative dye changes the internal color chemistry of the fiber through alkalizers and peroxide. Henna and indigo primarily deposit persistent plant pigments, so they usually create less lift but more cumulative staining.
| Feature | Henna plus indigo | Permanent oxidative dye | Semi-permanent direct dye | Tea or coffee rinse |
|---|---|---|---|---|
| Can lighten natural hair? | No | Yes, within product limits | No | No |
| Gray coverage | Moderate to strong with two steps | Strong with correct formula | Variable | Weak |
| Processing time | 4-7 hours total | 30-60 minutes | 20-45 minutes | 20-30 minutes |
| Main pigment behavior | Plant-stain deposition | Oxidation inside fiber | Surface deposition | Dilute surface stain |
| Color correction | Difficult | Usually manageable professionally | Easier than henna-indigo | Usually easy |
| PPD possibility | Pure products should not contain PPD | Some formulas contain PPD | Some formulas contain dye allergens | Usually lower, but ingredients vary |
“Without dye” should therefore be understood as “without conventional synthetic dye,” not “without color-changing chemistry.” A stain is still a colorant.
Is “Black Henna” Safe?
“Black henna” is not a safe synonym for pure henna. The FDA warns that products marketed as black henna may contain PPD, a chemical associated with serious skin reactions and sensitization. The FDA states, “PPD is not permitted in cosmetics intended for application to the skin,” while noting that black henna products have caused adverse reactions.
Read the ingredient list before purchase. Reject products that list PPD, p-phenylenediamine, para-phenylenediamine, coal-tar hair dye, or no ingredients at all. Pure henna and pure indigo should identify their botanical ingredients clearly, although contamination and adulteration remain possible with poorly controlled products.
Do not use a product on broken, sunburned, or inflamed skin. Seek medical care for facial swelling, blistering, breathing difficulty, spreading rash, or severe burning. A small patch test cannot eliminate every allergy risk, but skipping it creates avoidable exposure.
How Do You Fix Green, Brassy, or Uneven Results?
Green hair after indigo usually means the blue pigment is visible before the color has settled or that the henna foundation was insufficient. Wait 24-48 hours before attempting correction, because immediate reapplication can make the final color darker and less predictable.
| Problem | Likely cause | First response | Avoid |
|---|---|---|---|
| Green or khaki tint | Weak henna base or early oxidation | Wait 48 hours and reassess | Bleaching immediately |
| Bright orange roots | Incomplete indigo saturation | Spot-apply fresh indigo to roots | Repeating henna over the entire head |
| Patchy black | Uneven sectioning or dry paste | Correct only light sections | Applying a thin full-head layer |
| Very dry texture | Acidic mix, long processing, or porous hair | Condition and reduce frequency | Repeated oil and powder layering |
| Muddy brown | Mixed-powder ratio or chemical history | Use a hidden strand test before correction | Guessing a new formula |
| Color barely changed | Dark starting hair or weak rinse | Use a stronger, tested method | Expecting coffee to cover gray |
A second indigo application may correct isolated light areas after the first color has settled. If the result is severely uneven, professional color correction is safer than home bleaching.
Can Electrolysis Make Scalp Hair Black?
Electrolysis cannot make scalp hair black. Licensed electrologists insert a probe into individual follicles and use heat, galvanic current, or a blend to disable the follicle, making electrolysis a hair-removal treatment rather than a pigment-deposition treatment.
Electrolysis may be relevant when someone wants to remove unwanted facial or body hair, but it has no role in darkening head hair, covering gray strands, or restoring melanin. Hair that regrows after a failed treatment may appear finer or lighter, but that is not the same as pigment restoration.
For gray scalp hair, choose between cosmetic pigment deposition and leaving the natural color visible. For unwanted dark facial hair, consult a qualified electrologist rather than applying henna or indigo near the eyes or mucous membranes.
What Should You Do for Different Hair Situations?
For mostly gray hair
Use the two-step henna-indigo process and expect the most work at the roots. Gray hair may appear slightly translucent rather than solid black, especially when the strands are resistant or the application is rushed.
For naturally black hair
Do not expect a dramatic shade change. A rinse or conditioning gloss may improve shine, while full henna-indigo treatment can add warmth, stiffness, and unnecessary buildup.
For blonde or bleached hair
Perform multiple strand tests. A henna base is especially important because indigo alone can create green or blue results on a pale foundation.
For relaxed, permed, or fragile hair
Prioritize a strand test and reduce processing time if the hair becomes brittle. Plant powders are not automatically moisturizing, and long applications can make fragile hair feel rough.
During pregnancy or with a sensitive scalp
Avoid assuming that “organic” means risk-free. Review every ingredient with a healthcare professional, avoid undisclosed blends, and postpone application if the scalp is irritated. Pure botanical products can still cause contact dermatitis.
Common Questions About Blackening Hair Without Dye
Can I turn gray hair black permanently at home?
You can create persistent black-looking color on gray lengths with pure henna followed by pure indigo, but you cannot permanently change the follicle’s natural gray production with a home treatment. New gray roots will appear as hair grows. Coverage quality depends on saturation, strand resistance, and product purity.
Does indigo work without henna?
Indigo can stain some hair without henna, but the result is less predictable on blonde, white, or lightened hair. Indigo alone may look blue, green, gray, or dull brown. Henna supplies the warm foundation that makes a darker neutral or black result more achievable.
Can coffee permanently darken hair?
Coffee cannot permanently darken hair in the same way as henna and indigo. Coffee masks may leave a temporary brown cast on porous strands, but the effect usually fades after several shampoos and rarely covers white or resistant gray hair.
How often can I repeat henna and indigo?
Apply root treatments approximately every 4-8 weeks, based on visible regrowth. Refresh the lengths less often, commonly every 8-12 weeks or only when fading is noticeable. Frequent full-head applications can create buildup, stiffness, and an increasingly opaque result.
Can I remove indigo with bleach?
Indigo is difficult to remove predictably with bleach. Lightening may expose green, blue, orange, or muddy tones, especially on porous or previously treated hair. Consult a colorist, disclose every product used, and expect several correction appointments rather than a single reliable bleach session.
The Bottom Line
The most reliable answer to how to black hair without dye is a carefully tested, two-step application of pure henna followed by pure indigo. The method can produce persistent black-looking color on gray, blonde, and brown hair, but it requires several hours, careful saturation, and realistic expectations about maintenance and correction. Tea, coffee, sage, amla, and walnut can offer temporary darkening, not dependable black coverage. Electrolysis is unrelated because it removes hair rather than adding pigment.


