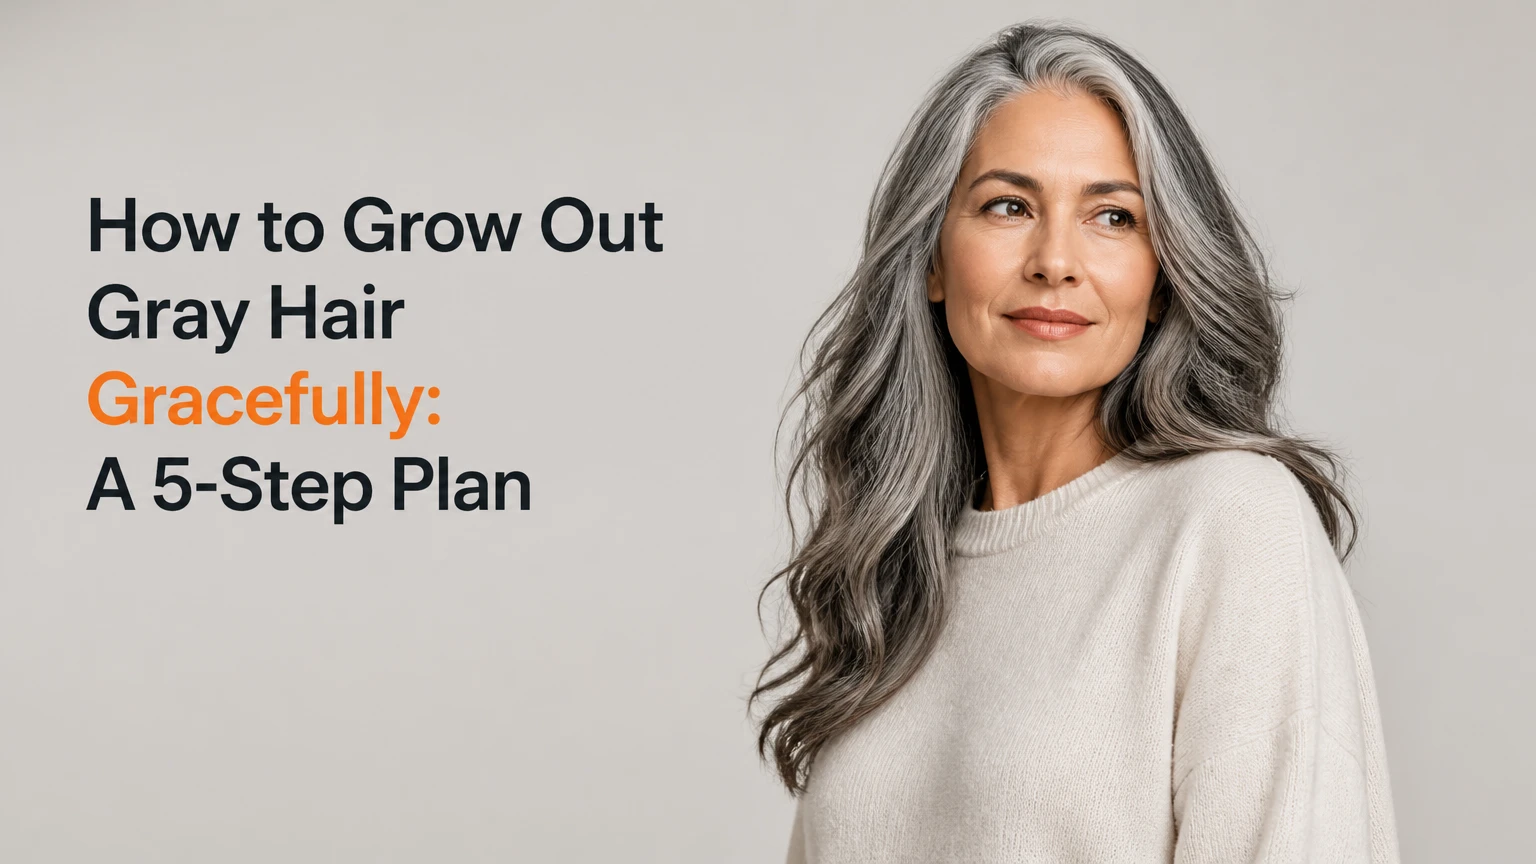
Growing out gray hair gracefully takes five steps: assess your color, grow untouched roots for 10-12 weeks, choose a transition method, blend and maintain the tone, then trim away dyed ends. Expect roughly 6 months to 3 years, depending on length. Success depends most on stopping permanent dye before the natural gray pattern is visible.
Before You Start
Time required: 10-12 weeks before an accurate consultation, followed by 6 months to 3 years for the full transition.
Difficulty: Moderate for home maintenance; advanced for cutting, lightening, or corrective color.
Typical cost: $40-$150 for a short-cut transition, $200-$450 per gray-blending appointment, or $600-$1,400 or more for a full bleach-out.
Prerequisites: You must be willing to stop permanent all-over color, tolerate visible roots temporarily, and disclose every prior color service to your stylist.
| Item | Quantity or specification | Typical cost | Purpose |
|---|---|---|---|
| Phone camera | 1, same lighting each month | Existing item | Track the gray pattern |
| Root powder or wash-out spray | 1 shade-matched product | $10-$35 | Camouflage temporary regrowth |
| Wide headband or scarf | 1-2, soft and non-tight | $10-$50 | Cover the demarcation line |
| Sulfate-free shampoo | 1 bottle | $12-$35 | Reduce dryness and color stripping |
| Purple or silver shampoo | Use every 4-5 washes | $12-$30 | Neutralize yellow tones |
| Moisture mask | 1 product, weekly | $15-$45 | Soften coarse, dry strands |
| Heat protectant | Use before every hot tool | $10-$30 | Limit heat-related damage |
| Wide-tooth comb | 1, smooth-edged | $5-$15 | Detangle with less breakage |
Do not plan a major lightening service without a professional consultation. Bring photographs of your current hair, the products used during the last 24 months, and a realistic budget. If your hair has had henna, metallic salts, repeated black box dye, or chemical straightening, say so before the stylist proposes bleach.
Phase 1: Establish the Regrowth Baseline
Step 1: Assess Your Color and Stop Permanent Dye
Stop all-over permanent color and document your natural gray pattern before choosing a transition technique.
Wash your hair normally, dry it completely, and photograph the part, temples, hairline, crown, and nape in daylight. Record the existing dyed shade, the date of the last permanent color, and any previous bleach, henna, relaxer, perm, or keratin treatment. Do not apply permanent, demi-permanent, or deposit-only color to the roots during this assessment period. Temporary powder or spray is acceptable because it washes away.
Identify whether your natural hair is silver, white, salt-and-pepper, or a combination. Also note whether gray is concentrated around the part or scattered throughout the head. A dark brown or black artificial color creates more contrast than a light blonde, so the same growth rate can look very different.
You’ll know it worked when you have clear baseline photographs and a written color history that a stylist can use.
The common mistake is treating every gray transition like a standard color appointment. Previous black dye, henna, or metallic color may react unpredictably with lightener. Do not conceal that history.
Step 2: Grow and Track 10-12 Weeks of Untouched Roots
Grow the roots for 10-12 weeks, approximately 2 inches, while disguising the line only with removable camouflage.
Mark the starting date on your calendar. Photograph the same five areas every two weeks, using the same part and lighting. Hair commonly grows about 0.5 inch per month, so 10-12 weeks usually gives a stylist enough regrowth to estimate your gray percentage and pattern. Individual growth varies with genetics, health, age, and breakage.
Apply root powder to dry hair with a small brush, beginning at the part and hairline. Use a light tapping motion rather than dragging the powder down the shaft. For a spray, hold the can approximately 6-8 inches from the roots, use short bursts, and let the product dry for 60 seconds before touching the hair. Test the product on a tissue first. Wear a dark pillowcase if transfer occurs.
A deep side part, loose waves, curls, braids, scarves, and wide headbands break up a straight horizontal line. Avoid tight headwear that rubs the temples.
You’ll know it worked when the root pattern is visible in photographs, while the temporary product removes with shampoo.
The common mistake is using box dye to soften the line. It adds another artificial pigment band and can reset the correction timeline.
Phase 2: Choose and Execute the Transition
Step 3: Select a Transition Method With a Specialist
Choose a big chop, gray blending, controlled color reduction, or camouflage after the 10-12-week assessment.
Book a consultation with a stylist experienced in gray transitions, and show your photographs without wearing root camouflage if possible. Ask four direct questions: Can my existing color be lightened safely? What will happen to the line at my part? How many appointments will I need? What is the estimated total cost, including trims and toners?
Use the following decision guide:
| Situation | Suitable first option | Typical timeline | Main trade-off |
|---|---|---|---|
| Short hair and low budget | Cold turkey or pixie cut | 6-9 months | Shorter shape and visible contrast |
| Medium hair needing a polished look | Herringbone highlights and lowlights | 12-24 months | Several expensive appointments |
| Long hair that must stay long | Demi-permanent glaze and camouflage | 18-36 months | Slowest visual transition |
| Severely damaged or fragile hair | No bleach, trims, and camouflage | 18-36 months | Patience is required |
| Dark permanent dye with strong contrast | Professional blending or staged correction | 12-24 months | Requires technical color work |
Request a strand test before any bleach or high-lift correction. The stylist should assess both color response and elasticity. If wet hair stretches excessively, feels gummy, or snaps, postpone lightening and prioritize trims and conditioning.
You’ll know it worked when you leave with a written service plan, appointment spacing, maintenance products, and a maximum lightening limit.
The common mistake is booking a full bleach-out because it appears faster. A single correction can last 8-14 hours and cost $600-$1,400 or more, while compromised elasticity may take months to grow out.
Step 4: Blend or Remove the Artificial Color Safely
Use the selected salon technique to diffuse the demarcation line without overlapping unnecessary lightener onto fragile hair.
For gray blending, a colorist may place fine diagonal babylights or herringbone highlights near the part, then add cool blonde, silver, or platinum tones that echo the natural gray. Lowlights through the dyed mids and ends break up a solid block of dark color. This approach usually requires 3-4 appointments spaced about 3 months apart, with each visit adjusted to the new root pattern.
For a big chop, wait until you have approximately 2-3 inches of natural root if you want enough length for a deliberate short shape. The stylist cuts through the boundary and creates a pixie, crop, or buzz cut that removes most dyed hair at once.
For a full correction, insist on a strand test and a bond-support plan. The aim is not simply pale yellow hair. The final toner must suit the natural silver value, and the stylist must stop if the hair loses strength.
You’ll know it worked when the boundary looks broken into smaller color shifts, the roots remain untreated, and wet hair retains normal strength.
The common mistake is placing highlights only along the part. Ask the stylist to assess the temples, crown, sides, and back because gray distribution is rarely identical across the head.
Phase 3: Maintain the New Gray Hair
Step 5: Adjust Care, Tone, Style, and Trim Schedule
Maintain the emerging gray with gentle cleansing, controlled toning, weekly moisture, heat protection, and trims every 6-8 weeks.
Wash according to oil production, usually two to four times weekly, with a sulfate-free hydrating shampoo. Apply conditioner from mid-length to ends, not heavily at the roots if your hair is fine. Use a moisture mask once weekly for 5-10 minutes, then rinse thoroughly.
Use purple or silver shampoo once every 4-5 washes, not automatically at every wash. Leave it on for the product’s stated time, commonly 1-5 minutes, and begin with the shortest time if your hair is porous or pale. Stop if the hair looks violet, gray-green, or dull, then use regular shampoo for the next wash.
Apply heat protectant before blow-drying, curling, or straightening. Use the lowest effective temperature and keep the tool moving. Protect exposed silver hair from strong sun with a hat or UV-filtering leave-in product. Rinse promptly after swimming because chlorine can worsen dryness and discoloration.
Book trims every 6-8 weeks. Ask for a shape that removes the most damaged dyed ends without forcing an unwanted length change.
You’ll know it worked when silver remains clear rather than yellow or violet, the ends feel flexible, and each trim reduces the visible artificial section.
The common mistake is using purple shampoo as a substitute for moisture. Violet pigment changes tone, but it does not repair dryness or prevent breakage.
Five-Step Transition Summary
| Step | Action | Time | Most common mistake |
|---|---|---|---|
| 1 | Photograph the hair and stop permanent dye | 1 day | Hiding prior chemical history |
| 2 | Grow and track untouched roots | 10-12 weeks | Applying box dye to the roots |
| 3 | Choose the method with a specialist | 1 consultation | Selecting bleach without a strand test |
| 4 | Blend, cut, or reduce artificial color | 1 day to 24 months | Treating only the visible part line |
| 5 | Tone, moisturize, protect, and trim | Ongoing, trims every 6-8 weeks | Overusing purple shampoo |
Transition Methods Compared
| Method | Best for | Typical cost | Timeline | Hair-health risk |
|---|---|---|---|---|
| Cold turkey | Strong contrast tolerance and low budget | $0-$150 | 6-12 months | Low |
| Big chop | Short-hair preference | $40-$150 | Fastest route to natural hair | Low |
| Gray blending | Professional appearance and retained length | $200-$450 per session | 12-24 months | Moderate |
| Full bleach-out | Suitable, strong hair needing rapid change | $600-$1,400+ | One day, then maintenance | High |
| Wig, wrap, or headband camouflage | Privacy or chemical avoidance | $50-$300 synthetic; $400-$2,000+ human hair | 18-36 months | Low chemically, friction risk |
Common Mistakes and How to Fix Them
Box Dye Creates a New Demarcation Band
Stop using it immediately and do not add another color to correct the orange or dark band. Take photographs and book a consultation, because the stylist must determine whether the pigment can be softened, covered temporarily, or left to grow out. Use wash-out powder or spray while waiting.
The Hair Turns Orange During Blending
Do not apply a random ash dye over orange lengths. Orange may indicate that dark artificial pigment has lifted only partway. Contact the colorist, avoid additional lightener at home, and use the temporary camouflage they recommend. A professional may choose a toner, lowlights, or a staged correction.
Purple Shampoo Makes Silver Hair Violet
Stop the purple product for one or two washes and use a moisturizing shampoo instead. Porous bleached ends absorb violet pigment quickly. Restart with a shorter contact time, such as 30-60 seconds, or use it every 6-8 washes rather than every 4-5 washes.
The Root Line Looks Worse After a Middle Part
Switch to a deep side part and add loose texture with a heat-safe method or overnight braids. Keep root powder concentrated on the line rather than coating the entire top. If the contrast remains severe, a stylist can place fine highlights across the transition instead of repeatedly darkening the roots.
The Hair Feels Gummy or Snaps
Stop bleach, high heat, and tight styles. Use conditioner and a gentle detangling routine, then schedule a professional elasticity assessment. Trim compromised ends gradually or make a larger cut if breakage travels upward. Hair that stretches when wet should not undergo another chemical correction.
A Wig Causes Hairline Irritation
Loosen the fit, use a smooth wig liner, and remove the wig daily so the scalp can dry. Change pressure points and avoid adhesive on irritated skin. Stop wearing it if redness, pain, scaling, or sores persist, and seek medical advice if the scalp does not recover.
Variations for Different Hair Goals
Keep Long Hair During the Transition
Choose gray blending, a demi-permanent glaze, or a root shadow rather than a major chop. Ask for a formula that does not permanently darken the natural roots, and confirm how it will fade. Maintain the ends with 6-8-week micro-trims, because long, damaged ends can make the transition look uneven.
A glaze can soften contrast, but it cannot erase a dark permanent band without changing that band. Plan for gradual exposure of the silver underneath.
Transition From Black or Dark Brown Dye
Expect more appointments than someone moving from light brown or blonde. Black and dark brown permanent pigments may expose red, orange, and yellow stages as they lift. Gray blending with lowlights is often safer than attempting to match the roots in one service.
Bring the exact box-dye brand or salon formula if you have it. Color history determines whether the stylist can use a remover, lightener, or only a haircut and camouflage.
Transition With Fragile, Curly, or Textured Hair
Prioritize curl integrity and avoid assuming that gray texture requires aggressive treatment. Use a gentle cleanser, rich conditioner, wide-tooth comb, and low-tension styling. Ask for a strand test on representative curls, because one section may be stronger than another.
A short cut can reduce breakage, but it is optional. If you retain length, schedule smaller trims and avoid overlapping lightener onto previously processed hair.
Use Wigs Without Damaging the Hairline
Choose a breathable, correctly fitted wig and wear a soft liner that does not compress the edges. Rotate between styles, clean the liner regularly, and remove the wig before sleeping. Human-hair wigs cost more but allow more styling; synthetic wigs generally cost less and hold their preset shape.
Wigs hide the process, not the need for scalp care. Continue washing, conditioning, and photographing the natural growth underneath.
How Long Does It Take and What Does It Cost?
Hair grows about 0.5 inch per month, according to figures cited by AARP and hair-care references. The visible transition depends on the contrast between the artificial color and the silver, your starting length, breakage, and how often you trim.
| Starting length | Approximate full transition | Practical strategy |
|---|---|---|
| Pixie or very short crop | 6-9 months | Cold turkey or big chop |
| Bob, lob, or shoulder length | 12-18 months | Blending plus regular trims |
| Past-shoulder length | 2-3 years | Blending, glaze, or camouflage |
| Any length with severe breakage | Variable | Stop chemical services first |
Gray blending commonly costs $200-$450 per session and may need 3-4 sessions approximately 3 months apart. A full bleach-out can cost $600-$1,400 or more and take 8-14 hours. Prices vary with location, density, length, color history, and correction complexity.
Frequently Asked Questions
Can I use demi-permanent color on gray roots?
Ask a colorist before applying it. Demi-permanent color generally deposits rather than permanently lightens, and it may fade over approximately 24 shampoos, but the result depends on the formula and porosity. A dark glaze can still leave unwanted pigment that complicates later blending, so use a transparent or carefully matched option.
Will gray hair become coarser after I stop dyeing it?
The new strand may feel coarser because it lacks melanin and often has a different cuticle behavior. Dye removal does not physically transform an old strand into gray. Use conditioner, weekly moisture, a leave-in product, and low-tension styling rather than assuming more protein or stronger chemicals will solve the texture.
Can I remove permanent dye at home?
Avoid home color removers and bleach when the history is unclear. A remover may reduce some artificial oxidative pigment but cannot reliably return hair to its natural silver, and overlapping products can create uneven warmth. Temporary root powder is the safer at-home bridge while a professional evaluates the hair.
Should I cut my hair before or after gray blending?
Usually, consult first and cut after the colorist understands the planned blend. Removing several inches before the appointment changes the amount of dyed hair available for lowlights and makes the final formula harder to predict. A small trim is reasonable, but postpone a major cut until the service plan is agreed.
Does hair electrolysis help remove gray hair?
No. Electrolysis permanently destroys individual hair follicles and is used for unwanted facial or body hair, not for changing the color of scalp hair or speeding gray growth. It has no role in blending a gray transition. Do not use electrolysis near the scalp as a substitute for cutting, camouflage, or color correction.
When is a full bleach-out unsafe?
It is unsafe to proceed when the strand test shows gummy texture, severe stretching, snapping, or rapidly worsening dryness. It is also risky when the stylist does not know about prior henna, metallic dye, relaxer, or overlapping bleach. Choose blending, a haircut, or camouflage until the processed hair has been removed.
Conclusion
To grow out gray hair gracefully, stop permanent dye, document 10-12 weeks of roots, choose a method that matches your length and hair strength, blend or cut carefully, and maintain the silver with moisture, selective toning, protection, and 6-8-week trims. The process may take 6 months to 3 years, but a clear plan prevents the skunk stripe and avoidable damage.


