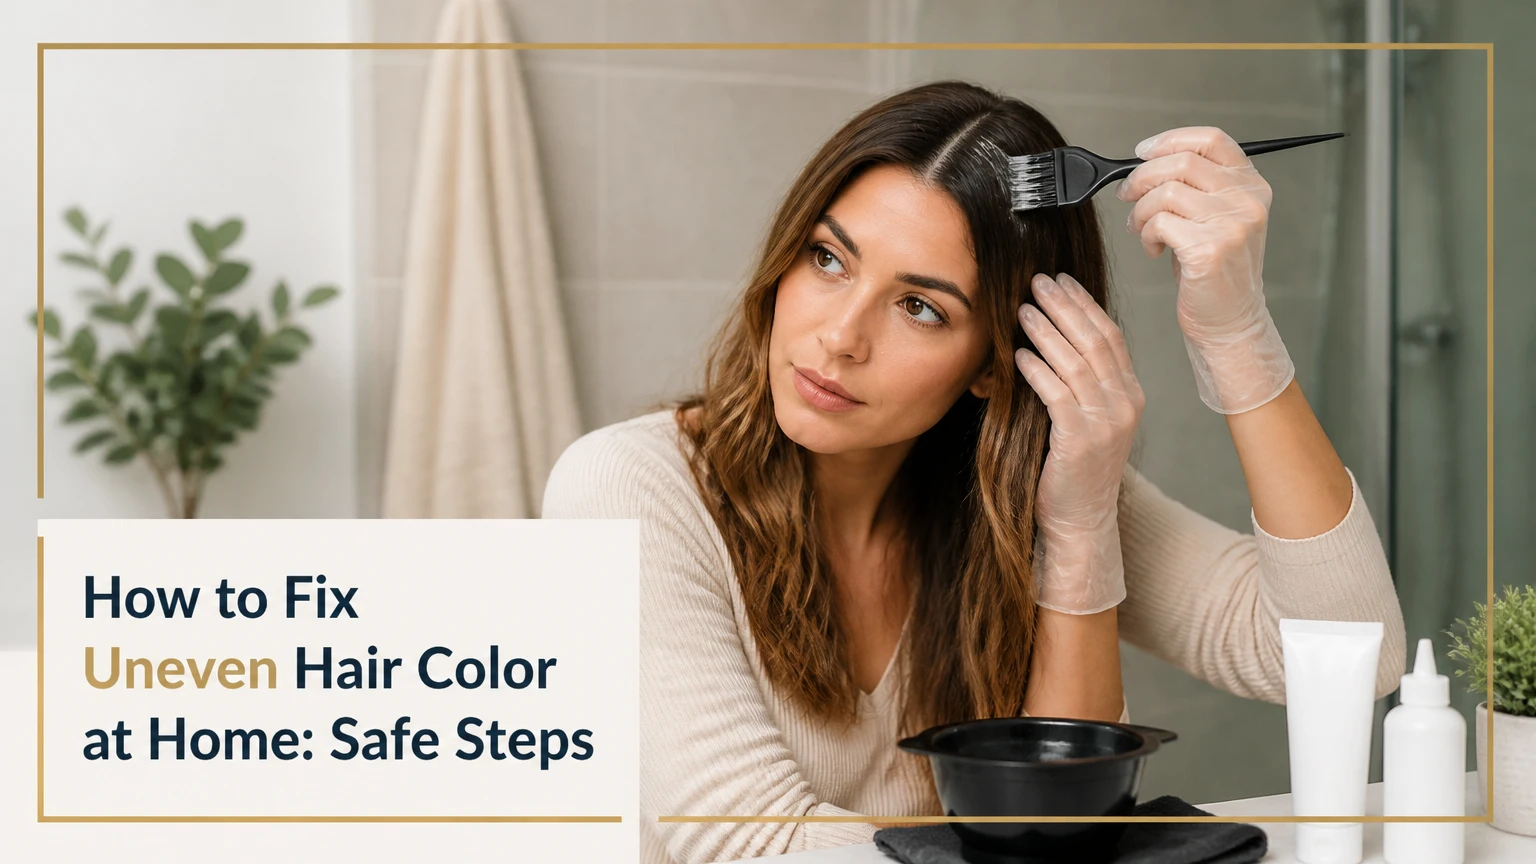
To fix uneven hair color at home, first identify whether the problem is darkness, lightness, tone, or missed coverage. Then use the least aggressive correction that matches it: wash out loose pigment, remove artificial color from isolated patches, tone unwanted warmth, or deposit a uniform darker shade. The most important control is a strand test.
Key Facts at a Glance
Permanent hair dye cannot lighten previously deposited permanent dye; more dye usually creates darker buildup.
Porous, bleached ends absorb direct-dye and oxidative color faster than healthy virgin roots.
Purple corrects yellow, blue corrects orange, and blue-green corrects red-orange warmth.
Clarifying shampoo can fade loose surface pigment, but it cannot reliably erase permanent color.
A strand test should process for the full label time before whole-head application.
Hair that feels gummy, stretches excessively, or snaps when wet should not receive more chemical color.
Why Does Hair Color Become Uneven?
Uneven hair color occurs when sections of the hair have different pigment levels, undertones, porosity, or product saturation. A dark band, pale ends, orange roots, isolated spots, and translucent gray coverage are different correction problems, so applying one formula everywhere can worsen the result.
Hair porosity is the main hidden variable. Damaged cuticles have more pathways for dye molecules and water, which makes bleached lengths absorb color quickly but release it unevenly. Healthy virgin hair has a tighter cuticle and may resist deposit, while porous ends can turn too dark, dull, or muddy.
Application errors create a second pattern. Large sections, insufficient product, rushed brushing, and starting at the wrong area leave dry strands with less color. Hair density also matters: thick hair may require two standard boxes, while shoulder-length fine hair may need only one. A typical home application should use enough product to keep each section visibly saturated.
| Visible result | Most likely cause | First correction | Avoid first |
|---|---|---|---|
| Darker ends than roots | Porous ends absorbed excess pigment | Clarifying wash, then targeted remover | Applying darker dye over all hair |
| Light roots and dark lengths | Roots received less deposit or had resistant virgin hair | Root-only deposit formula | Pulling permanent dye through ends |
| Orange or yellow bands | Uneven lift after bleaching | Correctly matched toner | Random purple shampoo on orange hair |
| Isolated dark spots | Uneven saturation or old color | Spot-test color remover | Whole-head bleach |
| Pale gray sections | Insufficient saturation or resistant gray | Reapply according to gray coverage directions | Using a very sheer gloss |
| Muddy green or khaki areas | Porous hair plus cool pigment | Warm corrective deposit | Adding more ash color |
How Can You Tell Whether the Problem Is Color Depth or Tone?
Color depth describes how light or dark the hair is; tone describes the visible cast, such as yellow, orange, red, ash, green, or violet. A toner can neutralize unwanted warmth but cannot make a substantially darker band as light as a pale section.
Use daylight or a bright neutral-white lamp. Compare the root, middle, and ends separately, then ask two questions: are the sections different in lightness, and are they different in warmth? A level 7 orange section and a level 7 beige section have similar depth but different tone. A level 5 brown band and level 8 blonde ends need a depth correction, not merely a toner.
Which Correction Method Fits the Problem?
The safest method is the least aggressive option that can reach the desired result. Clarifying shampoo suits loose, recent excess pigment; color remover suits unwanted artificial oxidative dye; toner suits undertone differences; deposit-only color suits an uneven base that needs darker, more uniform coverage.
Bleach is not a default fix. Lightener can lift natural melanin and artificial pigment, but it also increases porosity and can make separate sections lift at different speeds. The American Academy of Dermatology Association recommends following product directions and stopping if irritation develops, while the U.S. Food and Drug Administration advises a skin test before dye use and says consumers should not dye eyebrows or eyelashes because of eye-injury risk.
| Method | Best target | Typical contact time | Main risk | Expected change |
|---|---|---|---|---|
| Clarifying shampoo | Slightly dark, recent color | 5-10 minutes per wash | Dryness and tangling | Small fade over 1-4 washes |
| Color remover | Dark artificial dye patches | 20-60 minutes, label dependent | Re-darkening from residue | Removes some oxidative pigment |
| Demi-permanent gloss | Mild depth or tone mismatch | 5-20 minutes | Darker porous ends | Deposit and tone adjustment |
| Semi-permanent color | Mild patchiness needing deposit | 15-30 minutes | Staining and buildup | Temporary pigment layering |
| Permanent color | Resistant gray or uniform darker result | 30-45 minutes, label dependent | Permanent buildup and damage | Long-lasting deposit, limited lift |
| Bleach or lightener | Major unwanted darkness | Product-specific | Breakage and uneven lift | Lightens natural and artificial pigment unpredictably |
Can Clarifying Shampoo Remove Hair Dye?
Clarifying shampoo can fade loose, surface-level pigment, especially within the first few washes, but it cannot reliably remove permanent oxidative dye. Use one wash, assess the result when dry, and repeat only if the hair remains flexible and comfortable; repeated washing can roughen already porous cuticles.
Apply shampoo mainly where the color is too dark. Leave it for the label’s suggested duration, rinse thoroughly, and condition the lengths. Do not scrub aggressively, use dish soap, or combine clarifying shampoo with household chemicals. Those shortcuts increase dryness without giving precise pigment control.
Is Color Remover Safer Than Bleach?
Color remover is generally less aggressive than bleach when the unwanted color is artificial oxidative dye, because remover targets dye molecules rather than deliberately lifting natural melanin. It cannot restore virgin hair, remove every direct dye, or guarantee an even result when porosity differs across the head.
Follow the exact mixing ratio and ventilation instructions. Rinse for the full time specified, because residual dye molecules can oxidize and make the hair appear dark again when exposed to oxygen or a new developer. A strand test is mandatory, particularly when the hair contains black, red, fashion, henna, metallic salts, or several overlapping color services.
Before You Start: Tools, Tests, and Safety
Prepare the correction before mixing any product. You need a tint bowl, tint brush, four to eight sectioning clips, gloves, a wide-tooth comb, an old towel, a timer, petroleum jelly for the hairline, and enough product to fully saturate every section.
Do not color irritated, scratched, sunburned, or recently abraded skin. Perform the manufacturer’s allergy alert or patch test according to its instructions, usually 48 hours before use, because allergy testing requirements vary by product. A patch test does not predict every reaction and does not replace a strand test.
| Preparation item | Typical specification | Why it matters | Replacement |
|---|---|---|---|
| Tint brush | 1.5-2 inch brush | Places remover or color precisely | Applicator bottle for simple root coverage |
| Section clips | 4-8 clips | Separates dense hair | Butterfly clips without metal |
| Strand sample | 0.5-1 inch hidden section | Predicts color and timing | None, do not skip |
| Gloves | 1 pair plus spare | Protects skin from dye | Nitrile gloves |
| Product quantity | 1 box per shoulder-length fine head | Prevents under-saturation | Two boxes for thick or long hair |
| Timer | Full label duration | Prevents guesswork | Phone timer |
Before mixing, examine wet and dry hair. Hair that stretches modestly and returns toward its original length may tolerate a deposit-only correction. Hair that feels gummy, stretches dramatically, breaks during combing, or has a chemical smell needs recovery and professional assessment instead.
How to Fix Uneven Hair Color at Home
A controlled correction takes one diagnostic session, one strand test, and usually 30-90 minutes of application and processing. Work from the most uneven area, use a formula that deposits rather than lifts whenever possible, and keep porous ends from receiving unnecessary processing.
Step 1: Map the Uneven Sections
Photograph the hair in daylight and divide it into roots, mids, ends, and visible bands. Mark each area as too light, too dark, too warm, too cool, or insufficiently covered.
Comb gently and use four quadrants: front-left, front-right, back-left, and back-right. Within each quadrant, create sections no wider than 1 centimeter when applying a corrective formula. The smaller the section, the more reliably the brush can coat both sides.
You will know it worked when: every problem area has a clear treatment plan before product is mixed.
Common mistake: treating a tone problem as a lightness problem and reaching for bleach.
Step 2: Remove Loose Surface Color
Use a clarifying shampoo if the color is only slightly too dark, too saturated, or visibly fresher than the surrounding hair. Wet the hair completely, apply shampoo to the dark areas, massage gently for 60 seconds, rinse, and reassess after drying.
Do not perform several harsh washes in one session if the hair is bleached or curly and dry. A single wash followed by a conditioning mask gives more useful information than four washes that create swelling and frizz.
You will know it worked when: the dark area fades closer to the surrounding depth without increased brittleness.
Common mistake: expecting clarifying shampoo to lift old permanent color. It cannot reliably do that.
Step 3: Perform a Full-Process Strand Test
Choose a hidden strand from each different color zone, including one porous end. Apply the proposed method exactly as planned, including developer ratio, processing time, and rinse procedure.
Record the starting appearance, product name, shade number, mixing ratio, start time, and dry result. A five-minute visual check is not enough because some formulas develop their final tone after rinsing and drying.
You will know it worked when: the tested strands are close in depth and tone, remain elastic, and do not show a harsh line.
Common mistake: testing only healthy hair while applying the formula to previously bleached ends.
Step 4: Correct Dark Patches
Apply color remover only to dark artificial patches, keeping the product off lighter hair with foil, plastic wrap, or careful section control. Start on the darkest area, use a tint brush, and inspect the strand at the label’s first recommended checkpoint.
If a dark patch becomes close to the surrounding base, rinse it completely and stop. Do not keep processing in pursuit of a perfect match, because porous hair can shift quickly and become lighter or warmer than its neighbors.
You will know it worked when: the patch is within roughly one level of adjacent hair and no longer creates a visible block.
Common mistake: applying remover to the whole head because isolated application feels slow.
Step 5: Neutralize Uneven Brassiness
Choose the correct neutralizing pigment after identifying the unwanted warmth. Purple offsets yellow, blue offsets orange, and blue-green can reduce red-orange warmth, but a toner cannot safely correct every level difference.
Use a demi-permanent toner or gloss designed for the hair’s current level. Porous ends often absorb cool pigment faster, so apply the formula first to warmer, more resistant sections and pull it through porous ends only during the final minutes if the instructions allow.
You will know it worked when: warmth is reduced without gray, violet, green, or muddy areas appearing in the ends.
Common mistake: using purple shampoo on orange hair. Purple shampoo targets yellow more effectively than orange.
Step 6: Rebalance With Deposit-Only Color
Use a demi-permanent or semi-permanent shade when the base is close but visually inconsistent. Select a shade at or slightly darker than the lightest section that must be covered, and avoid permanent color on fragile lengths unless gray coverage or durability specifically requires it.
Apply to the least porous or most resistant areas first. Saturate each thin subsection, then apply leftover product to porous areas only as directed. Never assume that a squeeze bottle distributes enough product through dense hair.
You will know it worked when: the hair looks uniform at dry, natural light and the ends do not look significantly darker.
Common mistake: choosing an ash shade to cover orange-brown hair without accounting for porosity. Excess cool pigment can create khaki or smoky patches.
Step 7: Rinse, Condition, and Reassess Dry
Rinse until the water is mostly clear, using lukewarm to cool water rather than very hot water. Cool water may reduce immediate swelling and comfort the scalp, but it does not permanently lock pigment inside the cuticle.
Apply the conditioner supplied with the product or a compatible acidic conditioning treatment. Avoid an aggressive protein treatment unless the product is intended for your hair’s condition, because too much protein can make stiff, brittle hair feel rough.
You will know it worked when: the hair detangles with low resistance, feels flexible when dry, and looks even under more than one light source.
Common mistake: judging the result while hair is wet. Wet hair reflects light differently and can hide darker bands.
How Do You Fix Hot Roots?
Hot roots require root-only control, not a lighter shade applied blindly. When roots are warmer or brighter than lengths, use a compatible deposit-only root formula, keep it off the ends, and avoid additional scalp lightener unless a trained colorist has planned the correction.
Hot roots commonly occur because scalp heat accelerates lightener or oxidative color near the head. Virgin roots can also lift more readily than previously colored lengths, while old color on the mids and ends cannot be lightened by ordinary permanent dye.
For a mild difference, a demi-permanent root gloss one level deeper or slightly cooler may blend the area. Test first. A darker permanent color can create a new band that becomes difficult to remove.
How Do You Fix Light Ends or Darker Ends?
Dark ends need pigment reduction or controlled blending; light ends need deposit, not more lightener. The correct choice depends on whether the ends are dark from fresh color, dark from repeated buildup, or light because they are porous and over-processed.
| Situation | Safer home direction | Application order | Stop condition |
|---|---|---|---|
| Ends are one level too dark | Clarify, then reassess | Ends only | Dryness or no visible fade |
| Ends are two or more levels too dark | Professional color correction | Do not bleach at home | Band remains after strand test |
| Ends are pale and porous | Demi or semi-permanent deposit | Resistant areas first, ends last | Ends become muddy |
| Ends are yellow but depth matches | Purple-based toner | Warm zones first | Violet cast develops |
| Ends are orange and depth matches | Blue-balanced toner | Orange zones first | Brown or green cast develops |
A counterintuitive rule matters here: applying a lighter permanent dye to dark dyed ends does not make them lighter. Artificial pigment must be removed or professionally lightened first, and the resulting exposed undertone may need a filler before a final shade.
How Long Should You Wait Before Recoloring?
Wait at least 48 hours after a mild deposit-only correction if the hair and scalp feel normal, but wait approximately two to four weeks after bleaching, repeated permanent color, or a strong remover if the hair shows dryness or weakened elasticity. Hair does not biologically “heal” during the waiting period; reduced chemical exposure prevents additional structural loss.
Use the waiting period to wash gently, condition regularly, limit heat, and reassess the dry color in daylight. If the hair becomes less elastic, the correct next step is recovery or a salon consultation, not a stronger formula.
| Correction event | Typical next step | Minimum practical interval | Assessment |
|---|---|---|---|
| One clarifying wash | Reassess dry | Same day to 48 hours | Check dryness |
| Demi gloss | Maintain and monitor | 48 hours if healthy | Check tone after first wash |
| Color remover | Rinse and reassess | 48 hours to 1 week | Check re-darkening |
| Permanent color | Avoid immediate overlap | About 1-2 weeks if healthy | Check scalp and elasticity |
| Bleach or high-lift failure | Professional evaluation | Often 2-4 weeks | Check breakage and stretch |
| Gummy or snapping hair | No more color | Until assessed | Treat as damage warning |
What Mistakes Make Patchy Color Worse?
Patchy color usually worsens when the correction adds pigment or lift before the original pattern is understood. The most damaging errors are overlapping permanent color, using bleach over unknown dye history, skipping the strand test, and processing every section for the same duration despite different porosity.
- Using lighter dye over dark dye: permanent color does not reliably lift previous permanent color. Choose remover or professional lightening instead.
- Pulling root color through porous ends: the ends may become one to two levels darker. Apply lengths only when the formula requires it.
- Mixing developer strengths: combining 10-volume and 30-volume developer creates an unpredictable ratio and processing result. Use the manufacturer’s specified developer.
- Ignoring product history: henna, metallic salts, relaxers, keratin services, and bleach can react unpredictably with new color.
- Using household products: bleach, detergent, baking soda mixtures, and peroxide from a medicine cabinet can burn skin or damage hair.
- Processing beyond the label: extra time does not guarantee more evenness. It often increases deposit or damage in porous zones.
The practitioner rule is simple: correction should reduce variables, not add them. Change one factor at a time, test it, then proceed.
What Are the Time and Cost Ranges?
A mild home correction typically costs $10-$35 and takes 45-90 minutes, while a professional corrective color commonly costs about $100-$400 or more depending on location, hair length, correction complexity, and whether lightening is required. These are typical consumer ranges, not fixed prices.
Product cost rises when the hair is thick, long, or divided into multiple formulas. Buying one box for waist-length dense hair often creates under-saturation, which can produce the very patchiness the correction is meant to solve.
| Approach | Typical product cost | Total home time | Skill demand | Damage exposure |
|---|---|---|---|---|
| Clarifying wash and mask | $10-$25 | 20-40 minutes | Low | Low to moderate |
| Spot color remover | $12-$30 | 45-90 minutes | Moderate | Moderate |
| Demi gloss | $15-$35 | 45-75 minutes | Moderate | Low to moderate |
| Permanent deposit color | $10-$30 | 60-90 minutes | Moderate | Moderate |
| At-home bleach correction | $20-$60 | 90-180 minutes | High | High |
| Salon correction | $100-$400+ | 2-6 hours | Professional | Variable |
When Should You Stop and See a Professional?
Stop home correction when hair is gummy, stretchy, snapping, severely tangled, blistered, or painful at the scalp, or when the desired result requires lifting multiple levels from previously dyed hair. A colorist can perform a controlled test strand, identify incompatible color history, and separate formulas by zone.
Professional help is also the safer choice for black-to-blonde correction, banded bleach, overlapping bleach on fragile ends, unknown henna or metallic dye, and major gray-coverage failure. A salon cannot reverse all damage, but it can reduce the risk of compounding it.
Temporary camouflage is reasonable while waiting. A low-heat style, strategically placed part, headband, or clip-in extension can conceal a lower-layer patch. Clip-in extensions do not repair the color, and they should not be attached to hair that is breaking or tender.
Can Electrolysis Correct Uneven Hair Color?
Electrolysis cannot correct uneven scalp hair color because electrolysis removes individual hair follicles rather than changing melanin or cosmetic dye along the hair shaft. Licensed electrologists use a probe to deliver current into a follicle, making electrolysis relevant to unwanted facial or body hair, not patchy head-hair color.
Electrolysis may be appropriate when the underlying concern is unwanted chin, lip, or neck hair that appears more visible after coloring, but it does not replace a toner, remover, gloss, or corrective color service. Do not apply hair dye immediately before or after electrolysis on irritated skin; follow the electrologist’s aftercare instructions.
How Do You Prevent the Next Uneven Result?
Prevent uneven color by matching the formula to each zone, using thin sections, saturating completely, and keeping permanent color on regrowth unless the instructions require a length refresh. Start with a strand test whenever the shade, developer, hair condition, or product brand changes.
Use a written application map. Record the root formula, length formula, processing time, and date, because memory is unreliable when several color layers overlap. Apply petroleum jelly around the hairline, wear gloves, use ventilation, and set a timer before beginning.
For future all-over color, avoid shampooing immediately beforehand if the product directions advise otherwise, but do not apply dye over heavy styling buildup. Follow the specific manufacturer instructions because formulas differ in developer, timing, and application order.
FAQ
Can I Fix Uneven Hair Color Without Dye?
Yes, mild unevenness can sometimes improve with one clarifying wash, a color-safe cleansing routine, or temporary root and hair-makeup products. These options cannot correct a two-level depth difference, remove entrenched permanent pigment, or neutralize every undertone. Stop washing aggressively if the hair becomes dry, rough, or tangled.
Should I Apply Color to Wet or Dry Hair?
Apply color to wet or dry hair only as the product label directs, because formula concentration and saturation depend on that instruction. Many permanent dyes require dry hair, while some glosses and direct dyes specify towel-dried hair. Changing the condition can dilute pigment and create another uneven result.
Can I Use Purple Shampoo on Brown Hair?
Purple shampoo can reduce yellow warmth in lighter brown or blonde hair, but it is less effective against orange or red-orange warmth in medium and dark brown hair. Overuse can leave porous areas lavender or dull. Begin with the label’s shortest contact time and assess after drying.
Why Did My Hair Turn Green After Toning?
Green or khaki color usually results from excess blue or ash pigment on porous hair, especially when warm underlying pigment has been removed. Stop applying cool toner, wash gently, and seek a professional recommendation for a warm corrective deposit. Do not add random red dye without a strand test.
Can I Color My Hair Again the Same Day?
Same-day recoloring is safest only after a mild deposit adjustment when the hair remains flexible and the scalp is comfortable, and even then the product label controls. Do not recolor the same day after bleach, strong remover, scalp irritation, or a gummy texture. Additional processing can convert a cosmetic problem into breakage.
Does Deep Conditioner Repair Overprocessed Hair?
Deep conditioner can improve slip, softness, and manageability, but it cannot rebuild every broken disulfide bond or reverse chemical damage. Alternate gentle conditioning with careful handling, avoid high heat, and postpone further chemical services when the hair stretches excessively or snaps. Severe damage needs professional assessment.
The Bottom Line
The most reliable way to fix uneven hair color at home is to diagnose the exact mismatch before choosing a product. Use clarifying shampoo for slight recent excess, color remover for isolated artificial dark pigment, a correctly matched toner for unwanted warmth, and deposit-only color for controlled blending. Test every formula on representative strands, protect porous ends, and stop when the hair shows structural damage. A careful, limited correction is safer than repeatedly layering color or reaching for bleach. With that approach, you can fix uneven hair color at home while preserving a realistic path to healthier, more uniform results.


